
Gravel Bike Tire Pressure: The Ultimate 2026 Guide
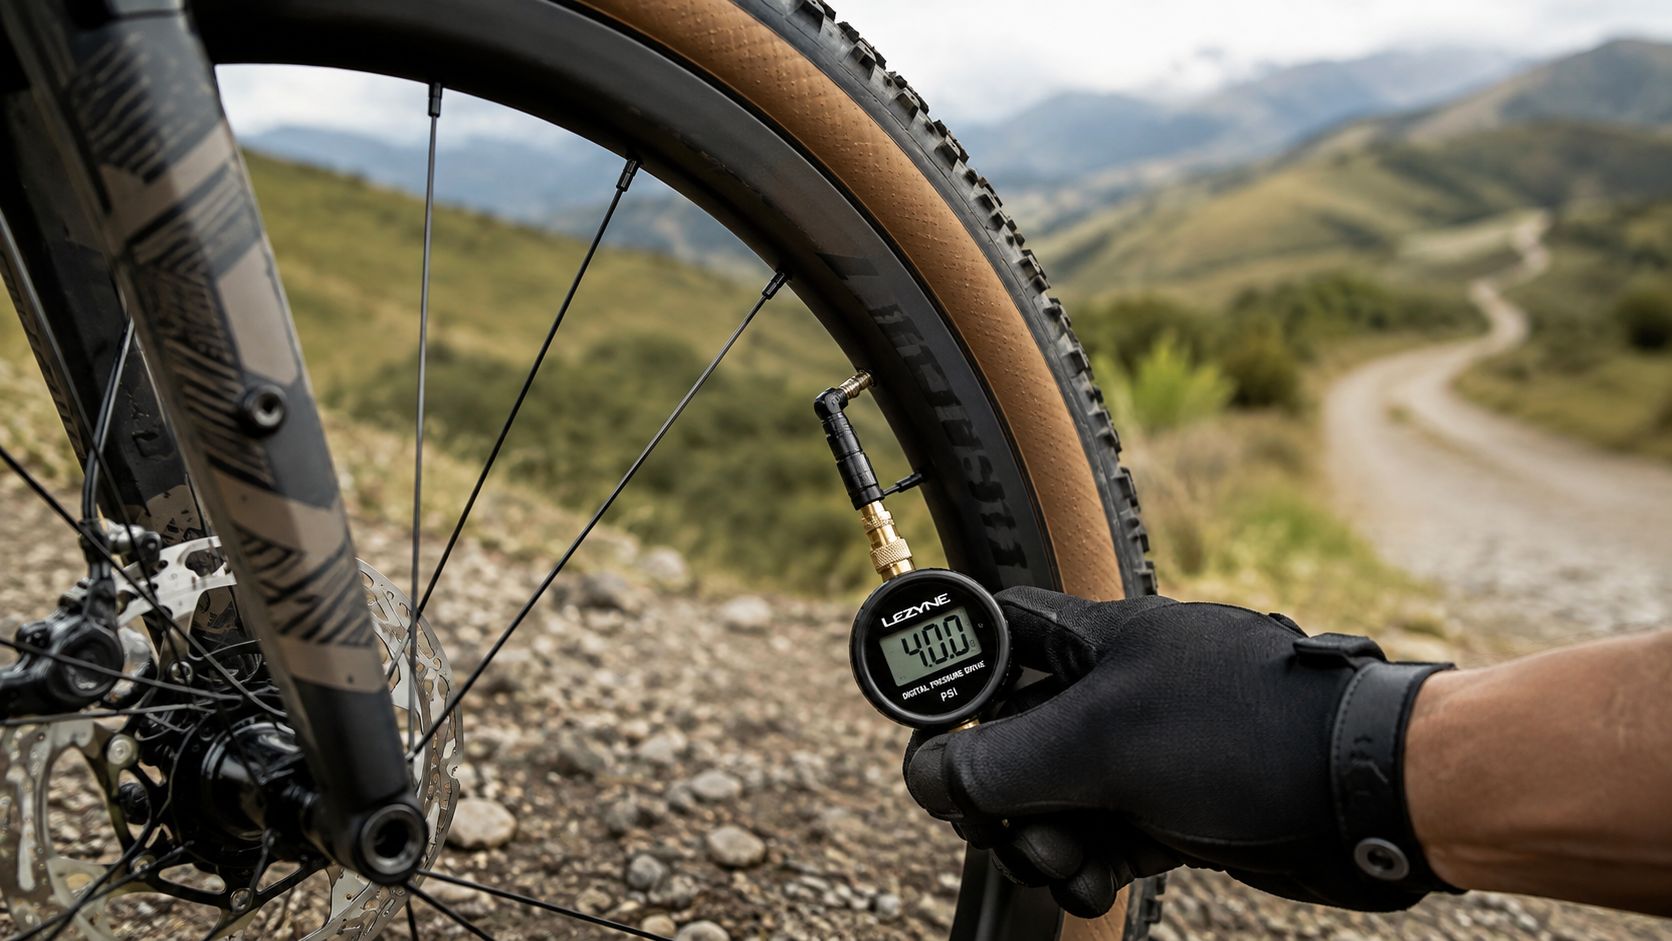
Most gravel riders want a single PSI number, but gravel bike tire pressure depends on the complete wheel-and-tire system. Tire size, measured width, total system weight, rim width, tube or tubeless setup, casing, terrain, and manufacturer limits all influence the starting point. The goal is not the lowest possible pressure. It is a pressure that keeps the tire supported while matching the surface and setup.
Table of Contents
- Why Lower Pressure Is Not Always the Answer
- The Variables That Determine Your Baseline Pressure
- Calculating Your Starting Pressure by Tire Width and Weight
- Adjusting Pressure for Different Terrain Types
- Testing and Refining Your Setup on the Trail
- Gravel Bike Tire Pressure FAQs
- How Tire Pressure Fits Into Your Gravel Bike Setup
Why Lower Pressure Is Not Always the Answer
Reducing pressure can increase tire deformation and may improve compliance or traction on some surfaces, but the effect is not unlimited and depends on the complete setup. Push pressure too low and the tire can burp, unseat, or feel vague under hard cornering, especially in tubeless setups where the practical lower limit still exists.
Practical rule: lower pressure should feel controlled, not simply soft.
Lower pressure can change compliance and traction on rough surfaces, but going too low can increase the chance of rim strikes, tire squirm, burping, or loss of support. The relevant limit is specific to the tire, rim, load, and riding conditions rather than a universal PSI or bar number. That's the core tension in gravel setup. Reducing pressure can increase tire deformation and may improve compliance or traction on some surfaces, but the effect is not unlimited and depends on the complete setup.
The best riders don't chase the lowest possible PSI. They start from a sensible baseline and adjust for the route in front of them. A mixed ride with pavement, hardpack, loose gravel, and rough patches can ask for materially different pressures even on the same bike, which is why a static chart alone never solves the problem.
What changes the answer
Tire width changes support. Rider weight changes load. Terrain changes how much compliance you need. Rim type and tubeless versus tube change how much pressure the system can tolerate before it feels unstable or risks damage.
Modern gravel pressure guidance has moved toward lower, width-specific baselines, not because low pressure is always better, but because wider tires and tubeless systems can use pressure more efficiently than older road setups. The ceiling has also become more defined on newer hardware. Hookless systems require particular attention to tire compatibility and maximum system pressure. Follow the wheel and tire manufacturers' compatibility requirements and use the lower applicable pressure limit for the complete system.
The Variables That Determine Your Baseline Pressure
A baseline should come from the setup, not a guess. Start with tire width, then account for rider weight, rim construction, tubeless setup, and the surface under you. Leave one out and the number can look fine on paper but feel off on trail.
Tire size changes the starting point
Wider tires generally operate at lower pressures than narrower tires carrying the same load, but nominal tire width alone is not enough to calculate pressure. Actual mounted width, tire construction, rim internal width, total system weight, and surface all matter.
Treat the tire's labeled size as one input. If possible, use a pressure calculator or manufacturer guidance that also accounts for wheel and rider variables.
Total system weight changes the pressure requirement
Rider weight is only part of the load. Bike weight, bottles, tools, luggage, and other carried gear contribute to total system weight. More load generally requires more tire support, which is why pressure recommendations should account for the complete riding setup rather than rider weight alone.
Rim design and tire casing affect the usable range
Rim internal width, hooked or hookless construction, tire casing, and tire compatibility all influence the usable pressure range. For hookless systems in particular, verify that the exact tire is approved for the rim and stay within the applicable system pressure limits.
Do not treat the pressure printed on one component as the correct riding target. Compatibility and maximum pressure must be evaluated across the complete tire-and-wheel system.
Tubeless changes the usable pressure range
Tubeless systems remove the inner tube and therefore eliminate traditional pinch flats to the tube, which can allow lower operating pressures in appropriate setups. That does not mean every tubeless tire should be run lower. Tire construction, rim compatibility, rider load, terrain, and manufacturer limits still determine the usable range.
A width chart tells you where to start. Your rim, load, and terrain tell you where to stay.
Calculating Your Starting Pressure by Tire Width and Weight
The cleanest way to start is simple. Pick tire width first, then match rider weight to a baseline, then bias the rear slightly higher than the front. After that, use the terrain and feel to make small corrections instead of chasing a perfect chart number.
Start here:
Choose your tire width.
Find the weight bracket that matches your actual riding weight.
Use separate front and rear recommendations that account for wheel load rather than automatically setting both tires to the same pressure.
Test the same route before changing anything else.
Make small, repeatable adjustments and change one variable at a time.
That last step matters. Expert gravel guidance consistently recommends a width- and weight-based baseline, then 2 PSI adjustments based on terrain and feel, and it also warns against running front and rear at the same pressure because the rear carries more load and takes more impact risk (BikeRadar).
Gravel Tire Pressure Starting Framework
| Factor | What to check |
|---|---|
| Tire | Labeled size, actual mounted width, casing and manufacturer limits |
| Wheel | Internal rim width, hooked or hookless design, compatibility |
| Load | Rider, bike, bottles, tools and luggage |
| Setup | Tubes or tubeless |
| Terrain | Pavement, hardpack, loose gravel, rocks, mud or mixed route |
| Front vs rear | Account for different wheel loads rather than assuming identical pressures |
| Starting pressure | Use manufacturer guidance or a reputable pressure calculator |
| Refinement | Make small changes while staying within system limits |
Use that table as a starting window, not a verdict. If you're carrying extra gear, move toward the higher end of the range. If you're light, riding smoother terrain, or using a more compliant tire casing, the lower end may feel better.
For riders selecting tread and volume, the pressure decision starts earlier than inflation. A bigger tire gives you more room to tune, which is one reason the choice of gravel bike tire size matters before you ever reach for the pump. The right width makes the pressure target easier to find and more forgiving once you're on course.
Adjusting Pressure for Different Terrain Types
A gravel bike rarely sees one surface for an entire ride. The number that feels perfect on hardpack can feel harsh on loose gravel and vague on pavement. The trick is to make the bike good across the whole route, not optimized for one patch of trail.
Match the surface, not the trend
A manufacturer guide for riders under 140 lb gives 35 mm tires at 35 to 40 PSI on hardpack, 30 to 35 PSI on loose gravel, and 28 to 32 PSI in mud or sand, while 40 mm tires drop to 30 to 35 PSI on hardpack and 28 to 32 PSI on loose gravel (Canyon). That's a practical reminder that surface matters as much as volume.
Trade-offs by terrain
Hardpack rewards a firmer setup because the tire doesn't need to deform much to find grip. Loose gravel usually asks for a little more compliance so the tread can settle instead of skating across the top. Mud and sand often need the softest useful setup, but only within the stability limits of the tire and rim. Mixed pavement pushes you back toward a firmer compromise because a tire that feels magical off-road can feel sluggish and imprecise on smooth roads.
The mistake most riders make is applying one pressure to the whole ride because they don't want to stop and change it. That's understandable, but it's rarely optimal. If the route includes long pavement transfers, a slightly firmer compromise can make more sense than a pure gravel number. If the ride is short and technical, comfort and grip usually matter more than a few extra PSI.
A simple way to think about it
Hardpack or pavement-heavy routes: test whether additional support improves the setup without creating excessive harshness.
Loose or rough gravel: test whether slightly lower pressure improves control while preserving tire support.
Mud or sand: pressure may be adjusted for the surface, but stability, rim protection, and manufacturer limits still apply.
Mixed routes: choose a compromise for the entire ride rather than optimizing for one short section.
Rocky terrain: prioritize adequate tire support and rim protection rather than chasing minimum pressure.
The goal is not to keep lowering pressure because the internet says low is fast. The goal is to keep enough support that the tire tracks cleanly while still smoothing the surface underneath you.
Testing and Refining Your Setup on the Trail
A calculator or chart provides a starting point; controlled ride testing helps refine it for the specific setup. Charts get you close. The trail tells you whether the tire is supporting you, or just sounding good on paper.
Test the same way every time
Use the same gauge, the same measurement point, and the same routine before each ride. Digital gauges tend to be easier to read consistently, but the bigger point is repeatability. If you change tools every week, you lose the ability to compare one setup against the next.
Watch for the right signals
Pay attention to three things on the ride. Handling feel tells you whether the bike is tracking cleanly in corners. Rim strikes tell you if pressure is too low for the terrain or load. Rolling feel tells you whether the tire is skipping across rough sections or sitting into the surface properly.
Harshness, loss of support, rim strikes, excessive tire movement, or burping can all indicate that the starting pressure needs reassessment.
Make one change at a time. Small adjustments of a few PSI may be useful depending on the starting pressure and tire volume. Ride the same loop again, note what changed, and don't assume the last adjustment was right just because it felt different.
Build your own pressure notes
A simple route log beats memory. Record tire width, front and rear PSI, surface type, and any strike or burp events. After a few rides, patterns show up fast. After several controlled tests, your notes should reveal which pressures work best for specific tires, loads, and routes.
A static chart stops being useful and a personal setup starts becoming valuable. Two bikes with the same tires can still ask for different pressure because the wheel system, rider mass, and terrain are different.
Gravel Bike Tire Pressure FAQs
What PSI should I run on a gravel bike?
There is no single gravel-bike PSI that works for every rider or setup. Start with manufacturer guidance or a reputable pressure calculator using tire dimensions, wheel information, total system weight, and setup, then refine from there.
Should gravel tire pressure be lower than road tire pressure?
Gravel bikes often use larger-volume tires that operate at lower pressures than narrower road tires, but the correct pressure depends on the specific wheel-and-tire system rather than bike category alone.
Should front and rear gravel tires use the same pressure?
Not necessarily. Front and rear wheels carry different loads, so pressure calculators commonly provide separate recommendations for each wheel.
Can I run lower pressure with tubeless gravel tires?
Tubeless removes the inner-tube pinch-flat mechanism and can expand the usable lower-pressure range, but rim compatibility, tire casing, load, terrain, and manufacturer limits still apply.
Does rider weight affect gravel tire pressure?
Yes, but total system weight is more useful than rider weight alone. Include the bike, rider, water, tools, bags, and other carried equipment.
Does tire width affect gravel bike tire pressure?
Yes. Tire dimensions influence the pressure needed to support a given load, but actual mounted width, casing, rim width, and terrain also matter.
How Tire Pressure Fits Into Your Gravel Bike Setup
Pressure doesn't live alone. It's limited by tire clearance, influenced by frame geometry, and shaped by how the bike fits your body and terrain goals. A bike that misses the mark on fit can feel wrong even with a well-dialed tire setup.
Tire pressure is one part of a larger gravel-bike setup. Tire size and clearance determine which tires the frame can accommodate, while wheel compatibility and total system load affect how those tires can be used.
When shopping for a gravel bike, verify that the frame and fork support the tire dimensions you want before assuming pressure changes can compensate for a mismatched setup. SYCLR can then help compare available gravel listings using fit signals, geometry signals, model-year context, price context, listing quality, condition signals where available, and confidence signals.
Tire pressure should be tuned after the underlying bike, wheel, and tire combination is confirmed.
If you're comparing gravel bikes, use the SYCLR app to compare available listings using fit signals, geometry signals, model-year context, price context, listing quality, condition signals where available, and confidence signals.