
Bike Handlebar Reach: Fit, Measurement, and Setup
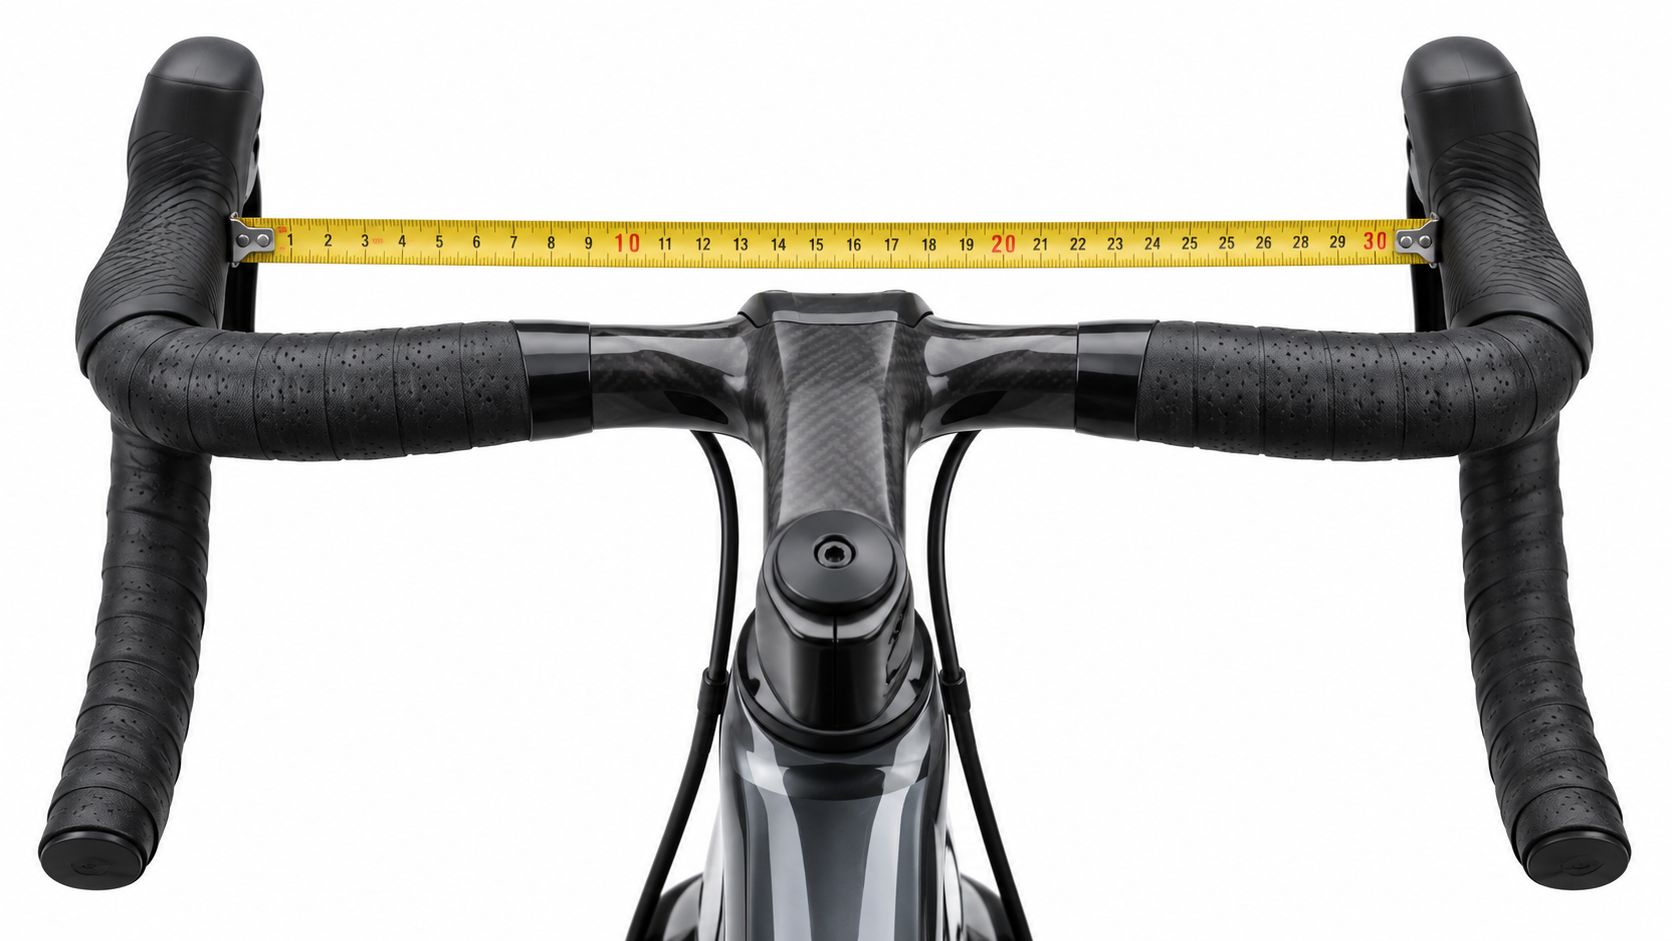
The most popular advice about bike handlebar reach is also the least complete: if the frame stack and reach look right, or if the stem length seems reasonable, the cockpit must fit. It doesn't. Your actual hand position is created by frame geometry, stem length, handlebar reach, hood placement, bar rotation, spacer arrangement, and lever setup working together.
Handlebar reach is a published handlebar dimension that describes the bar's forward extension from the top or clamp-area reference toward the forward curve or control area. Exact reference points can vary by manufacturer. Road and gravel bars can share overlapping published reach values, which is why the number is useful only when read alongside the manufacturer's measurement convention and the rest of the cockpit setup.
Published bar reach is not the same as the installed distance to the hoods or your final hand position. That installed position depends on frame reach, stem length, bar reach, hood placement, bar rotation, and spacers together. This matters even more when you're comparing used listings with swapped cockpit parts.
Table of Contents
- The Hidden Variable in Cockpit Fit
- Measuring Handlebar Reach and Drop Correctly
- How Reach Affects Rider Position and Setup
- Adjustment Strategy, Stem, Bar, and Spacers
- Evaluating Handlebar Reach in Bike Listings
- Frequently Asked Questions About Handlebar Reach
- Does brake-lever reach adjustment replace a shorter handlebar?
- Are compact handlebars always shorter in fit?
- Can an integrated carbon cockpit be adjusted easily?
- Will electronic shifting work with any drop bar?
- What changes when moving from a road bar to a flared gravel bar?
- What should I ask a used-bike seller about the cockpit?
- Should I change the stem or handlebar first?
The Hidden Variable in Cockpit Fit
Most riders diagnose an uncomfortable front end by looking at the frame or the stem first. That's understandable. Frame reach appears in geometry charts, stem length is often printed on the component, and both seem easier to compare than a handlebar whose model may not even be named in a listing.
The assumption fails because handlebar geometry is part of the final hand-position relationship. A frame's reach tells you the horizontal relationship between the bottom bracket and the top of the head tube. It does not tell you where your hands will end up once the stem, bar shape, hood placement, bar rotation, and spacers are set.
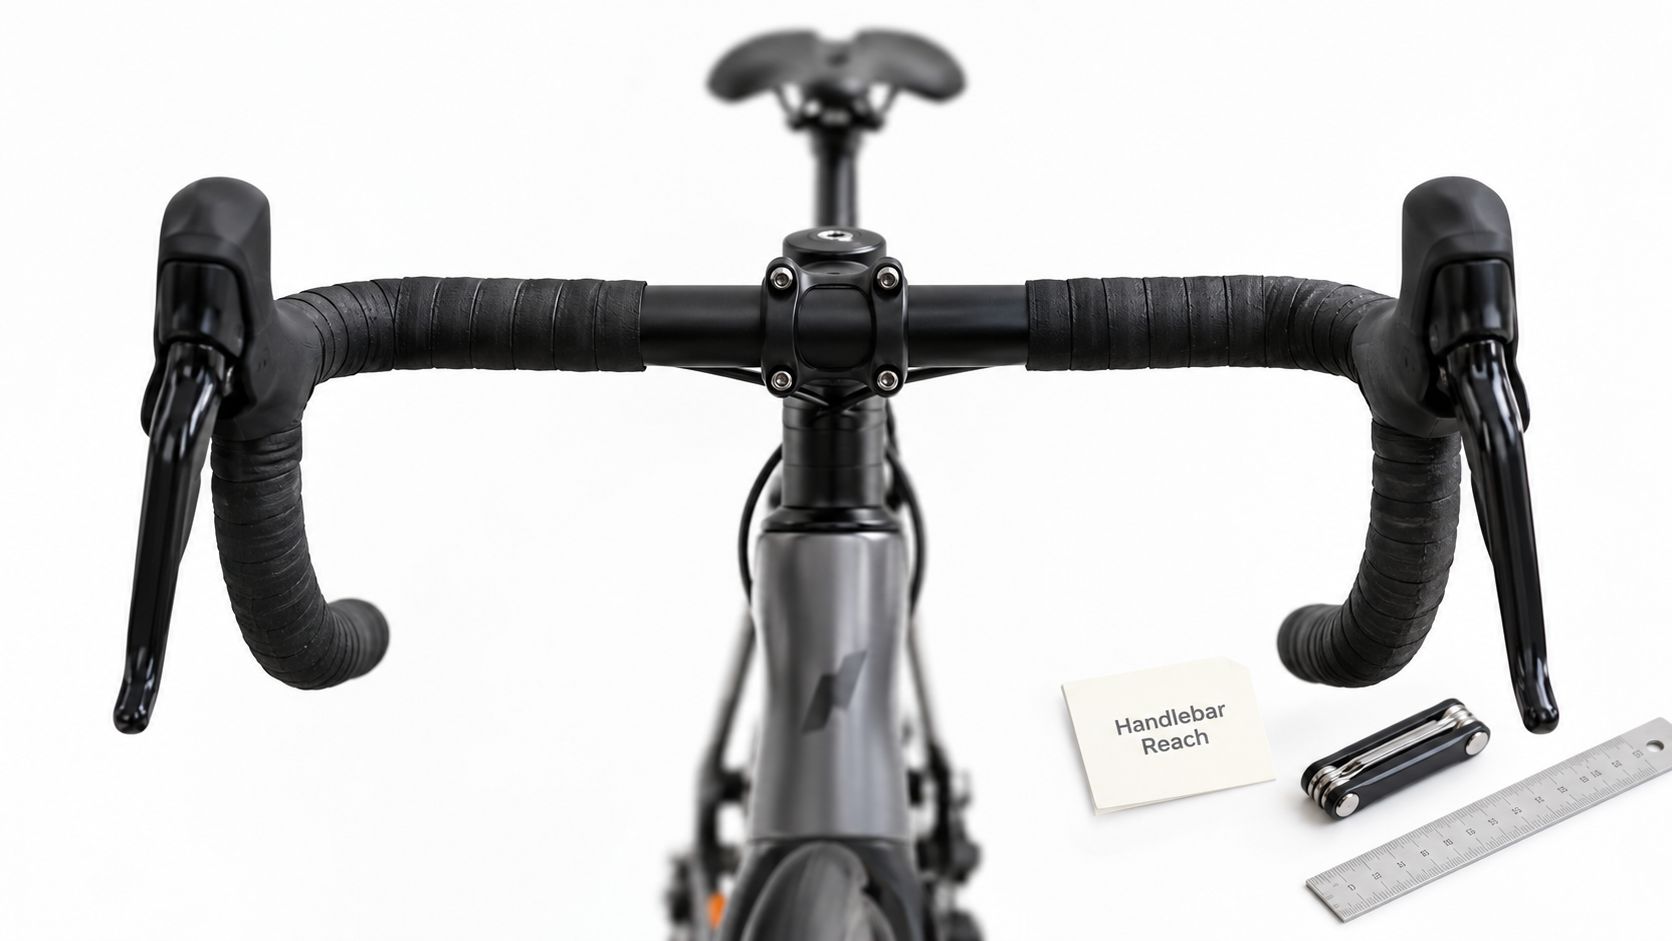
Think in systems, not isolated numbers
Published fit guidance generally defines bar reach as the horizontal distance from the tops or clamp-area reference toward the forward control area or hook reference. That measurement describes the bar itself, not the complete cockpit. Manufacturers do not always use identical reference points, which is why one brand's published reach figure may not be directly comparable to another without checking the stated convention.
This is why frame size alone is a poor used-bike filter. Two bikes marked with the same size can have different stack and reach values, and two otherwise similar bikes can carry different bars or stems. The SYCLR bike fit guide treats fit as a relationship between rider details, geometry, and setup rather than a single label.
Practical rule: If a listing doesn't identify the bar and stem, treat the cockpit as incomplete fit information, not as a neutral detail.
A published bar-reach number can be helpful for comparing components, but it should not be treated as a direct measurement of hood position. Hood placement, lever-body shape, and bar rotation can all shift the installed contact points relative to the clamp.
Why this matters for buyers
The buyer consequence is straightforward. You can reject a suitable frame because its current cockpit is set up long at the hoods, or accept an unsuitable setup because the listing hides the details that create the hand position. Bars are replaceable, but replacement may involve new tape, cable or hose work, lever repositioning, and another round of fit adjustments.
Evaluate the complete front end before deciding whether the frame and cockpit can support the position you are trying to achieve. Frame reach establishes one part of the platform. Handlebar geometry, stem setup, and hood placement help determine the position you actually hold.
Measuring Handlebar Reach and Drop Correctly
Measurement errors usually start with terminology. Handlebar reach is not frame reach, and it is not the same as stem length. Frame reach runs from the bottom bracket reference to the top of the head tube in a geometry chart. Stem length describes the extension from the steerer toward the bar clamp. Bar reach describes the handlebar's own forward shape according to the manufacturer's convention.
Drop is different again. It is the vertical distance from the top section of the handlebar to the lower part of the drops. Like reach, published drop depends on the manufacturer's measurement method.
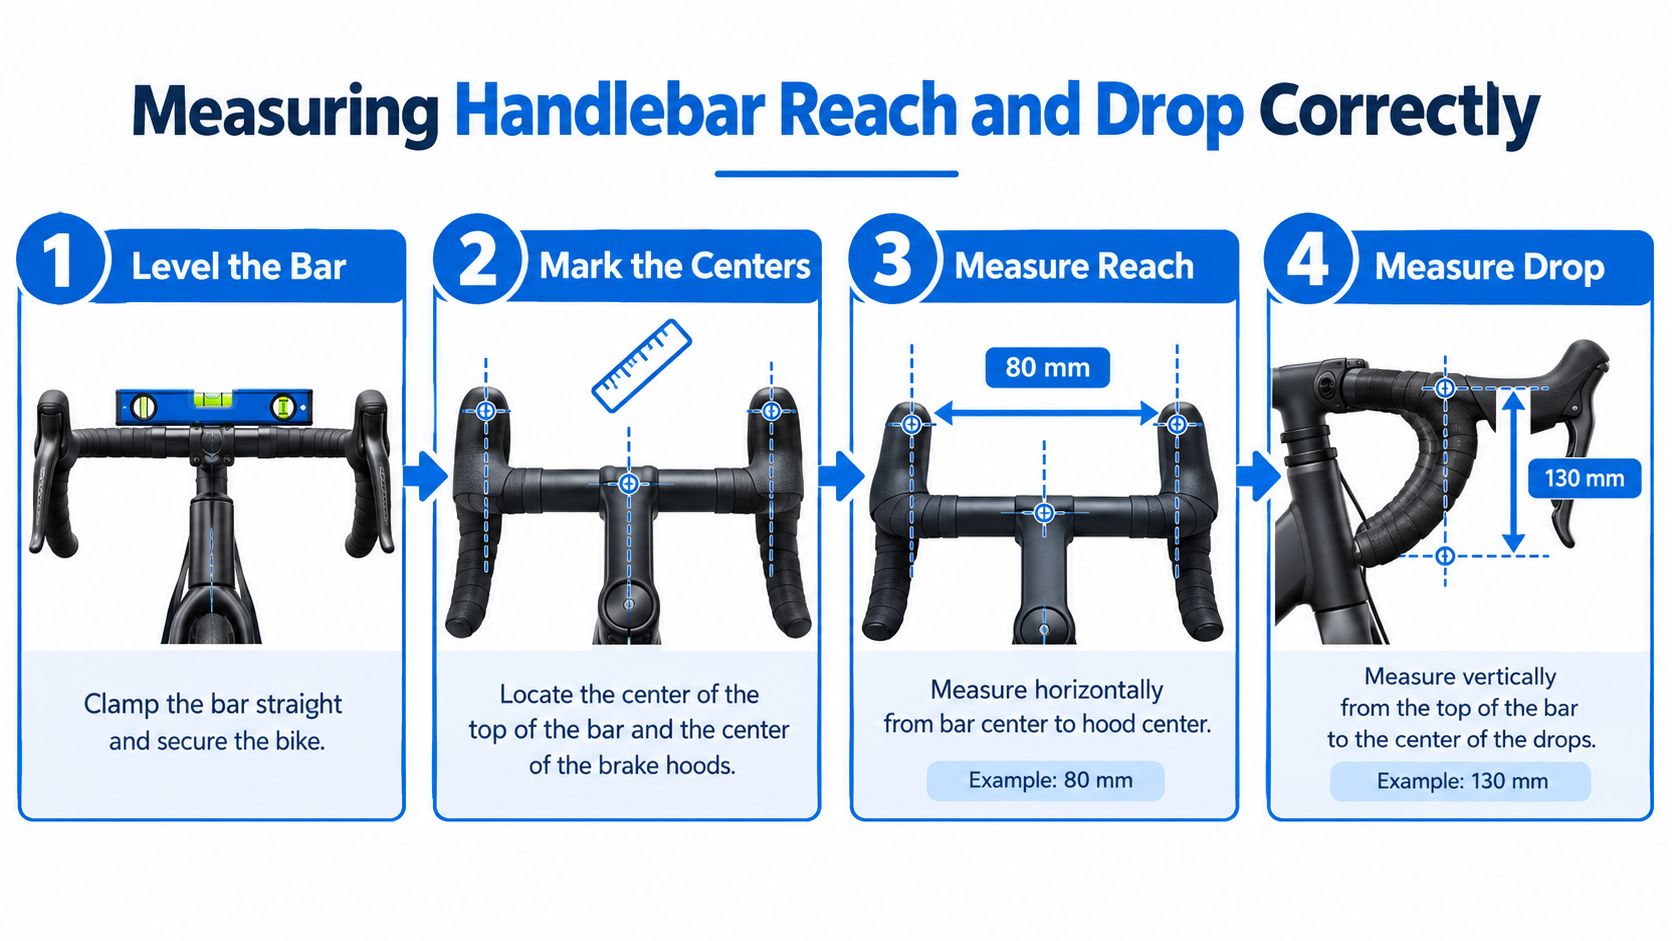
Manufacturer-published reach versus installed contact-point measurement
There are two different measurements people often mix together:
-
Manufacturer-published handlebar reach. This is the component dimension supplied by the brand. It describes the bar's forward extension from a stated top or clamp-area reference toward the forward curve, hook, or control-area reference. Exact reference points can vary by manufacturer, so the definition on the product page or technical drawing matters.
-
Installed hood or contact-point measurement. This is a setup measurement taken from the bar clamp area or another cockpit reference to the actual hood position or hand contact point on the built bike. It is useful for fit analysis, but it is not the same thing as published handlebar reach.
A reliable workshop process starts by deciding which of those two numbers you are trying to capture.
-
For manufacturer comparison, use the brand's stated reach and note the source.
-
For bike setup analysis, measure the installed hood or contact-point position separately and label it clearly.
If you take your own installed measurement, secure and level the bike, align the front wheel, and note the exact reference points you used. Record bar model, stem length, hood position, bar rotation, and spacer arrangement at the same time. Without that context, a hood-distance number can be hard to compare across bikes.
What to record from a listing
For a bike you can inspect, record the bar model, manufacturer-stated reach, manufacturer-stated drop, stem length, hood position, bar rotation, and spacer arrangement. Photograph the stem and bar markings before removing tape. On a remote purchase, ask the seller for a close image of the bar tops, stem, brake hoods, and any printed model information.
The supplied handlebar measurement video can help visualize the process, but do not treat a video demonstration as a substitute for checking the manufacturer's own measurement convention. A bar advertised as compact may still produce a different installed hood position once it is rotated and built with a particular lever shape.
A used listing that says only “carbon road bars” gives you almost no usable reach information. Ask for the exact model or a measurement of the installed hood position from the built bike. If the seller cannot provide either, mark that cockpit detail as uncertain rather than assuming a standard value.
How Reach Affects Rider Position and Setup
Changing published bar reach changes more than a catalog number. It changes the bar's forward geometry relative to the clamp. Once the hoods are installed, the final hand position depends on the whole cockpit, including the frame, stem, bar rotation, hood placement, and spacers.
A longer published bar-reach figure generally indicates that the control area starts farther forward relative to the clamp than it would on a shorter-reach bar from the same measurement convention. But that still does not tell you the final installed hood position on a complete bike.
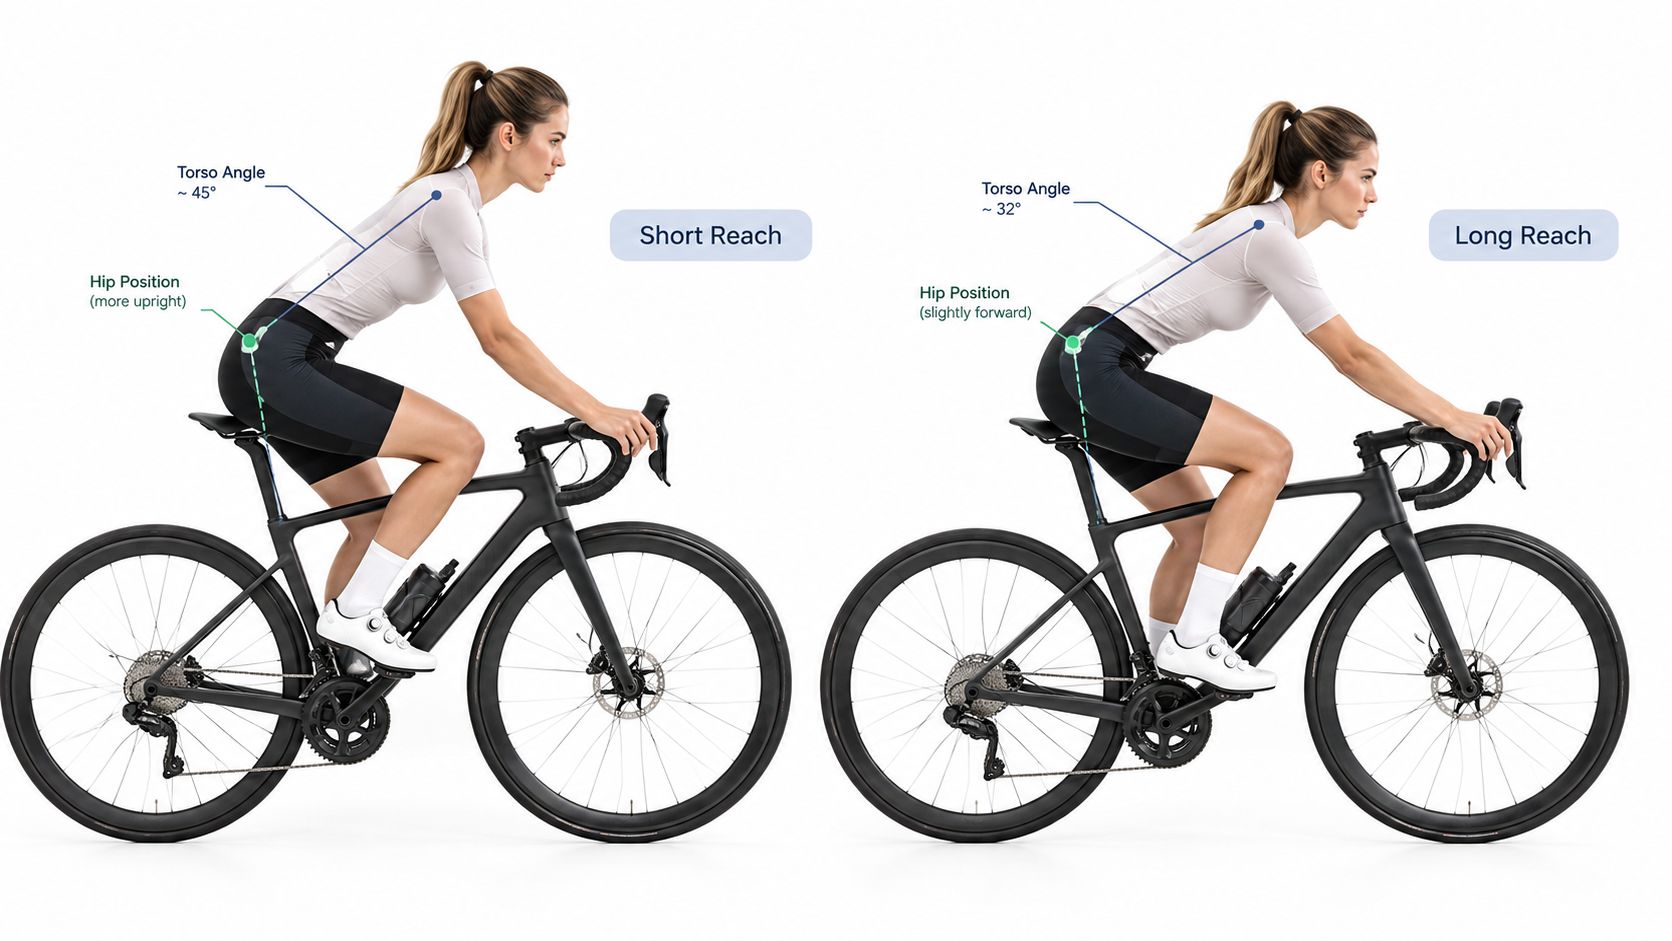
Why published reach is not the final hand position
Published handlebar reach is a component specification. It helps compare bars. It does not tell you, by itself, where your hands will sit in use.
Two bikes can use bars with the same published reach and still place the hoods differently because of:
-
different stem lengths
-
different hood placement on the curve
-
different lever-body shapes
-
different bar rotation
-
different spacer stacks
-
different frame geometry
This is why cockpit evaluation needs both the published part dimensions and the installed setup. If you only compare bar-reach numbers without checking the rest of the front end, you may misread the actual hand position.
Road and gravel categories often overlap
Road, endurance, race, all-road, and gravel bars can use overlapping published reach values. Category labels do not reliably tell you how far forward the controls will sit.
What matters more is the complete bar and cockpit shape: reach, drop, flare, width, hood placement, stem setup, and frame geometry. A gravel-labeled bar may not automatically have a shorter published reach than a road-labeled bar, and a road bar may share similar dimensions with an all-road or gravel option. Published examples often fall within similar bands across categories, depending on the brand and shape.
Lever and hood setup can change the result
Brake-lever reach adjustment can improve how far the lever blade sits from the bar, but it does not change the bar's published reach. Shimano's official brake-lever adjustment guidance illustrates why the bar, lever, and hood should be evaluated together. If the hoods sit farther forward because of installation position or bar rotation, replacing the bar may not address the actual setup issue.
Check the installed hood location, the transition from bar to hood, and the final contact-point position before drawing conclusions from the published bar number alone.
Adjustment Strategy, Stem, Bar, and Spacers
Cockpit changes do different jobs. Stem length, handlebar reach, hood placement, and spacers all affect the front end, but they do not change the same thing.
Stem length, bar reach, and hood placement do different jobs
Use the distinctions clearly:
-
Stem length changes bar-clamp position.
-
Bar reach changes control position relative to the clamp.
-
Hood placement changes final contact-point position.
A stem swap changes where the handlebar sits relative to the steerer and frame. A bar swap changes the handlebar's own geometry, including its published reach and drop. Hood adjustment changes where the hands finally rest on the built cockpit.
Because these variables act at different points in the system, they should be evaluated separately. A cockpit can show the same installed hood distance with different combinations of frame geometry, stem length, handlebar shape, and hood placement.
What spacer changes actually do
Spacer changes primarily alter bar height, but because the steerer is angled they can also change fore-aft bar-clamp position slightly.
That means spacer adjustments are not purely vertical in effect, even though height is the main change most riders notice. When documenting a cockpit, record spacer arrangement along with stem length, bar model, and hood position so the whole setup can be interpreted correctly.
Evaluating Handlebar Reach in Bike Listings
A bike listing can show the correct frame size and still hide the wrong cockpit. “Road bike, size medium, carbon bar” says little about your actual hood position. The bar may have been replaced, the stem may not be original, and the levers may have moved during a service.
Start with the manufacturer's geometry chart. Check frame stack, frame reach, effective top tube where available, and the original stem specification. These numbers describe the frame and its intended setup context, not the final distance to your hands. Handlebar reach, stem length, hood placement, spacer height, bar rotation, and saddle position combine to create the effective cockpit you will ride.

Separate frame signals from setup signals
Read the listing in two layers:
-
Frame signals: stack, reach, seat tube angle, model year, and stated frame size.
-
Setup signals: stem length, handlebar reach, drop, flare, hood placement, bar rotation, spacer stack, and saddle position.
The frame layer shows how the bike's core geometry compares with a known-good reference, if you have one. The setup layer shows whether the photographed example is arranged in a way you can interpret. Over the past two decades, many brands have shifted from frame labels and top-tube comparisons toward publishing stack-and-reach geometry. That makes cross-brand comparison more consistent, provided the numbers describe comparable frame sizes and model versions. Cycling Weekly's handlebar reach explanation also treats handlebar reach as part of the complete front end, rather than an isolated dimension.
Ask for missing cockpit evidence
Before buying a used bike, request:
-
The exact handlebar brand and model.
-
The bar's stated reach and drop.
-
Stem length and rise.
-
Confirmation of any changes to the bar, stem, levers, or cables.
-
A side photo showing the saddle, hoods, stem, and spacers.
-
A close photo of the bar markings and stem faceplate.
-
Confirmation that the photographed cockpit is included in the sale.
A seller who cannot answer does not automatically make the bike a poor purchase, but it increases uncertainty about the cockpit setup and potential replacement cost. An unidentified bar may be an easy component issue, or it may point to undocumented changes and an incomplete listing.
Use the SYCLR stack and reach guide to interpret the frame numbers, then compare them with the available cockpit evidence. SYCLR helps compare road and gravel listings using fit signals, geometry signals, model-year context, price context, listing quality, condition signals where available, and confidence signals. It does not prescribe handlebar reach or guarantee fit or condition, but it can help shortlist bikes with clearer cockpit and listing information.
Buying rule: An uncertain bar-reach figure does not automatically make a listing poor value. It means the cockpit setup should be treated with lower confidence until the missing information is verified.
Two listings can have similar frame reach and present very different buying risks. One may include a documented bar model and stem length. The other may show an unmarked bar, an unknown stem, and a cropped cockpit photo. The first gives you a clearer starting point before you compare condition or price. That distinction is easy to miss in a basic marketplace search.
Frequently Asked Questions About Handlebar Reach
Does brake-lever reach adjustment replace a shorter handlebar?
No. Lever-reach adjustment changes how far the brake lever sits from the bar, which can improve contact-point setup. It does not alter frame reach, stem length, or the handlebar's published reach. Adjust the lever and hood position first if the issue is contact-point placement, then reassess the complete cockpit before replacing the bar.
Are compact handlebars always shorter in fit?
Not necessarily. Compact bars generally combine shorter published reach and/or shallower drop than more traditional shapes, but exact dimensions vary. The installed hood position still depends on the bar's measurement convention, hood placement, bar rotation, stem setup, and frame geometry.
Can an integrated carbon cockpit be adjusted easily?
Usually, an integrated cockpit offers less independent adjustment than separate bars and stems. The design may restrict stem-length changes, while internal cable routing can make replacement more involved. Before buying a bike with an integrated unit, check its exact model, bar reach, drop, available size or configuration options, compatibility, and manufacturer adjustment limits. If the cockpit does not suit you, replacing it may require more parts and labor than changing a conventional bar or stem.
Will electronic shifting work with any drop bar?
Electronic shifting removes some cable-routing constraints, but compatibility still depends on the levers, bar shape, internal routing, clamp diameter, and hydraulic brake arrangement. An electronic groupset does not make every drop bar interchangeable. Confirm the requirements for the specific components and cockpit with the manufacturer before planning a swap.
What changes when moving from a road bar to a flared gravel bar?
The hood position may stay relatively similar while the drops become wider, depending on the flare. Reach, drop, hood width, drop width, control orientation, and cable or hose routing can all differ. Check the manufacturer's measurement convention because a gravel bar's quoted width may describe the hoods or the flared drops. Category label alone does not tell you the final control position.
What should I ask a used-bike seller about the cockpit?
Ask whether the handlebar, stem, brake levers, shifters, cables, hoses, and spacers are original. Request the exact bar model, reach, drop, and stem length, plus clear cockpit photos. Ask whether the bike was fitted or modified for a previous rider. These answers cannot prove condition or fit, but they reduce uncertainty before you commit to the purchase.
Should I change the stem or handlebar first?
Decide based on which variable you are trying to change. Stem length changes bar-clamp position. Bar reach changes control position relative to the clamp. Hood placement changes final contact-point position. If the goal is to understand cockpit fit, identify which of those positions is creating the mismatch before changing parts.
SYCLR helps compare road and gravel listings using fit signals, geometry signals, model-year context, price context, listing quality, condition signals where available, and confidence signals. Visit SYCLR to enter your height, bike type, and budget, compare fit options, and shortlist bikes with clearer cockpit and listing information.