
Gravel Bike Gearing: How to Choose the Right Gears
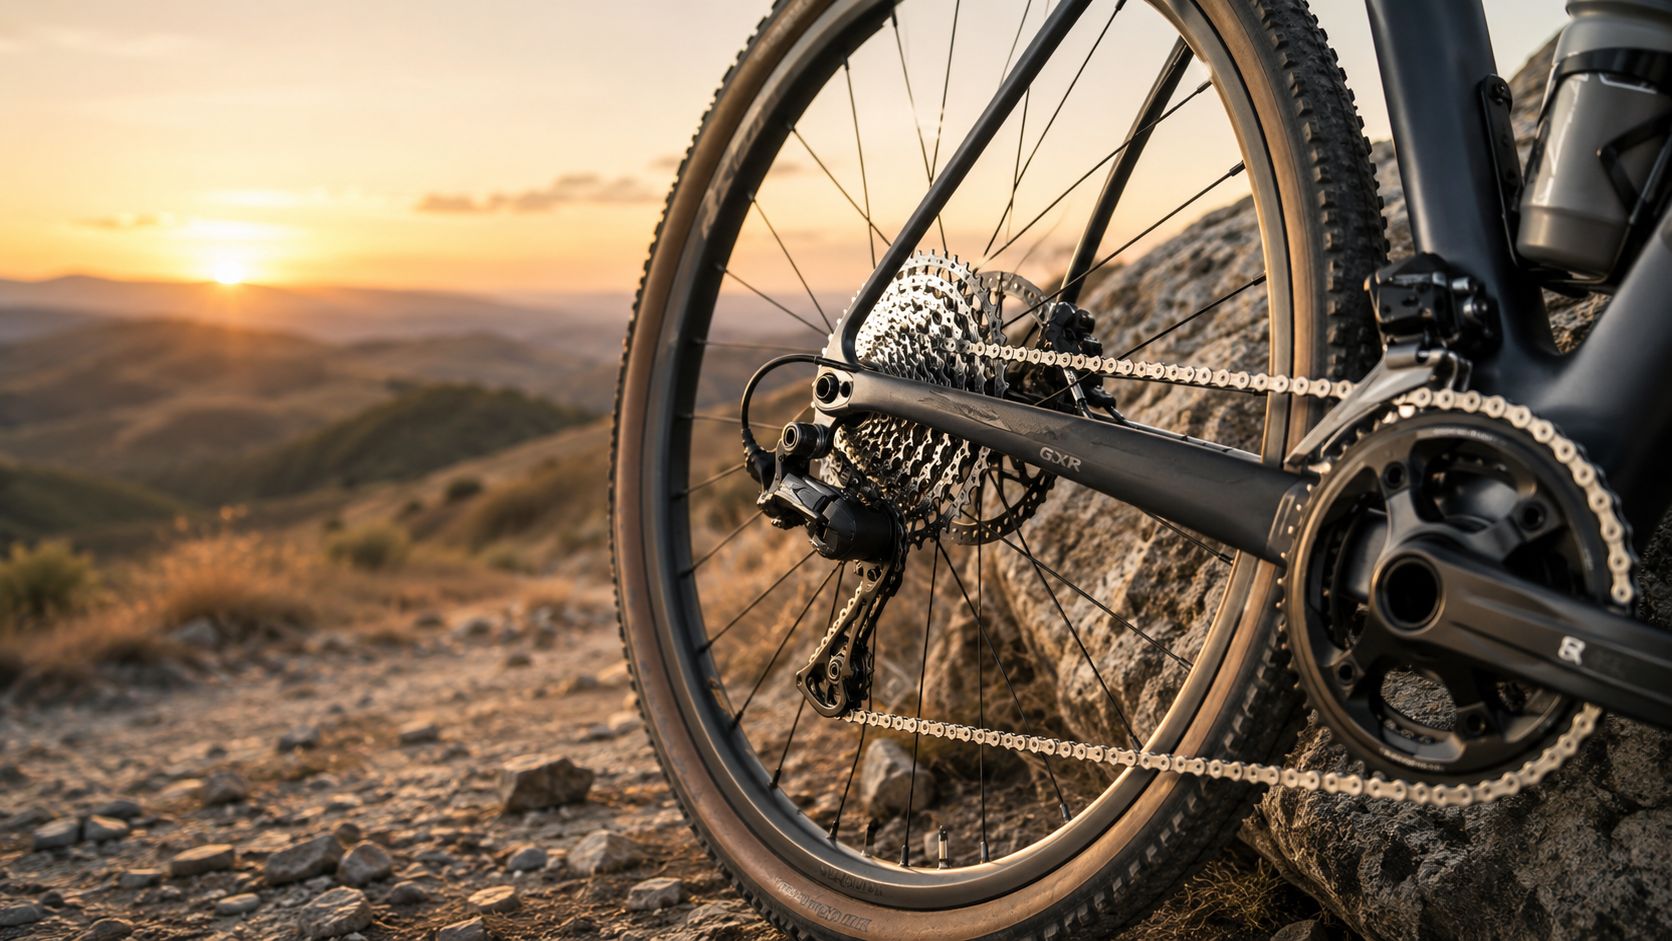
Gravel bike gearing determines how easily a bike climbs, how much top-end speed it retains, and how closely spaced the gears feel across changing terrain. When comparing bikes, look beyond the groupset name and check the exact chainring, cassette, lowest ratio, highest ratio, and drivetrain compatibility.
The right gearing depends on terrain, gradient, riding pace, tire size, cargo, and cadence preference. It belongs alongside fit, geometry, and tire clearance when deciding whether a gravel bike actually matches the rider.
Table of Contents
Why Gearing Is a Buying Decision, Not Just a Spec
A rider shows up at a trailhead, checks a used listing on the phone, and sees two bikes. One has a compact road setup, the other has a lower gravel range. The photos look fine, the frames look similar, but one bike will have you grinding up climbs while carrying fatigue, and the other might let you stay seated and keep a sane cadence. That's why gravel bike gearing isn't a bolt-on detail, it's part of whether the bike works for your riding.
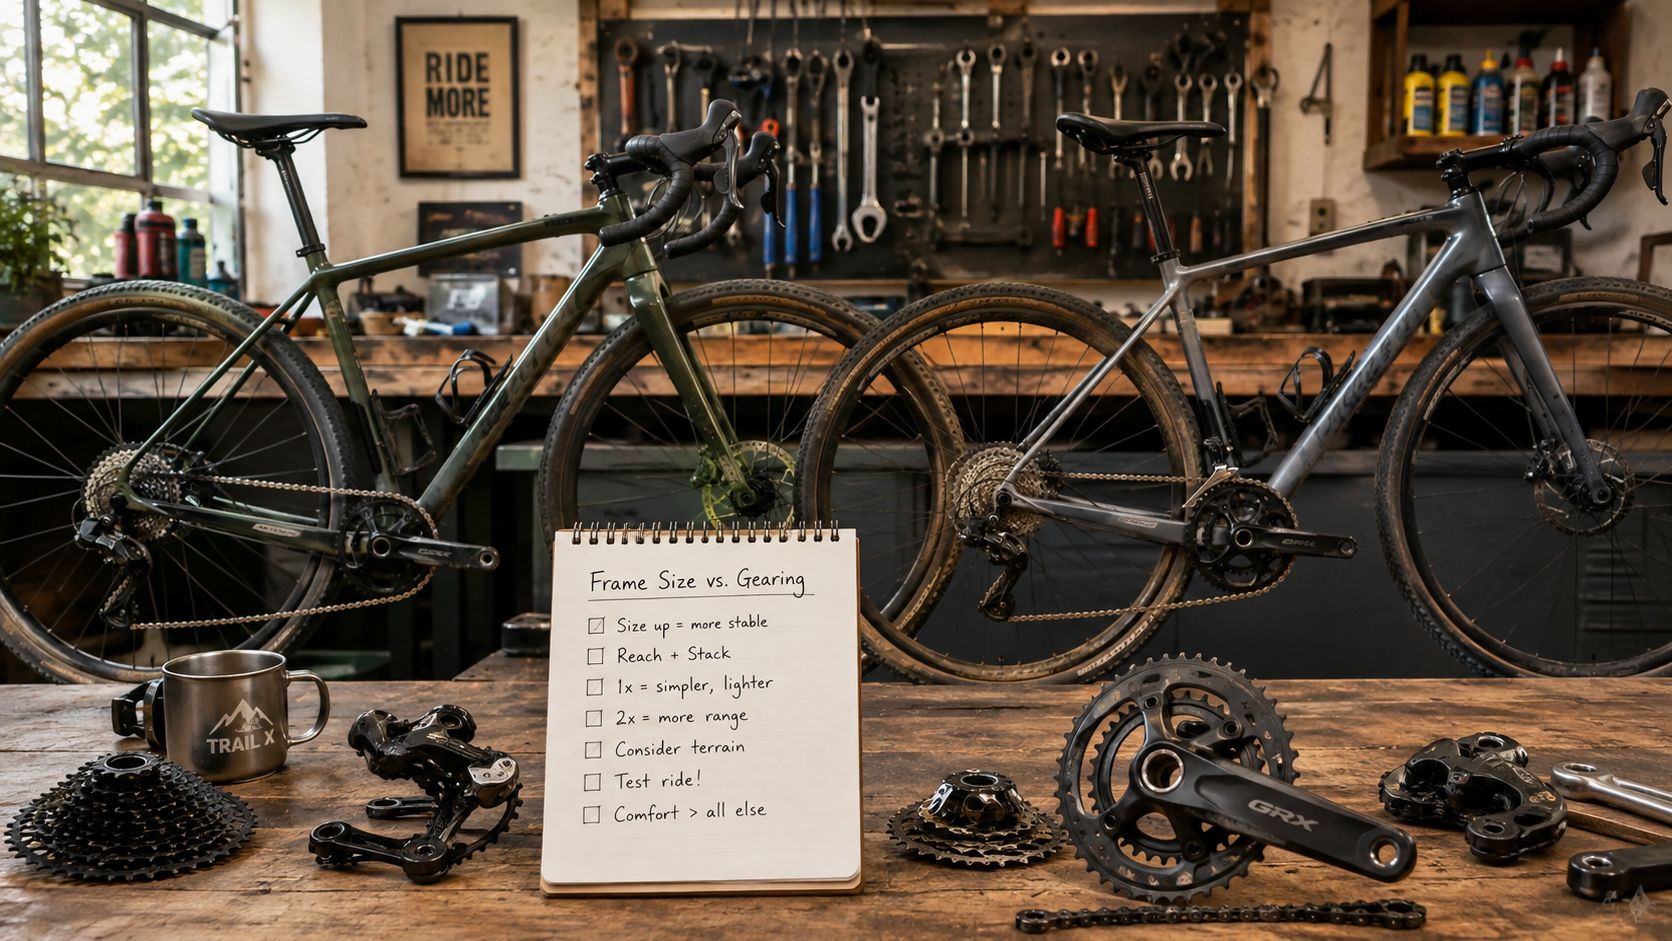
A good drivetrain can't rescue the wrong frame, but a bad drivetrain can absolutely spoil the right one. On gravel, low gears matter because loose surfaces and steeper terrain ask more from your legs than smooth road riding does, and riders often need to keep pedaling without getting stuck walking on technical climbs. If you're comparing listings, don't treat gearing as interchangeable hardware. Treat it as part of the bike's use case.
Practical rule: if a listing looks great but the gearing only makes sense for fast, flat riding, walk away unless you already know you're going to rework it.
For buyers, this means the gear question starts before brand loyalty or component bragging. Ask whether the bike matches your terrain, your usual cadence, and whether you ride light or loaded. If you want a broader comparison of road and gravel use cases, start with one bike for road and gravel, then come back to the gearing details.
Gear Ratio, Gear Inches, and Range Explained
Gear ratio is the first number to decode
A used bike listing can look good on paper and still be wrong for your rides. Gear ratio is the fastest way to spot that. Divide the teeth on the front chainring by the teeth on the rear cog. A 46/11 setup gives a much harder gear than a 40/46 setup, which is why Canyon uses those examples to show the gap between fast flats and steep loaded climbs (Canyon).
That number tells you how much effort turns into wheel speed. A higher ratio pushes the bike farther with each pedal stroke, but it demands more force from your legs. A lower ratio makes climbing easier and keeps you seated longer, but you give up top-end speed sooner. On SYCLR listings, that is the first thing I check before I care about brand names or shiny parts.
Gear inches and range help you compare real setups
Gear ratio compares the chainring to the selected rear sprocket. Divide the number of chainring teeth by the number of cassette teeth.
For example:
-
40 ÷ 40 = 1.00
-
40 ÷ 44 = 0.91
-
38 ÷ 46 = 0.83
The lower number represents an easier mechanical ratio before wheel and tire diameter are considered.
Gear range describes the spread between the drivetrain's highest and lowest ratios. A wide range can provide both climbing gears and useful top end, but range alone does not show how large the jumps between individual gears will be.
Gear inches or development calculations become useful when comparing bikes with different wheel-and-tire diameters because wheel size changes how far the bike travels for each crank revolution.
When reading a listing, compare four things:
-
Lowest available ratio
-
Highest available ratio
-
Total range
-
Spacing between the gears you will use most often
Do not assume a specific cassette or groupset automatically provides suitable gravel gearing. Calculate the exact setup.
If a spec sheet leaves you guessing, treat that as a warning sign. You are not just buying a drivetrain, you are buying how the bike behaves when the road tilts up, the surface loosens, or the bags go on. Use the gravel bike frame size chart for fit context if the bike's size is also unclear, because gearing and body position should never be judged in isolation.
How 1x and 2x Affect Gravel Gearing
Both 1x and 2x systems can provide suitable gravel gearing. The important difference is how they create and distribute that range.
A 1x drivetrain uses one front chainring and relies on the cassette for the full spread of ratios. This can simplify the controls but may create larger jumps between some gears.
A 2x drivetrain uses two front chainrings and can provide more overlapping ratios and closer spacing across parts of the range. The exact low and high gears still depend on the chainrings and cassette.
Do not choose 1x or 2x before calculating the actual gearing. Either architecture can be too high, too low, too narrowly spaced, or unnecessarily broad for a particular rider.
For the full comparison of shifting, cadence spacing, maintenance, terrain, and conversion compatibility, see 1x vs 2x Gravel Bike.
Match Gravel Gearing to Terrain and Riding Style
There is no universal cassette or chainring combination for a terrain category. Start with the lowest gear the rider needs, then make sure the drivetrain still provides enough high gear and acceptable spacing between ratios.
| Riding profile | Gearing priority | What to compare |
|---|---|---|
| Fast gravel and racing | Useful top end and manageable gear steps | Highest gear, commonly used ratios, cassette spacing |
| Rolling mixed-surface riding | Balanced climbing range and cadence control | Lowest gear, mid-cassette spacing, road-speed gearing |
| Steep gravel | Lower climbing ratios | Chainring size, largest sprocket, derailleur capacity |
| Loaded riding | Lower gearing with adequate component capacity | Lowest ratio, total system weight, cassette and derailleur compatibility |
| Rough or variable terrain | Accessible low gears and predictable shifting | Lowest ratios, gear spacing, clutch and chain-retention setup |
| Road-connected gravel | Low gears without sacrificing useful road ratios | Highest and lowest ratios plus cadence spacing |
Start With the Lowest Gear
The lowest gear becomes increasingly important as gradients increase, surfaces loosen, speeds fall, or cargo is added. But there is no universal ratio that every gravel rider should target.
Compare:
-
steepest regular gradient
-
surface condition
-
tire diameter
-
rider strength and cadence preference
-
total rider and cargo weight
-
trip duration
-
whether walking very steep sections is acceptable
Then Check the High Gear and Spacing
A very low climbing gear can be useful without automatically making the drivetrain better overall. Riders who spend meaningful time on pavement, fast descents, or rolling terrain should also check the highest ratio and the spacing between commonly used gears.
The best drivetrain provides enough low gear for the hardest realistic riding while retaining useful ratios for the rest of the route.
Compatibility, Derailleur Capacity, and Maintenance Checks
A big cassette needs the right supporting parts
A cassette doesn’t work by itself. It works only if the derailleur, hanger, chain length, and adjustment are all in the right window. That’s where a lot of used-bike listings get sloppy, because sellers often list the cassette size and stop there.
A clutch derailleur helps chain retention on rough ground, but it doesn’t magically make every wide-range cassette compatible. If a bike is running a larger cassette, check whether the derailleur can handle the total tooth difference, whether the bike needs a hanger extender, and whether the B-gap has been set properly. If the listing doesn’t show those parts clearly, assume nothing.
Practical rule: if the seller can’t show the derailleur model, the cassette size, and a straight rear hanger, treat the gearing as unverified.
What to Inspect on a Used Drivetrain
Check the drivetrain as a complete system rather than judging individual parts from appearance alone.
Verify:
-
exact chainring size
-
exact cassette range
-
shifter model
-
rear derailleur model and capacity
-
front derailleur where applicable
-
freehub standard
-
chain compatibility
-
crankset and chainline
-
derailleur hanger condition
-
clutch function where applicable
-
cable, hose, battery, or electronic wiring condition
-
shift quality across the full cassette
Chainrings and cassettes use intentionally shaped teeth, ramps, and pins to improve shifting, so visual tooth shape alone does not prove that a part is worn. Chain wear should be measured, and questionable cassette or chainring condition should be evaluated alongside shifting performance and drivetrain history.
Modified Wide-Range Setups Need Extra Review
Some bikes use aftermarket cages, hanger extenders, nonstandard cassette combinations, mixed drivetrain families, or other modifications to increase range.
These setups are not automatically bad, but they introduce additional compatibility questions. Confirm that the derailleur capacity, B-gap, chain length, chainline, shifter indexing, and cassette are designed to work together.
When a used bike relies on a modified drivetrain, include future replacement availability and potential conversion costs in the purchase decision.
How Tires, Wheel Diameter, Terrain, and Cargo Affect Gearing
The same chainring and cassette can feel different when the complete wheel-and-tire diameter changes.
A larger outer tire diameter travels farther for each crank revolution, effectively making every gear slightly taller. A smaller outer diameter makes the same drivetrain slightly easier.
That is why gearing comparisons should use the tire setup the rider actually intends to run rather than relying only on nominal wheel labels such as 650b or 700c.
Terrain Changes the Required Low Gear
Loose, steep, or rough surfaces often require lower riding speeds than smooth pavement. Riders may therefore value easier ratios that allow continued pedaling at those lower speeds.
The appropriate gearing depends on:
-
gradient
-
surface
-
rider cadence preference
-
complete wheel-and-tire diameter
-
total system weight
-
riding duration
-
expected speed
Cargo Can Increase the Value of Lower Gearing
Food, water, bags, tools, and other cargo increase the total mass the rider must move uphill. Loaded riding may therefore justify lower gearing than the same rider would choose for unloaded day rides.
There is no universal loaded-bike ratio. Calculate the actual drivetrain and compare it with the intended route and total load.
Reading a Listing for Gearing Fit
A used gravel listing can tell you plenty, if you read it like a parts check instead of a wish list. Start with the chainring and cassette. If the seller only writes “SRAM Apex” or “Shimano GRX” and leaves out the tooth counts, the listing is hiding the part that decides how the bike climbs. Check the derailleur model, hanger condition, and whether the bike is built with the parts the listing names.
Then put that drivetrain against your real riding. Steep, rough, loaded routes punish gearing that looks reasonable on paper. Rolling gravel does the opposite, it punishes huge jumps between cogs if you care about cadence and rhythm. A listing should tell you whether the bike suits your route, not just whether the frame size is close enough to sound plausible.
Compare Gearing With Fit and Geometry Signals
Gearing should never override frame fit. A bike can have excellent climbing ratios and still be the wrong purchase if its size, stack, reach, standover, or cockpit do not match the rider.
When comparing used bikes, evaluate:
-
Fit and geometry
-
Intended terrain
-
Exact gearing
-
Tire and wheel setup
-
Model-year compatibility
-
Condition
-
Price and listing completeness
SYCLR helps compare available road and gravel listings using fit signals, geometry signals, model-year context, price context, listing quality, condition signals, and confidence signals.
Start with your height, bike type, and budget in the SYCLR app. If you already know your stack, reach, current-bike geometry, or fit-report details, use the advanced fit entry.
Frequently Asked Questions About Gravel Bike Gearing
Is a wider-range cassette always better?
No. Wider range helps climbing, but the tradeoff is bigger gaps between gears. If you ride rolling terrain and care about cadence control, those jumps can get annoying fast.
Is 1x enough for bikepacking?
It can be. The drivetrain architecture matters less than whether the exact setup provides suitable low gearing for the terrain, cargo, wheel-and-tire diameter, and rider. Both 1x and 2x can work for bikepacking.
Can I upgrade a used gravel bike’s gearing cheaply?
Sometimes, but not always. A cassette swap is one thing, a full derailleur, chain, and compatibility refresh is another. If the listing already has a marginal setup, don’t assume a cheap fix will make it right.
Is 2x still worth buying new?
Yes, if you value tighter gear spacing and a higher top end. Plenty of riders still prefer 2x because it keeps cadence steadier on rolling roads and mixed-surface loops.
Should I choose gearing before tire size?
Evaluate them together. Tire outer diameter affects effective gearing, while the drivetrain determines the available ratios. Start with a tire setup appropriate for the frame and terrain, then calculate whether the resulting gears suit the route.
What’s the biggest mistake buyers make?
They look at the groupset name and ignore the exact tooth counts, derailleur setup, and terrain. That’s how a bike that looks premium ends up being a poor fit for the ride.
What is a good low gear for a gravel bike?
There is no universal lowest ratio for every gravel rider. Compare the front chainring to the largest cassette sprocket, then account for wheel-and-tire diameter, gradient, surface, rider cadence preference, cargo, and trip type. The useful goal is a low gear that matches the hardest terrain you realistically expect to ride.
If you are comparing gravel bikes, start with your height, bike type, terrain, and budget in the SYCLR app. Compare available fit signals, geometry signals, drivetrain details, model-year context, price context, listing quality, condition signals, and confidence signals before building your shortlist.
Already know your stack, reach, current-bike geometry, or fit-report details? Use the advanced fit entry to improve your recommendations.