
Road Bike Tire Pressure: A Practical Guide for Riders
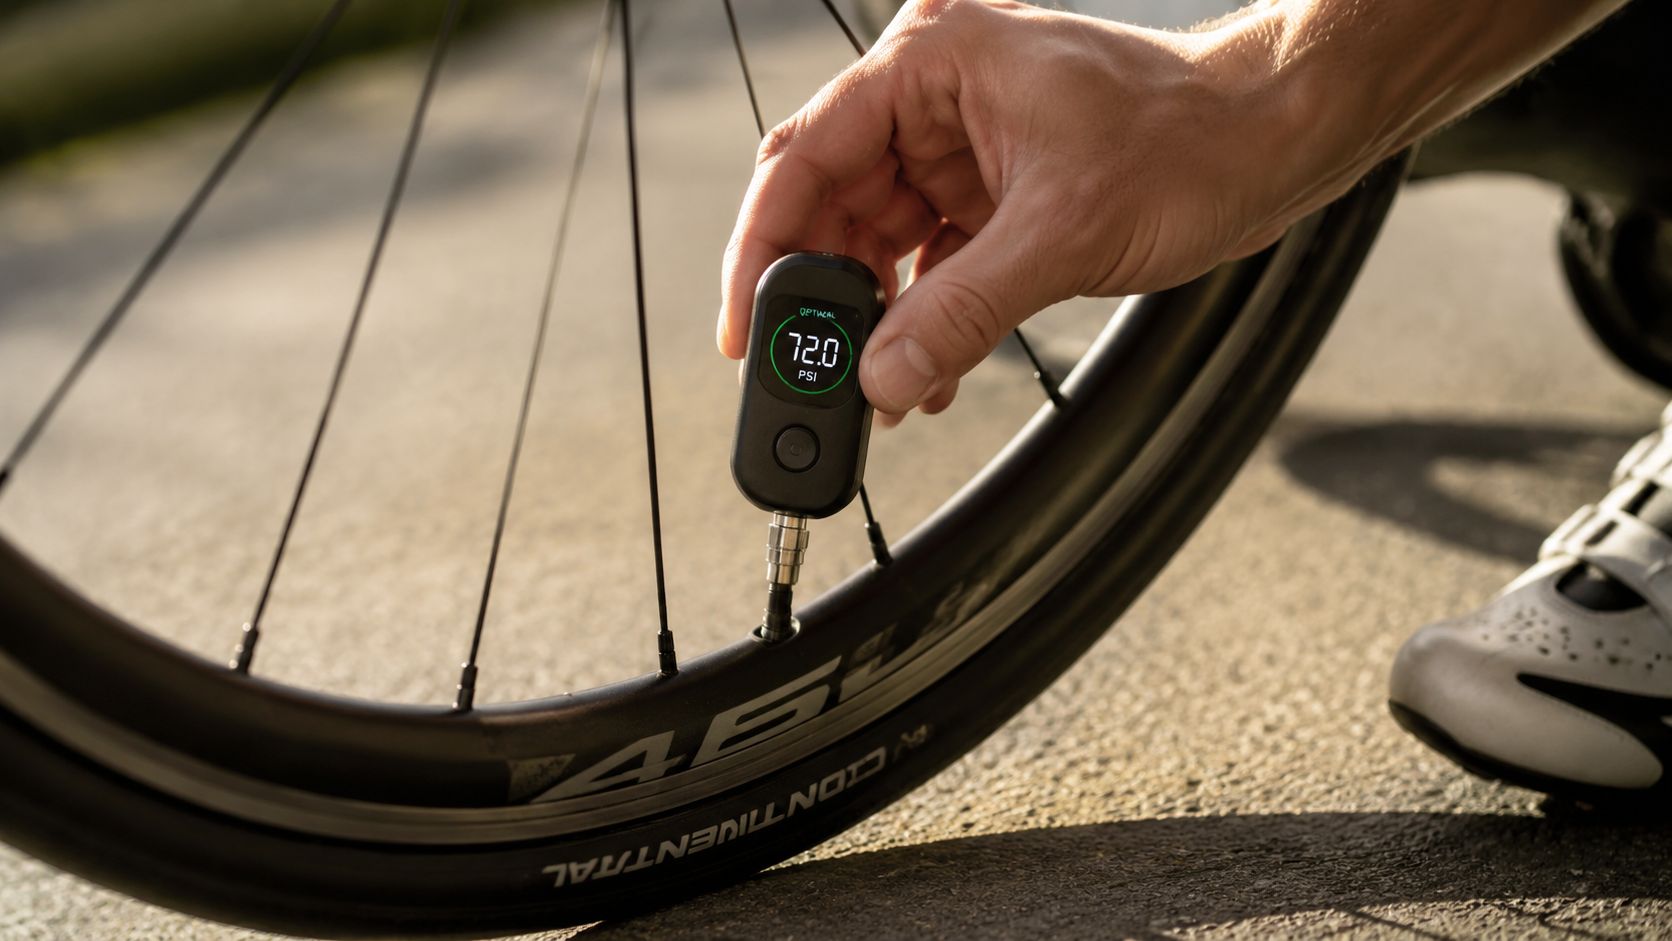
More PSI is not automatically faster on a road bike. That old habit of pumping tires until they feel hard ignores what actually shapes speed, grip, comfort, and control, especially total system weight, measured tire width, rim width, casing construction, surface quality, and wheel compatibility. Modern road bike tire pressure is a tuning decision. The best number is the one that suits your bike, your setup, and the roads you ride, while staying inside the tire and rim makers' limits.
Table of Contents
- What Road Bike Tire Pressure Actually Controls
- What Decides Your Starting Pressure
- How to Build a Pressure Starting Point
- Tubeless, Tubes, and Hookless Compatibility
- How to Measure and Set Pressure the Right Way
- Common Mistakes That Quietly Hurt Road Feel and Speed
- How Pressure Shapes the Bike You Should Compare
- Road Bike Tire Pressure FAQs
- Do wider road tires usually run less pressure?
- Should I change pressure for wet roads?
- Can I use a pressure calculator and trust the result?
- Is any road tubeless tire compatible with a hookless rim?
- Do tubeless road tires always run lower than tubed tires?
- Should front and rear road bike tire pressure match?
What Road Bike Tire Pressure Actually Controls
Contact patch, comfort, and speed
Pressure changes the tire's spring rate. On a road bike, the tire is a major part of the suspension system, so casing support and deflection have a direct effect on comfort, grip, and rolling efficiency. If pressure is too high for the rider, tire, and road, the tire can stop conforming well to surface texture and the bike starts losing energy to vibration. If pressure is too low for the same setup, the tire can feel imprecise under load and more exposed to hard impacts.
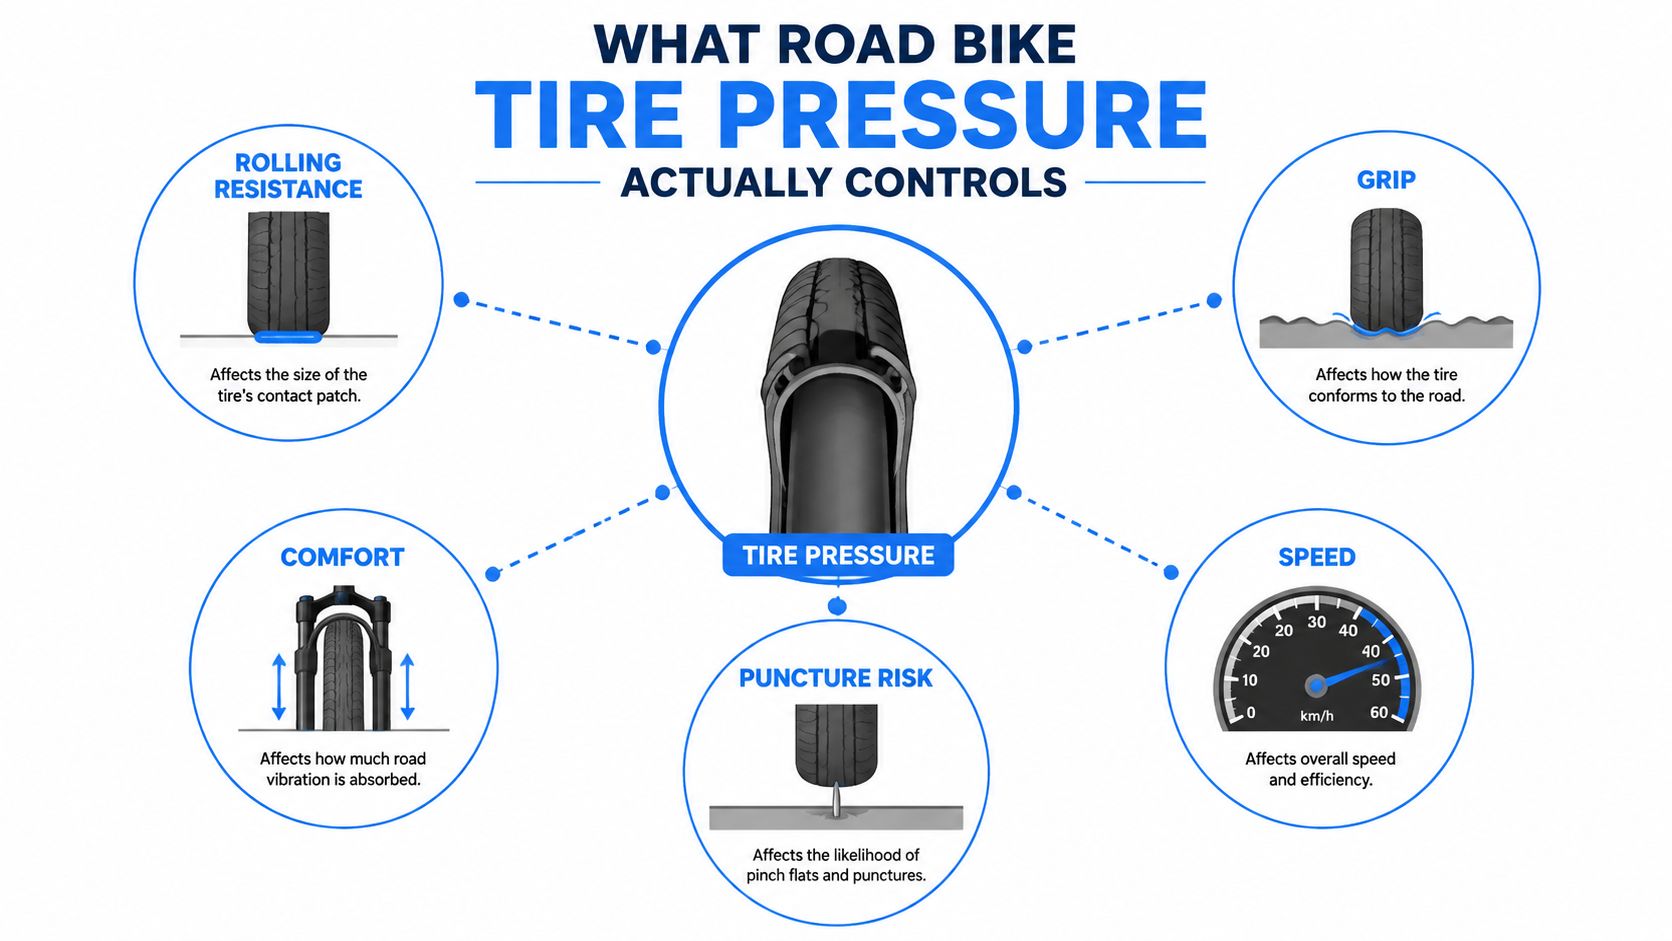
The useful way to think about road bike tire pressure is as a balance between rolling resistance, grip, comfort, support, and puncture or impact risk. Older road-bike habits were built around narrower tires and very firm pressures, but modern road setups are shaped by wider tires, wider rims, better casing design, and closer attention to real-road losses rather than parking-lot feel.
Practical rule: there is no magic pressure number that works across bikes, tires, and roads. There is only a defensible starting point, followed by careful refinement.
The inputs that matter first
Start with the variables that move the answer most:
-
Total system weight, not body weight alone
-
Measured mounted tire width, not only the size printed on the sidewall
-
Tire casing construction
-
Rim internal width
-
Hooked or hookless rim design
-
Tubed or tubeless setup
-
Weight distribution across the bike
-
Surface quality and conditions
-
Manufacturer pressure and compatibility limits
Those factors matter more than habit, guesswork, or what another rider uses. A road bike with the same labeled tire size can want a meaningfully different starting pressure if the rim is wider, the casing is more supple, the rider carries more gear, or the roads are rougher.
What Decides Your Starting Pressure
System weight and weight distribution
Pressure starts with system weight, which includes the rider, bike, bottles, tools, clothing, and anything else carried on the ride. More load requires more support from the tire, but the answer is not just about total mass. Weight distribution matters too. A rider with an aggressive position, a bike with more gear loaded at one end, or a wheelset carrying different loads front to rear may need a different balance than a rider on the same tire size with a different fit and posture.
That is why copying another rider's pressure is unreliable, even when body weight looks similar. The tire only knows the load actually placed on it.
Measured tire width, rim width, and casing
The number printed on the sidewall is only part of the story. Road tires often measure wider or narrower once mounted, and that measured width can change with rim internal width. A tire that grows wider on a broader rim gains air volume and changes shape, which can change how much support it provides at a given pressure.
Casing construction matters just as much. Two 28 mm road tires can behave differently if one has a more supple race-focused casing and the other has a stiffer puncture-protected build. Tube choice also changes behavior. Butyl, latex, and TPU tubes can differ in rolling characteristics, air retention, mass, and puncture behavior, so “tubed” should not be treated as one uniform setup.
For that reason, pressure should be based on the mounted system you are actually riding, not just the label on the tire box.
Surface, setup, and manufacturer limits
Surface quality changes what the tire needs to do. Smooth tarmac, coarse chip-seal, patched roads, wet corners, and occasional broken edges all reward different amounts of compliance and support. Rough or wet surfaces may justify pressure refinement, but there is no universal reduction that works for every rider, casing, wheel, or route.
Setup also matters. Tubeless removes one important constraint, while tubes add another. Hooked and hookless rims are not interchangeable from a compatibility standpoint. Above all, manufacturer limits override any general advice or calculator output. If a tire or rim maker sets a lower maximum pressure, that limit controls the decision.
How to Build a Pressure Starting Point
Use calculators as tools, not authority
A reputable tire-pressure calculator can be useful because it forces you to account for variables such as system weight, measured tire width, surface, and wheel setup. SILCA's tire pressure calculator is one example, but any calculator output remains a starting point rather than authority over tire and rim manufacturer limits.
But a calculator is only a starting tool. It is not authority over your tire and rim manufacturers. Use the output to establish a sensible first test point, then check it against:
-
the tire's approved pressure range
-
the rim's approved pressure range
-
any wheel-system compatibility notes
-
whether the tire is approved for that specific hookless or hooked use case
-
the measured width of the mounted tire on that rim
If the calculator suggests something outside any manufacturer limit, the manufacturer limit wins.
Refine by ride feel, not old myths
Once you have a compliant starting point, refine it with short rides on your real roads. Look for how the bike behaves under braking, cornering, seated pedaling, rough pavement, and repeated impacts. The right zone tends to feel supported without becoming harsh or skittish.
Useful signs to watch:
-
If the bike feels overly harsh or unsettled across familiar rough pavement, excessive pressure is one possible contributor worth testing.
-
If the tire feels poorly supported under cornering or impacts, insufficient pressure may be one contributor, although casing, rim width, tire condition, and setup should also be considered.
-
Use repeatable behavior on familiar roads, together with manufacturer limits and the absence of impact or support problems, to refine the starting point gradually.
This is where road-specific pressure intent matters. The goal is not to mimic gravel compliance or track firmness. The goal is to support a road tire well enough for paved speed and precision, while still letting it follow real pavement.
Tubeless, Tubes, and Hookless Compatibility
Tubeless changes the constraint, not the math
Tubeless road setups remove inner-tube pinch-flat risk, which changes one of the constraints in the pressure decision. That can create more room to tune for compliance and grip, especially on imperfect roads. But tubeless does not create one universal lower-pressure target, and it does not eliminate the need for casing support, impact protection, and manufacturer compliance.
Tubed setups deserve the same level of nuance. A tire with a butyl tube may feel different from the same tire with latex or TPU, both because the material behaves differently and because riders often prioritize different tradeoffs such as feel, rolling efficiency, puncture behavior, or air retention. The right pressure is still specific to the full system.
Hookless compatibility is tire and rim specific
Hookless road compatibility is not generic. It is tire and rim specific, and riders should verify all of the following before setting pressure:
-
tire approval for hookless use
-
rim approval for that tire category and size
-
tire width
-
rim internal width
-
manufacturer maximum pressure for that exact combination
ETRTO guidance places a 5 bar, roughly 72.5 psi, maximum on road-bike hookless rims, but that does not mean every approved tire-and-rim combination may be inflated to 5 bar. Tire manufacturers and rim manufacturers can specify lower limits, and the lowest applicable limit governs the setup. That is why riders should never assume a sidewall number, a calculator result, or a general internet rule overrides the approved combination.
Just as important, do not treat hookless as a reason to simply subtract PSI from another setup. The right pressure on hookless depends on the specific tire, its approved mounted width range, the rim's internal width, the system load, and the manufacturer's stated ceiling.
How to Measure and Set Pressure the Right Way
Measure the setup you actually ride
A useful pressure workflow starts with accurate inputs. Measure the mounted tire width on the wheel you actually use, because real width can differ from the labeled size. Note the rim internal width, confirm whether the wheel is hooked or hookless, and identify whether the bike is running tubeless, butyl, latex, or TPU tubes.
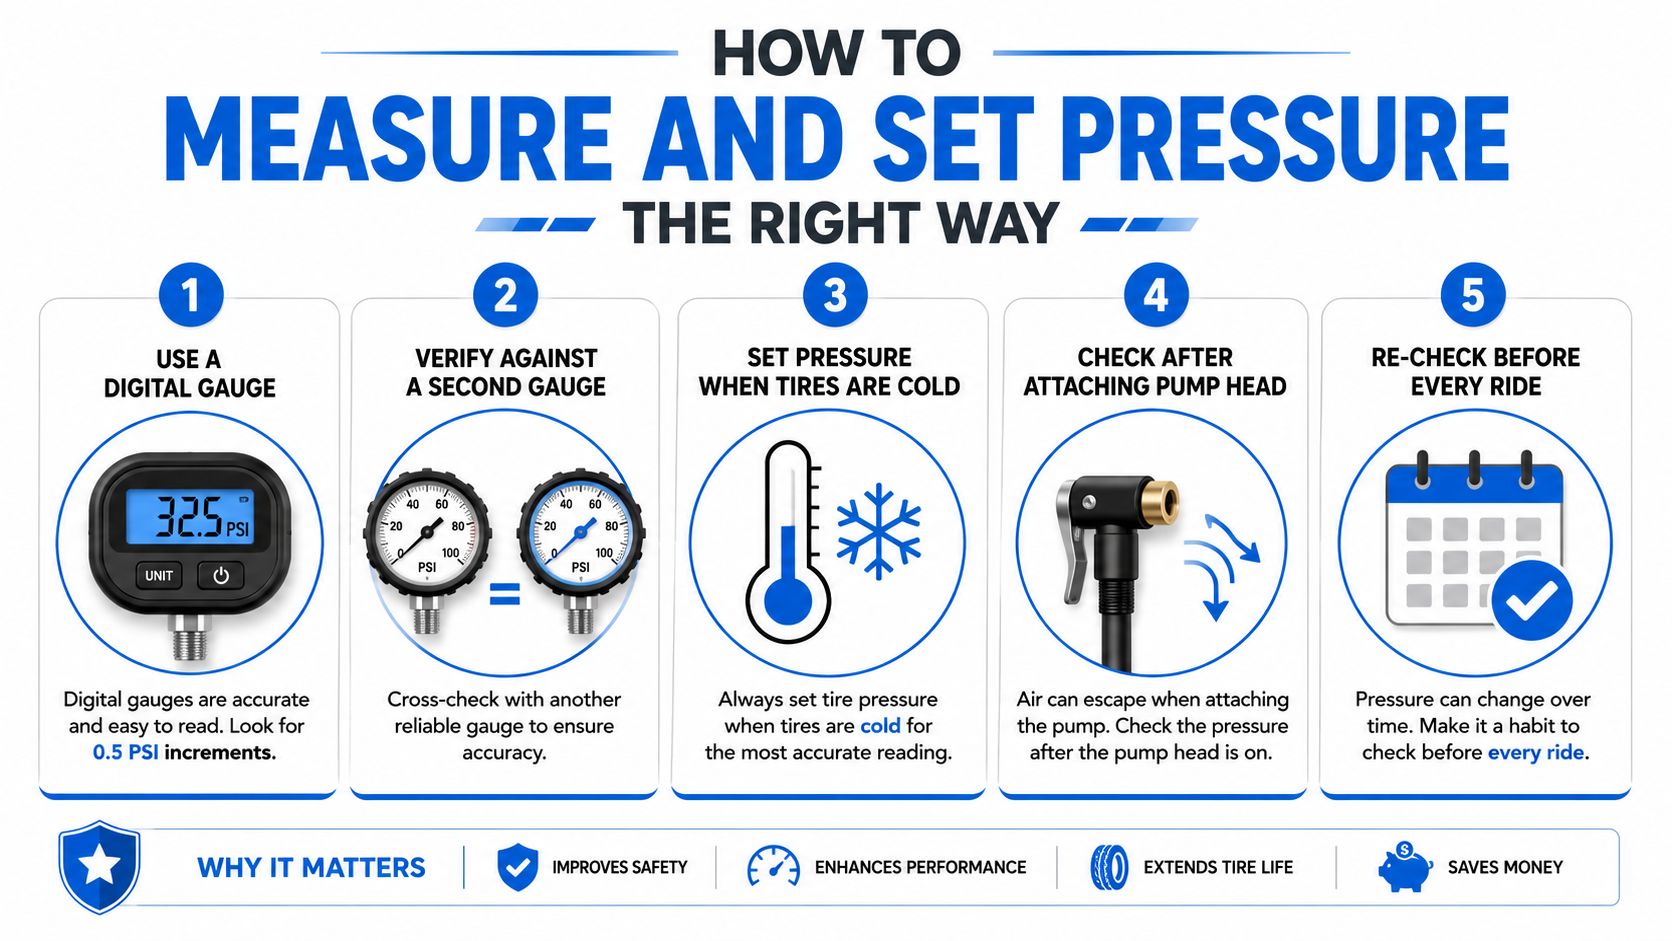
Then check the tire and rim documentation before inflation. Confirm the approved pairing and the relevant maximum pressure for the exact setup.
Use a repeatable workflow
Use a reliable gauge, ideally one you trust enough to compare against another gauge from time to time. Check pressure before riding, with the bike in a consistent state, and make adjustments in small steps so you can feel what changed.
A practical workflow looks like this:
-
Confirm compatibility between tire and rim.
-
Record the real inputs, system weight, mounted width, rim width, tube or tubeless setup, and typical surface.
-
Use a calculator to get a starting point if helpful.
-
Cap that starting point by the lowest relevant manufacturer limit.
-
Test on familiar roads and refine gradually.
-
Recheck regularly, especially if the bike sits for a while or the setup is tubeless.
The point of the workflow is repeatability. Without that, riders often confuse a pressure problem with a tire problem, a fit problem, or even a wheel problem.
Practical rule: consistency in how you measure and test matters as much as the number itself.
Common Mistakes That Quietly Hurt Road Feel and Speed
What riders get wrong most often
The most common mistake is treating the sidewall maximum as a performance target. It is a limit, not a recommendation for every rider and road. Another common error is basing pressure only on rider body weight while ignoring bottles, tools, clothing, bike mass, and other carried load.
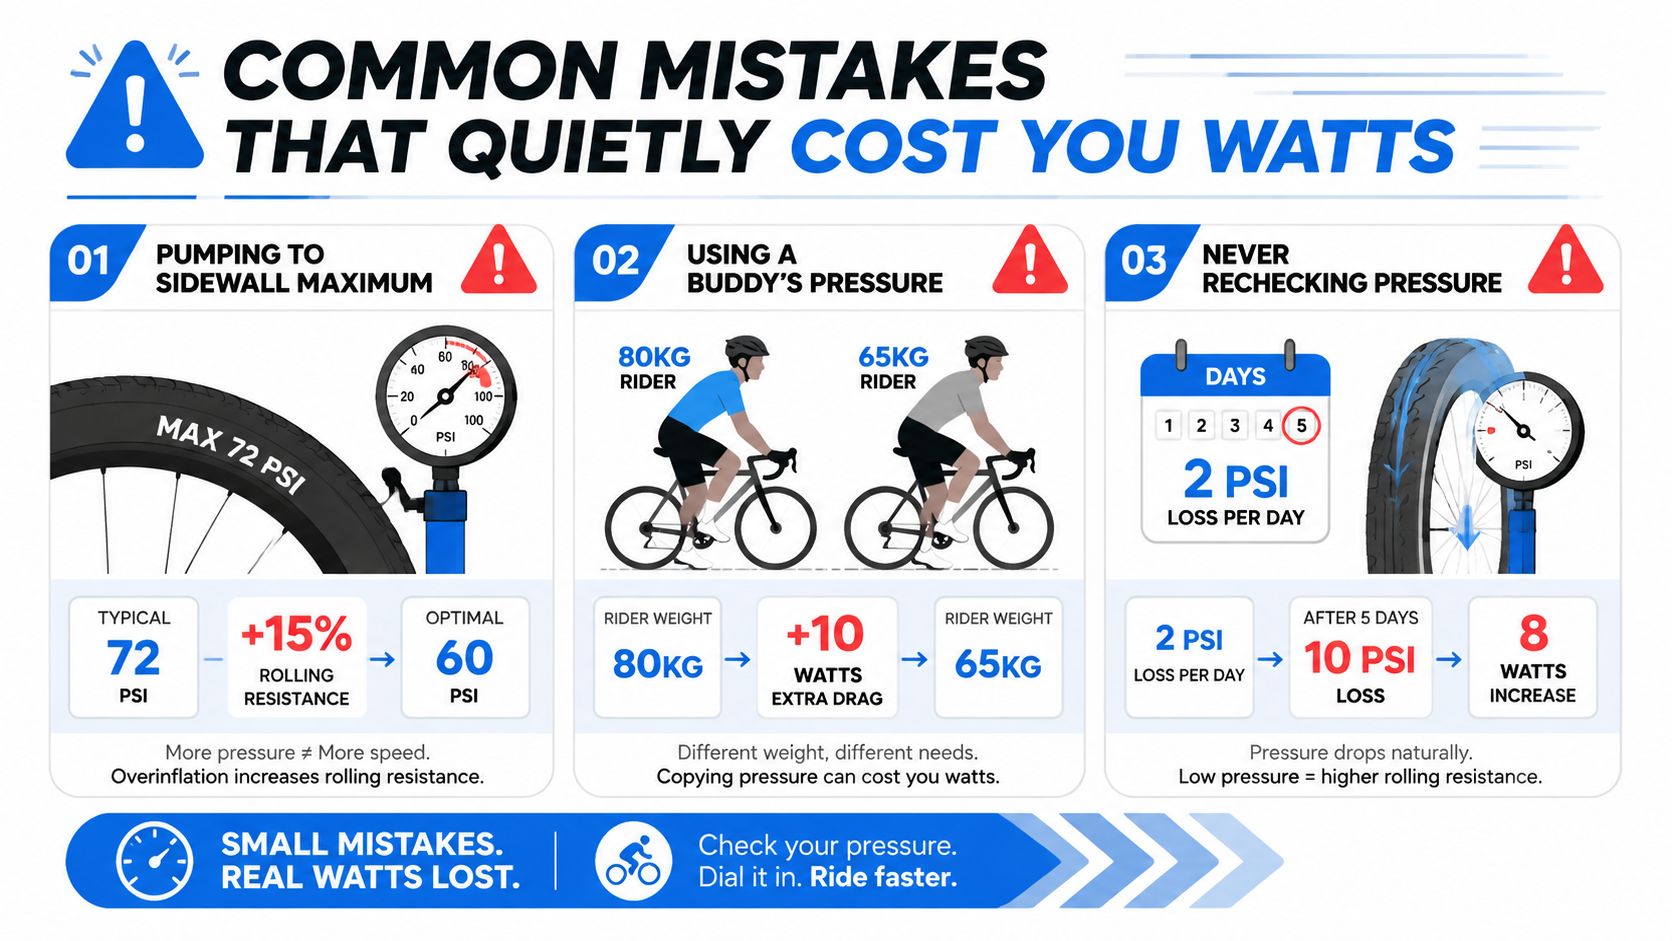
Riders also get into trouble when they rely on the tire label instead of the measured mounted width, or when they assume all 28 mm tires behave the same across different casings and rims. Hookless adds another failure point if compatibility is assumed rather than verified.
A subtler mistake is importing off-road thinking into a road setup. If your route regularly spills into rougher terrain, a dedicated gravel resource like this gravel pressure guide is the better place to go deeper. For a road bike, keep the focus on paved performance, real-world surface support, and the limits of the exact wheel and tire system you are using.
How Pressure Shapes the Bike You Should Compare
What listing details matter before you buy
Pressure is not just a workshop detail you solve after buying the bike. It is shaped by the bike's own platform, especially tire clearance, stock tire size, rim internal width, wheel compatibility, and whether the wheelset is already configured for tubeless.
That makes used-bike listings more informative than they first appear. A listing that includes wheel and tire details can tell you how much pressure flexibility the bike is likely to offer on your roads. So can clues about what has been changed, what is original, and how carefully the bike has been maintained.
SYCLR is useful here because it helps you compare listings using signals that matter before you commit, including fit signals, geometry signals, listing quality, condition signals where available, model-year context, price context, and confidence signals. If pressure range and tire compatibility matter to you, compare bikes by the details that shape the whole setup, not just the frame name or paint.
If you are shopping, start with the bike that fits your height, your riding intent, and your roads, then compare listing details that affect the tire system you can actually run. Use SYCLR to shortlist road and gravel listings, compare fit and equipment context, and filter toward bikes that give you the wheel and tire options you want.
Buying rule: the pressure options you will have later are partly determined by the bike and wheel system you choose now.
Road Bike Tire Pressure FAQs
Do wider road tires usually run less pressure?
Usually, yes, but the correct result still depends on measured mounted width, casing, rim width, load, and manufacturer limits. Wider road tires generally add air volume, which often supports the same system weight at a lower pressure than a narrower tire, but there is no universal conversion rule.
Should I change pressure for wet roads?
Sometimes, but only as a refinement based on your full setup and the surfaces you actually ride. Wet roads can reduce grip margins and make harsh or imprecise setups more noticeable, but there is no fixed wet-road reduction that applies across all road bikes and tires.
Can I use a pressure calculator and trust the result?
Use a calculator as a starting tool, not as final authority. It can help organize the right inputs, especially system weight and tire width, but it does not override tire and rim compatibility or manufacturer pressure limits.
Is any road tubeless tire compatible with a hookless rim?
No. Hookless compatibility is specific to the tire and rim combination. Verify tire approval, rim approval, permitted tire width, rim internal width, and the applicable maximum pressure before use. Do not assume that a tubeless-ready tire is automatically approved for every hookless rim.
Do tubeless road tires always run lower than tubed tires?
Not automatically. Tubeless removes inner-tube pinch-flat risk, which changes one important constraint, but the correct pressure still depends on casing support, wheel compatibility, system weight, road surface, and manufacturer limits. Tube material also matters, because butyl, latex, and TPU do not behave identically.
Should front and rear road bike tire pressure match?
Not always. Some bikes and riders do best with different pressures front to rear because load distribution is not perfectly even, but there is no universal split that suits every road bike. Treat balance as part of the overall setup, then refine through testing while staying inside approved limits.
If tire setup is part of your buying decision, use SYCLR to compare road and gravel listings using fit signals, geometry signals, model-year context, price context, listing quality, condition signals where available, and confidence signals. Then verify the exact wheel, rim, tire, and compatibility information for the bikes that make your shortlist.