
Bike Too Big or Too Small: How to Tell and What to Do

A bike is too big or too small when the frame's geometry and available adjustment range do not let you achieve a practical riding position without awkward compromises. The question is not whether the size label looks familiar. The question is whether the exact frame can be set up in a way that matches your needs, your contact points, and the limits of its components.
If you are shopping used, that distinction matters. Sellers often describe a bike as "your size" based on a brand label, a height chart, or their own experience. That can be a useful starting point, but it is not enough to make a buying decision. A frame can feel wrong because the size is off, because the current setup is poor, or because both problems are present at the same time.
The best way to judge a candidate is to separate frame mismatch from setup issue, look for clusters of fit signals instead of one symptom, and evaluate whether the cockpit and contact points can be adjusted within realistic manufacturer and component limits.
Table of Contents
- Why Bikes Feel Too Big or Too Small
- Measuring the Fit Metrics That Matter
- Signals the Bike May Be Too Big
- Signals the Bike May Be Too Small
- Adjustment Limits and When Size Must Change
- Buyer Workflow for Road and Gravel Listings
- Common Sizing Myths and How SYCLR Helps
Why Bikes Feel Too Big or Too Small
A bike can feel oversized, undersized, or simply awkward for reasons that are easy to confuse. Frame geometry sets the basic relationship between the bottom bracket, saddle area, and front end. Setup determines how close that frame comes to your intended position. When those two layers get mixed together, buyers often blame the wrong thing.
Start with three checks: practical mounting and stopping clearance, the stack and reach relationship of the frame, and the setup required to place the saddle and controls in a usable position. Do not diagnose frame size from one symptom or one formula.
The number printed on the seat tube is a legacy sizing convention. It does not reliably tell you how one frame compares with another brand's frame of the same labeled size. Two bikes with matching nominal sizes can place the bars and saddle in very different positions.
Check the three contact zones
Most complaints about a bike feeling too big or too small trace back to three contact areas:
Foot to pedal: crank length, cleat position, and saddle height affect how naturally you pedal.
Sit bones to saddle: saddle height and fore-aft position contribute to the rider's pedaling and seated contact-point position.
Hands to bar: frame stack, frame reach, stem, spacers, bar reach, and hood position shape the cockpit.
Standover is practical clearance context, not a universal seated-fit or pass/fail metric. It can help you judge whether mounting, stopping, and standing over the bike feel workable, but it does not confirm that the seated riding position is right.
Height-only charts can help narrow a search, but they do not capture the differences between frame geometries, cockpit parts, or rider preferences. That is why geometry and setup have to be evaluated together.
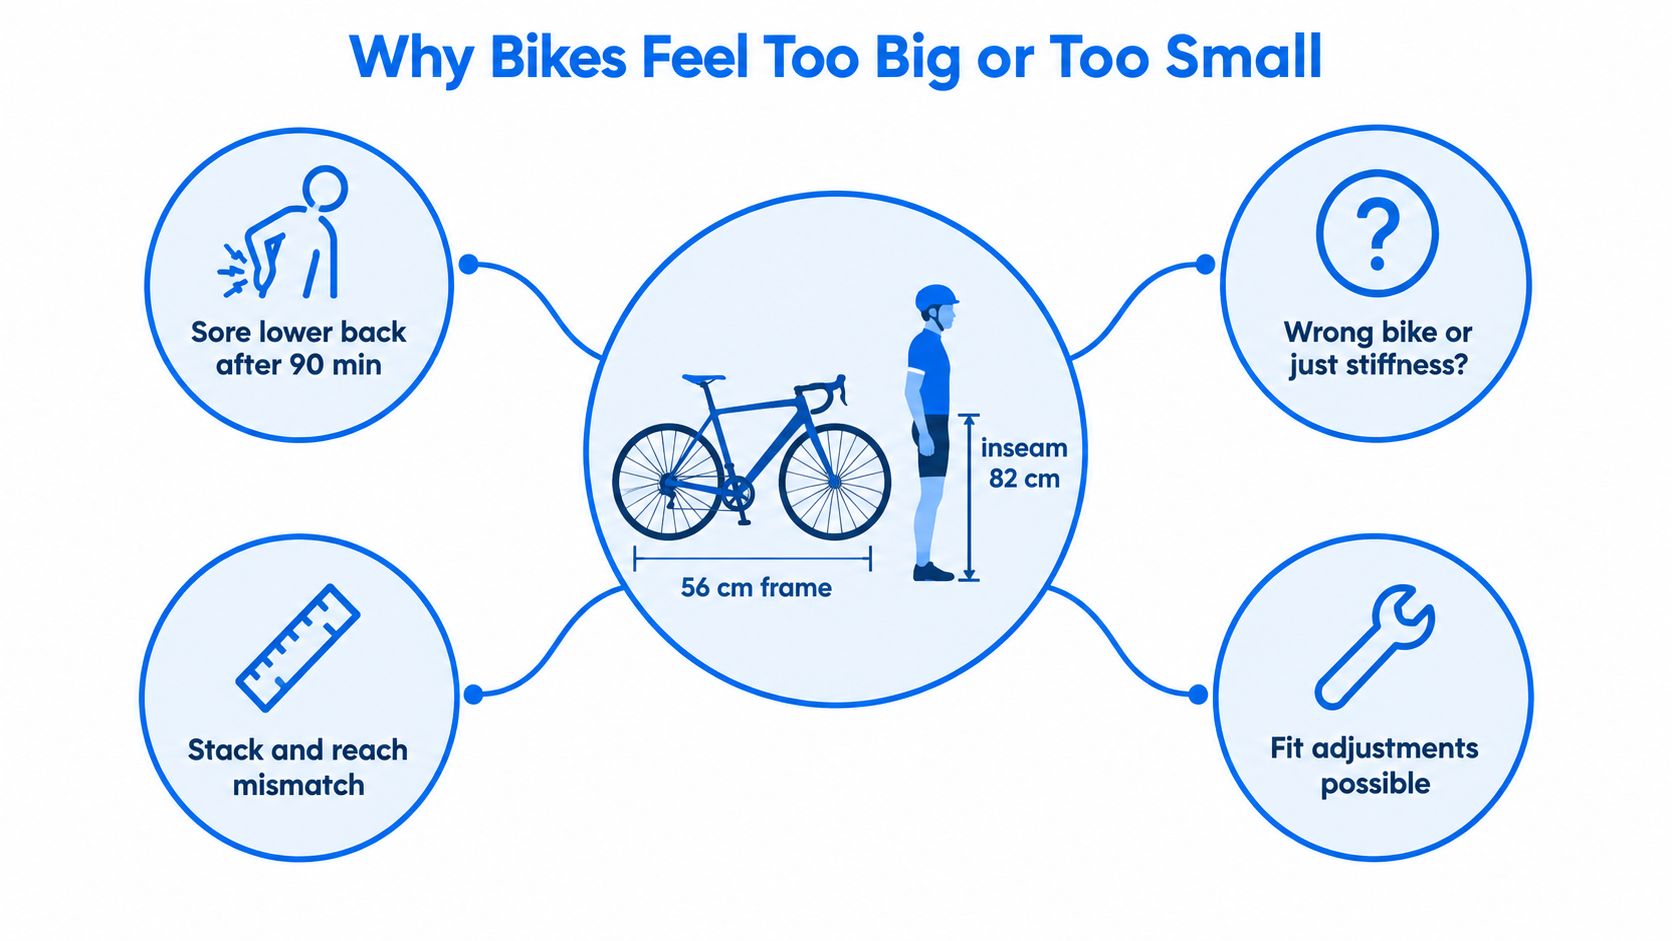
Why labels fail buyers
Practical rule: Treat the size label as a search filter, not a buying decision.
For a deeper explanation of why matching labels can still produce different positions, use SYCLR's guide to why bike sizes differ between brands. The better decision comes from exact geometry, model-year context, and the setup required to make the bike usable.
Measuring the Fit Metrics That Matter
Measure in a fixed order. Begin with basic rider inputs, then confirm the exact frame, then assess how saddle position and cockpit setup interact. Do not start with a chart and assume the label is precise.
Start with basic rider inputs and practical clearance
Height and inseam can be useful starting inputs when you begin a search, especially if you have no current reference bike. They help narrow a shortlist, not determine final fit from a formula.
Before going deeper, confirm the bike is level, the tires are inflated, and the seller has identified the exact model, model year, and labeled size correctly. Then evaluate practical clearance while mounting, stopping, and standing over the bike. Standover is practical clearance context, not a universal seated-fit or pass/fail metric.
A sloping top tube, unusual frame design, or different tire size can change how a bike looks at first glance, which is why standover should be read alongside geometry rather than treated as a standalone answer.
Set saddle position before judging the cockpit
Establish saddle position so it supports pedaling first. That means using saddle height and fore-aft position to create a stable pedaling setup rather than using the saddle to compensate for a frame that feels too long or too short.
Saddle position should primarily support pedaling position, not compensate for cockpit reach. Do not diagnose too-big or too-small from saddle fore-aft alone. A saddle pushed forward or backward may reflect a rider trying to work around a poor setup, a poor frame match, or a misunderstanding of where the saddle should have been set in the first place.
Once the saddle is placed for pedaling, then judge the relationship to the bars. That sequence makes it easier to identify whether the real issue is cockpit setup or frame geometry.
Read the geometry chart
The geometry chart gives you the useful numbers:
Stack is the vertical distance from the bottom bracket to the top of the head tube.
Reach is the horizontal distance between those points.
Effective top tube is supporting frame-proportion context.
Head-tube length helps explain front-end height, although spacers, stem choice, and bar setup also affect final bar position.
Stand-over height helps describe practical clearance.
Canyon's road-bike geometry explanation defines stack, reach, and stand-over in these terms. Use SYCLR's stack and reach guide when comparing geometry charts across brands, especially when labels do not line up.
The strongest comparison is usually the exact model, year, and size geometry of the candidate bike against a known-good reference. That reference might be your current bike, a previous bike that fit well, or measurements from a professional fit if you have them.
Signals the Bike May Be Too Big
A frame that is too large usually reveals itself through a cluster of signals, not one symptom. One issue by itself may come from bar position, hood angle, stem choice, or a poor seller setup. The stronger case appears when multiple fit signals point in the same direction.
Useful signals include:
The exact model, year, and size geometry differs meaningfully from your known-good reference in ways that make the intended position harder to reproduce. If both stack and reach move the front end away from your established position, the frame deserves scrutiny.
Practical mounting and stopping clearance feels awkward. That does not prove the seated fit is wrong, but it can be a meaningful warning sign when combined with geometry mismatch.
The required cockpit setup starts looking extreme or impractical. If achieving your intended position demands unusual spacer use, unusual stem choice, bar changes, or hood placement that strains the rest of the setup, the frame may not be a sensible match.
Available adjustment is running out. If the seatpost, saddle rails, steerer, spacers, stem options, or manufacturer guidance leave little room to achieve the intended position, the frame may be impractical for that rider.
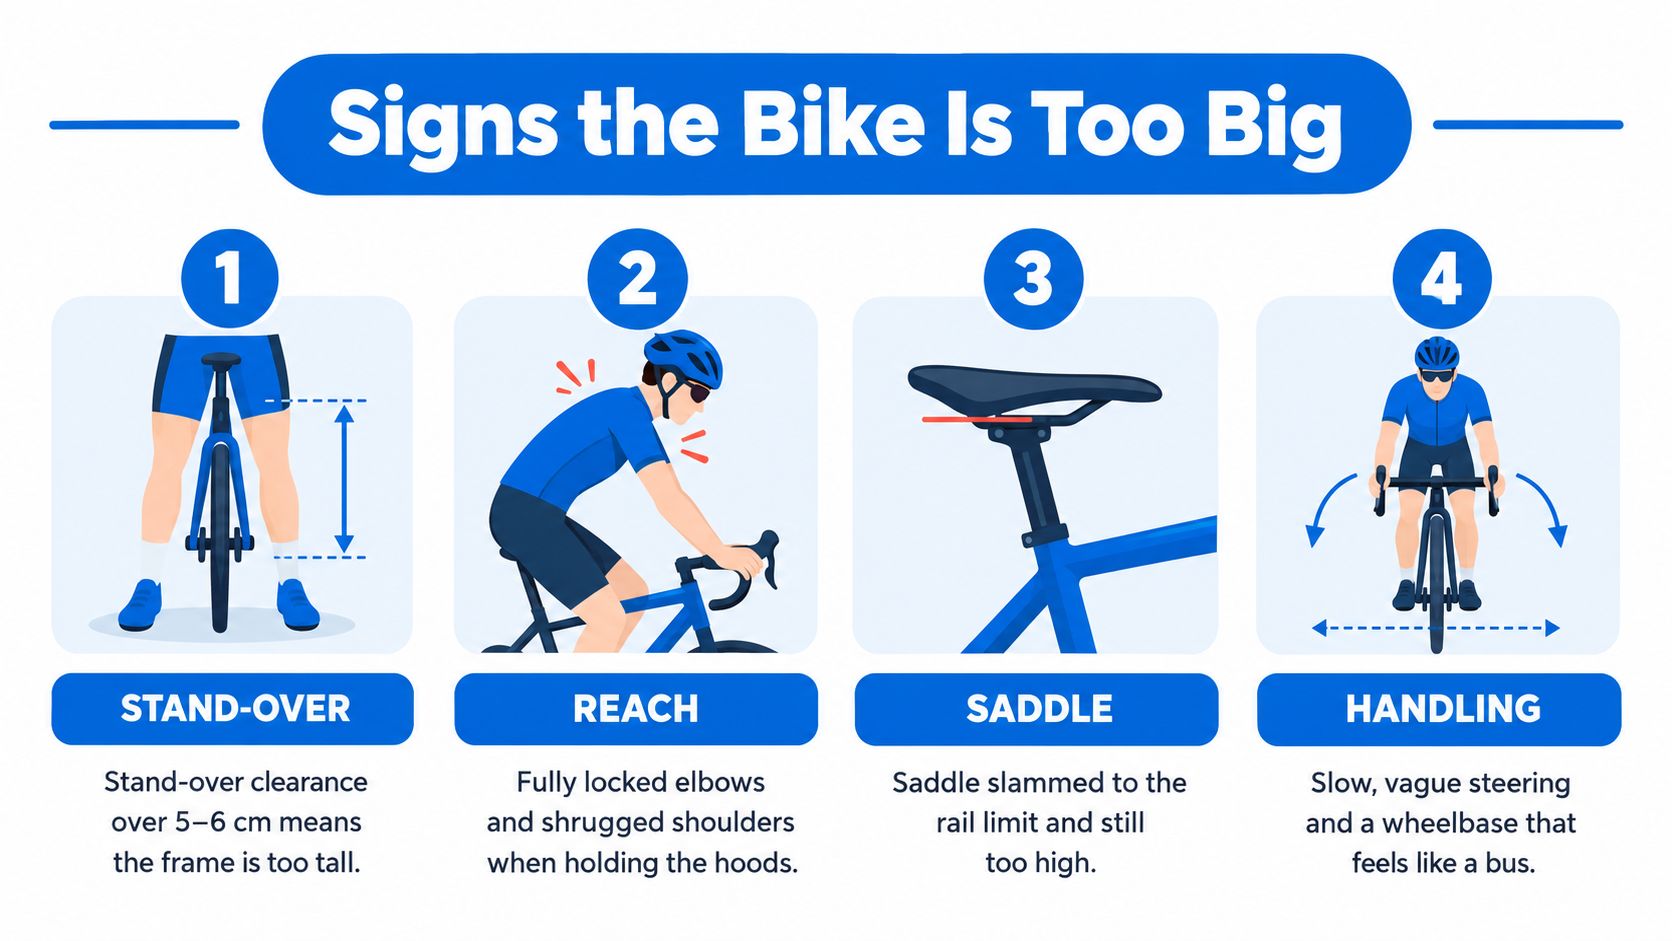
The visual above is most useful when read as a screening aid, not a universal rule. The goal is not to prove that a frame is too big from one cue. The goal is to see whether geometry, practical clearance, and required setup all point toward the same conclusion.
The National Highway Traffic Safety Administration's bicycle safety advice supports the basic point that an oversized bike can be harder to control. But for buying decisions, the more reliable method is comparing exact geometry against a known-good reference and then checking whether the remaining setup is practical.
Signals the Bike May Be Too Small
A frame that is too small also tends to show up as a cluster of signals rather than a single complaint. The issue is not that one position feels compact on a short test ride. The issue is that the exact geometry and the setup required to achieve your intended position stop making practical sense.
Look for patterns such as these:
The exact model, year, and size geometry differs meaningfully from your known-good reference in ways that make the intended position harder to reproduce. If both stack and reach move away from the position you know works, that matters more than the size label.
Practical clearance is abundant, but the seated position still requires major compromise. Extra standover by itself does not prove the frame is small, yet it can add context when the geometry is also short or low for your needs.
The cockpit must be built out to make the bike usable. If the bars, hoods, stem, and spacer arrangement all have to stretch the bike beyond a straightforward setup, that is a warning sign.
Manufacturer and component adjustment options are being consumed just to approach the intended position. When the intended position requires multiple impractical compensations or exceeds available adjustment, the frame may not be a practical match.
Separate a small frame from a poor setup
A short or low-feeling bike is not automatically too small. The seller may have chosen the wrong stem, too few spacers, bars with an unusual reach, or hood placement that shortens the usable cockpit. That is why setup has to be checked before blaming the frame.
Start by confirming the saddle is positioned for pedaling. Then evaluate the front end as a system: stem, spacers, bar reach, hood position, and any manufacturer limits on how the bike can be configured. If the setup can be normalized without awkward compromises, the frame may still be viable. If not, the frame is probably the wrong size for your intended position.
REI explains that bikes can feel cramped or stretched for reasons that relate to overall fit and control in its fit guidance for cyclists. The key point for buyers is to treat symptoms as clues, not proof.
Adjustment Limits and When Size Must Change
A frame becomes less practical when achieving the intended position requires compromises outside manufacturer or component limits, or an impractical cockpit or contact-point setup.
There is no universal recoverable window that applies to every rider, every frame, or every use case. What matters is whether the bike can be configured within manufacturer and component limits in a practical, repeatable way for the position you are trying to achieve.
What adjustments can and cannot do
A stem change, spacer change, different bar shape, or hood repositioning can refine a mild mismatch. Saddle height and fore-aft position can establish a stable pedaling setup before you judge the bars.
Those adjustments do not change the frame's underlying geometry. They also do not excuse a setup that exceeds manufacturer guidance, leaves no usable adjustment range, or creates a contact-point arrangement that is awkward to live with.
Common warning signs include:
The front end only works with an impractical cockpit setup.
The saddle or seatpost adjustment range is nearly exhausted.
The steerer, spacer arrangement, or proprietary front end limits useful changes.
Several adjustments must all be pushed at once just to approximate your target position.
A saddle setback change is often mistaken for a reach solution. It changes where your pelvis sits on the bike, but it does not move the head tube or rewrite the frame's geometry. That is why saddle position should be set for pedaling first, then the cockpit should be judged on its own terms.
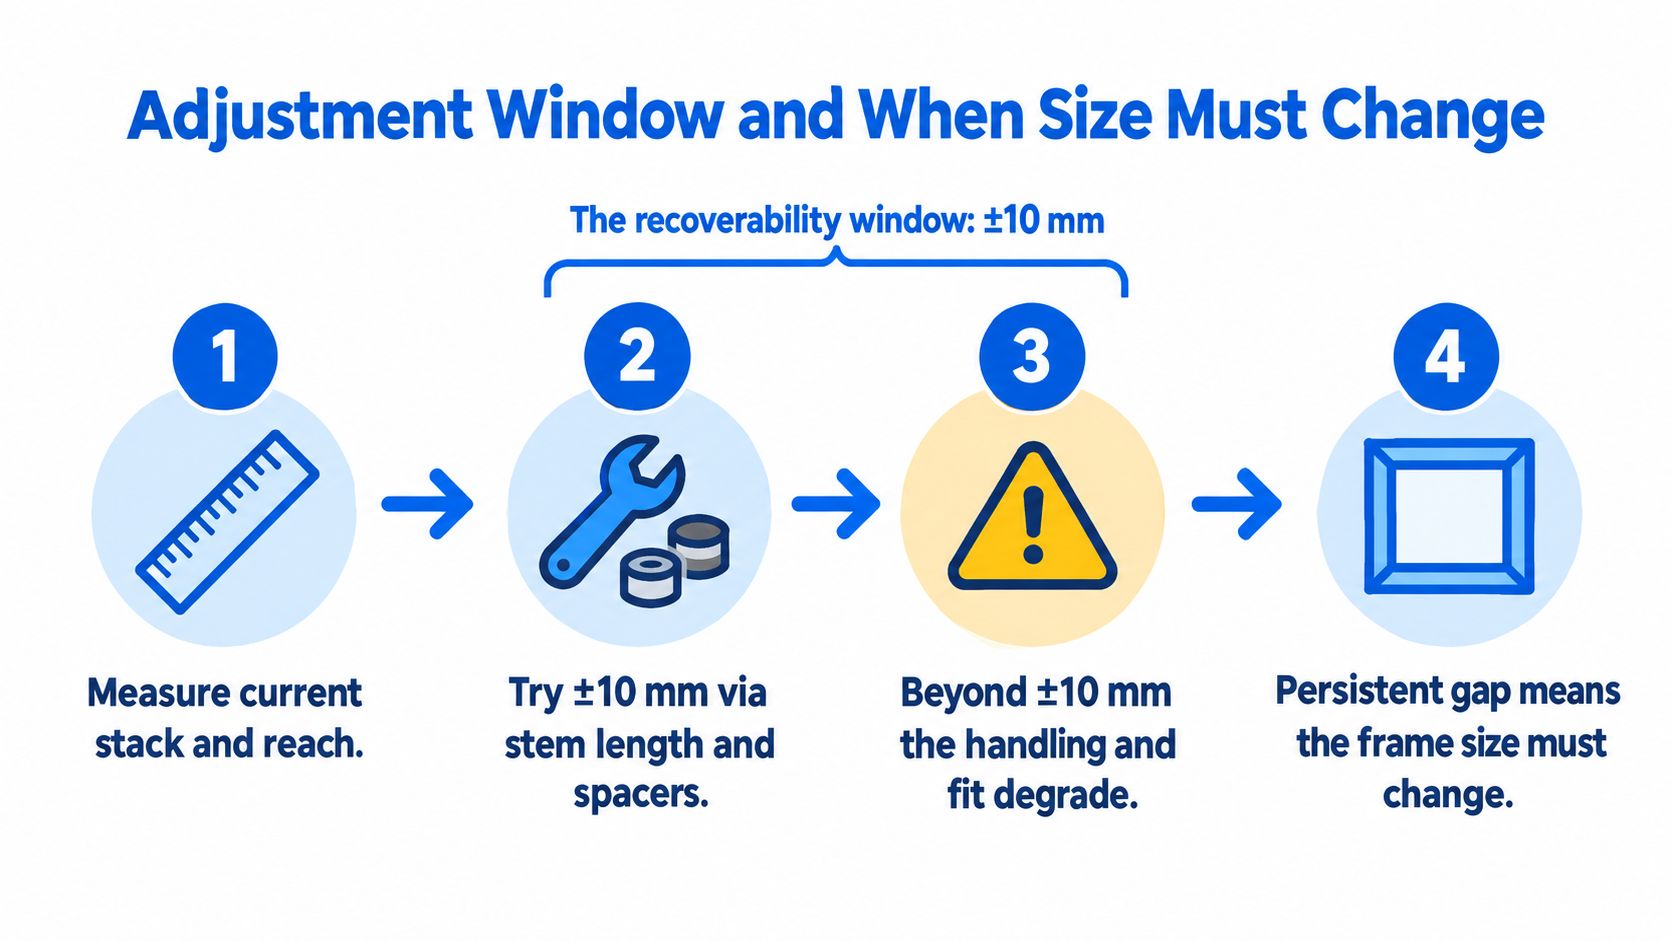
Buying rule: If the setup needed to make the bike work is impractical or exceeds the bike's available adjustment limits, reconsider the frame.
For a more focused explanation of what a stem can and cannot change, see SYCLR's guide to whether stem length can fix bike fit. The better used-bike decision is usually the simpler one: choose geometry that starts close, then use components for refinement rather than rescue.
Buyer Workflow for Road and Gravel Listings
A fit-aware shortlist starts with the exact bike, not the seller's confidence. The goal is to confirm identity, compare geometry, and judge whether the required setup is practical.
Use this listing workflow
Confirm the exact model, year, and size. Do not compare unlabeled guesses or incomplete listings.
Use height only as a starting point. It can help narrow a shortlist, but it should not make the decision for you.
Compare stack and reach with a known-good bike or professional-fit reference if available. Exact geometry is more useful than matching size labels.
Treat standover as practical clearance context. Use it to judge mounting and stopping confidence, not as a universal seated-fit rule.
Establish saddle position for pedaling, not reach correction. Judge the cockpit only after the saddle is set sensibly.
Evaluate stem, spacers, bar reach, hood position, and manufacturer limits. Look at the whole front-end setup, not one part in isolation.
If the required setup is impractical or exceeds limits, reconsider the frame. That is often the clearest sign that the size is wrong for your needs.
| Step | What to Check | What You Want to See | Reason to Reconsider |
|---|---|---|---|
| 1 | Model, year, and size identity | The listing clearly identifies the exact frame | The bike cannot be reliably compared |
| 2 | Starting size context | Height is used only to narrow options | The listing relies on label alone |
| 3 | Stack and reach | Geometry aligns with a known-good reference | The frame differs in ways setup may not solve |
| 4 | Standover and clearance | Mounting and stopping feel practical | Clearance context raises concern alongside other signals |
| 5 | Saddle position | Pedaling setup can be established first | The saddle is being used to compensate for the frame |
| 6 | Cockpit and limits | Stem, spacers, bars, and hoods can be configured sensibly | The setup becomes awkward or exceeds limits |
| 7 | Final buying decision | Frame and setup viability are reasonably clear before price and condition comparisons | The frame only works through forced compromises |
A matching size label can still hide opposite outcomes. One frame may line up closely with your reference bike, while another in the same labeled size may require awkward changes before it feels usable. That is why geometry should screen listings before price, model year, or component appeal.
Common Sizing Myths and How SYCLR Helps
Myth one, sizing up is the easy way to get comfort. Adjacent sizes often differ in both stack and reach, so sizing up does not simply raise the bars; compare exact size-specific geometry.
Myth two, the saddle can fix a long or short frame. Saddle fore-aft adjustment matters for pedaling support, but it does not replace frame geometry or move the head tube.
Myth three, every brand uses size labels the same way. They do not. A nominal size has limited meaning without stack, reach, stand-over, model-year context, and the bike's actual setup.
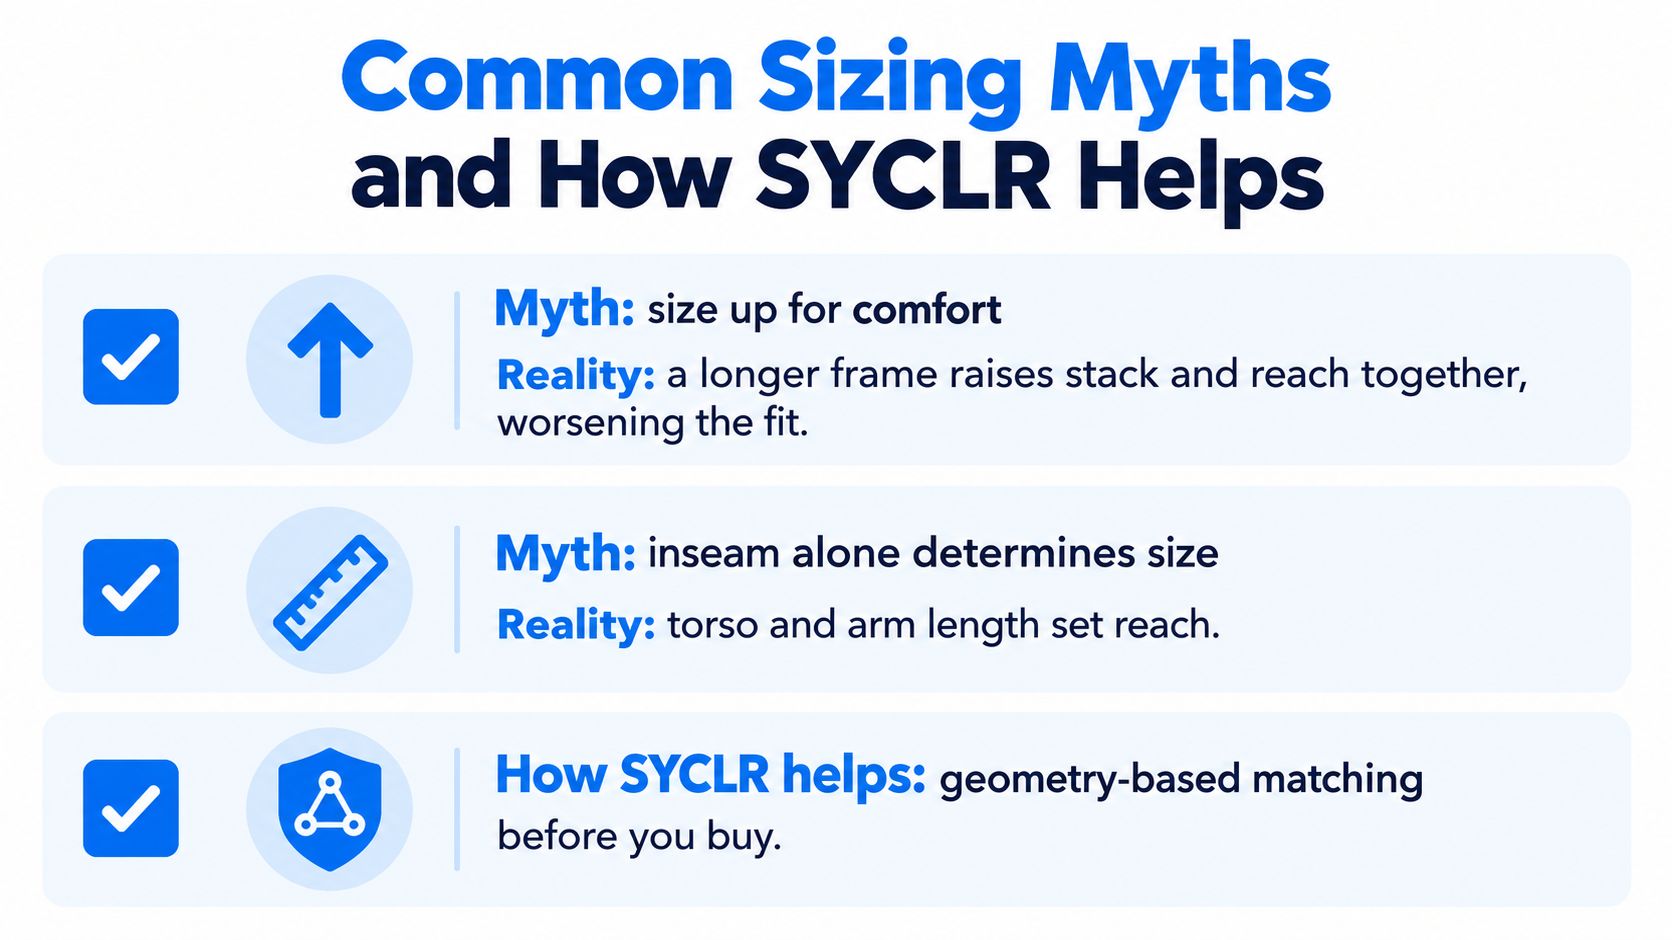
The sensible workflow is fit viability first, then model-year context, price context, listing quality, condition signals where available, and confidence signals. SYCLR helps compare road and gravel listings using fit signals, geometry signals, model-year context, price context, listing quality, condition signals where available, and confidence signals so shoppers can compare bikes more efficiently before deciding which ones are worth investigating further.
Use the SYCLR bike fit guide if you want a structured way to organize your measurements and reference-bike details before comparing listings. SYCLR does not perform a professional bike fit, physically inspect bikes, authenticate listings, verify ownership or seller claims, or guarantee fit or condition.
Start with SYCLR by entering your height, bike type, and budget, then compare geometry, model-year context, price context, listing quality, condition signals where available, and confidence signals. If you also have a known-good bike or a professional-fit reference, use that information to judge whether a listing looks naturally workable or whether it depends on compromises that make the frame less practical to own.