
Gravel Bike vs Bikepacking Bike: Which Do You Need
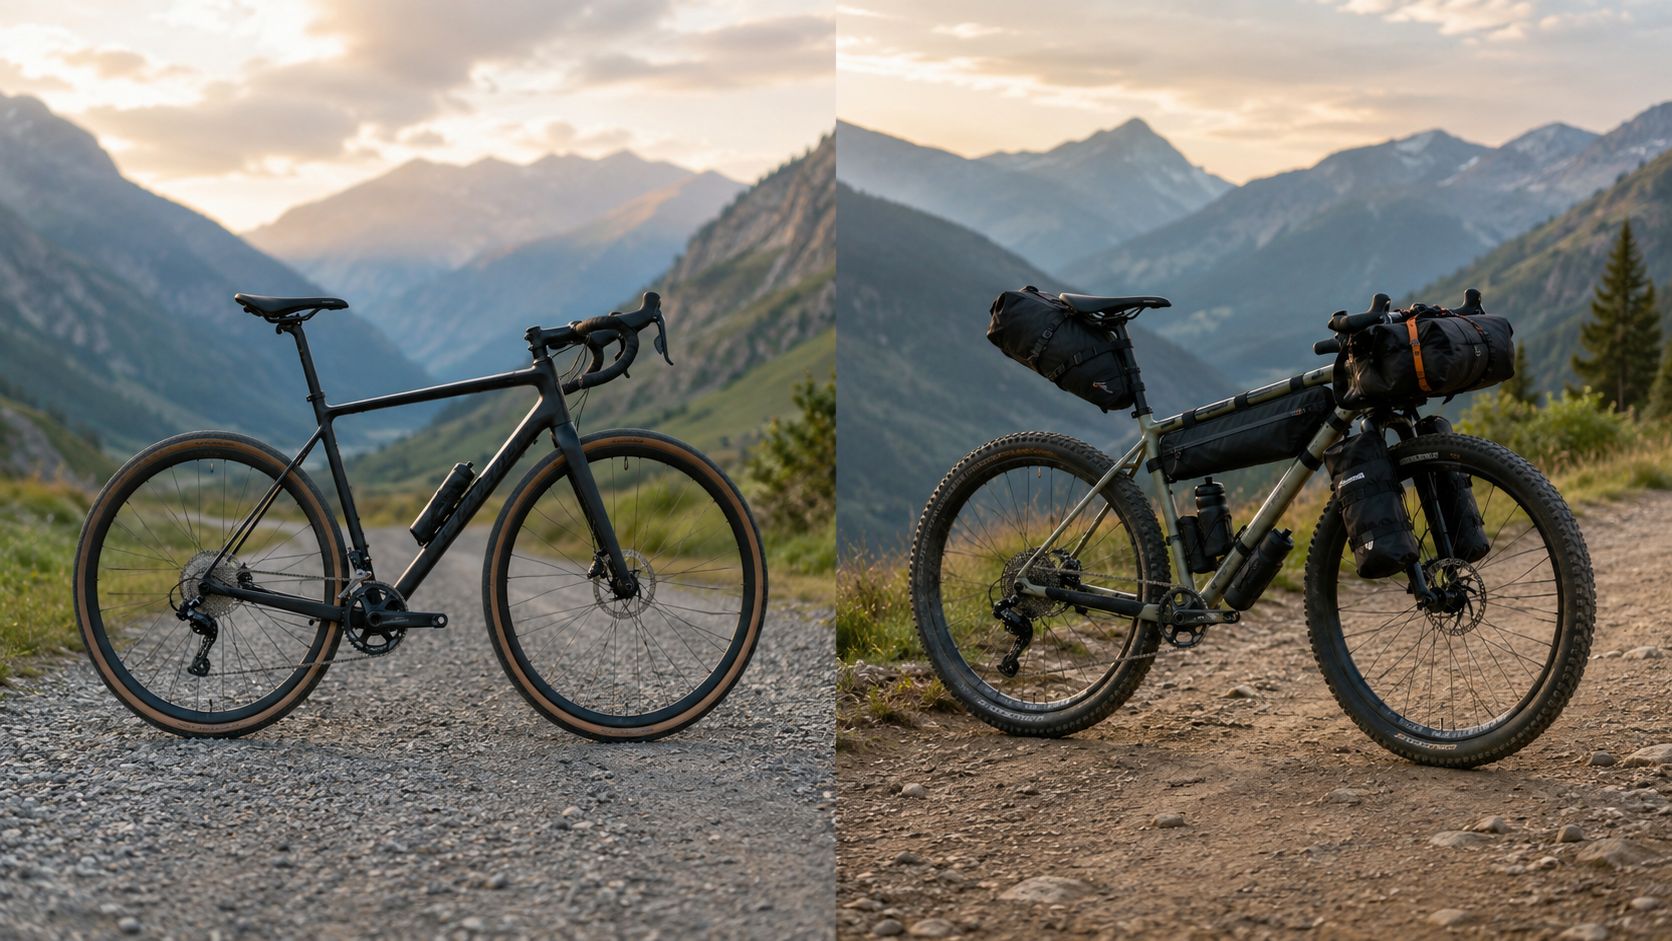
You're standing in the shop or staring at a used listing, and the bike looks close enough. The gravel bike is faster, cleaner, and easier to live with on quick rides. The bikepacking bike looks slower, more serious, and built for the kind of load you only notice after the first steep climb with food, water, and camping kit.
The wrong choice usually isn't about brand. It's about whether the frame, geometry, mounts, tires, and gearing still feel right once the bike is loaded and the route gets rough. A good deal is only a good deal if the bike fits your body, terrain, and load.
Table of Contents
What a Gravel Bike and a Bikepacking Bike Actually Are
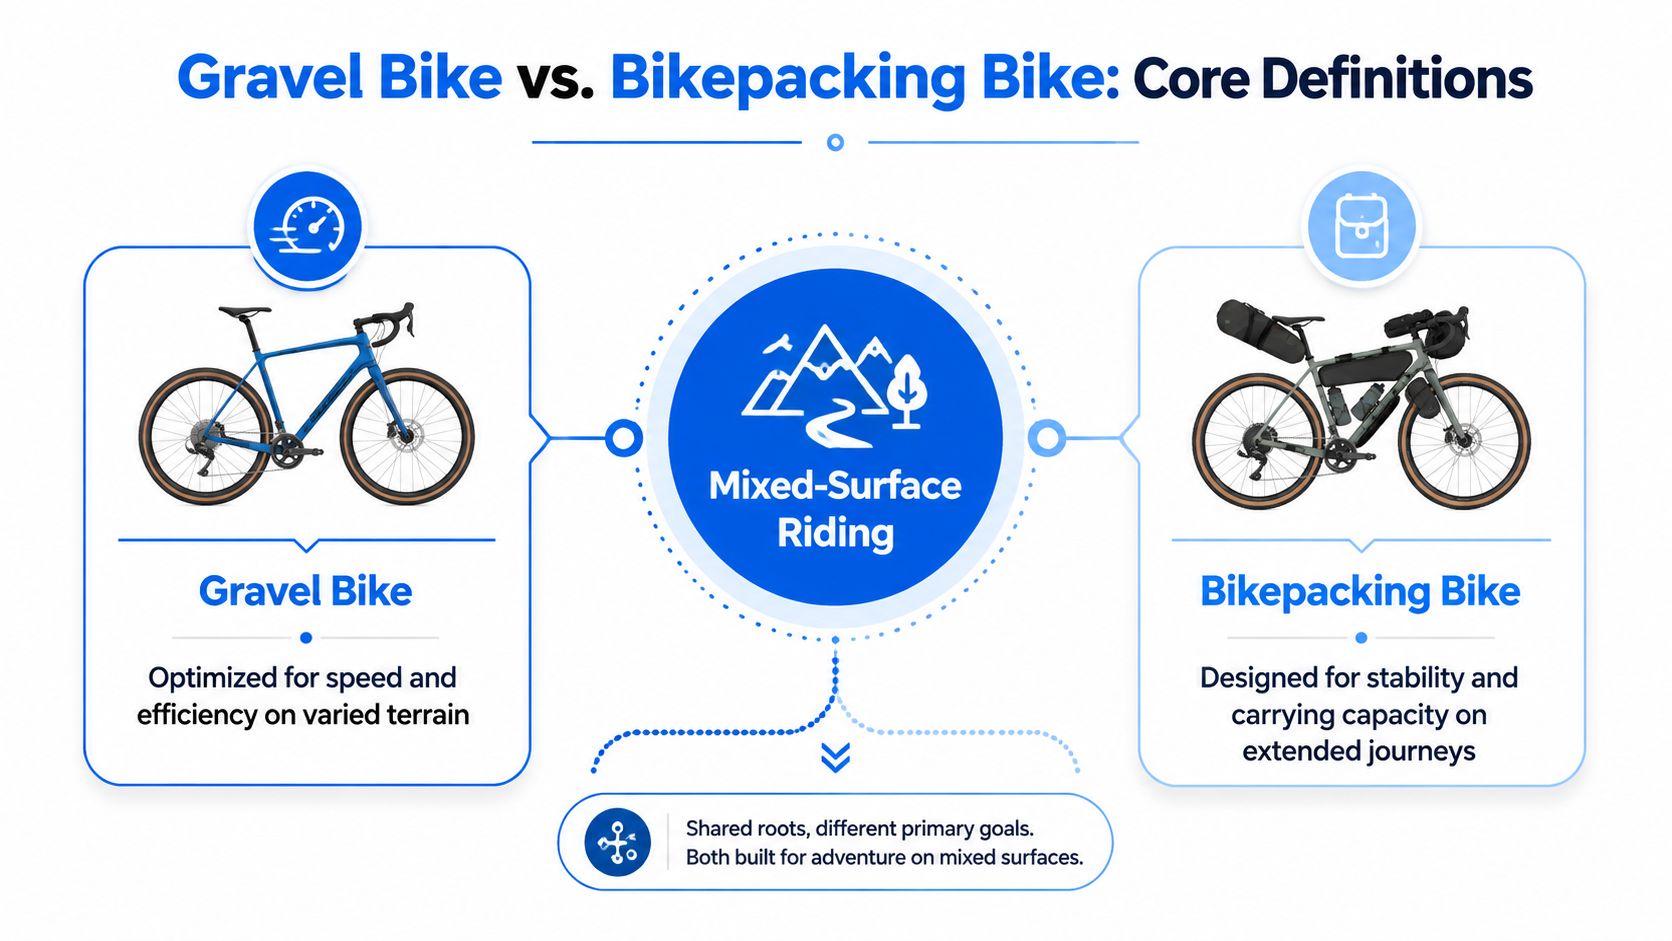
Gravel bikes and bikepacking bikes overlap heavily because “bikepacking bike” is often a use-oriented description rather than a completely separate bicycle category. A gravel, adventure, touring, or mountain bike can all serve as a bikepacking platform when the fit, gearing, tire clearance, mounts, wheel strength, and handling match the route and load.
A general-purpose gravel bike often emphasizes efficient mixed-surface riding, moderate loads, and versatility across pavement and unpaved roads. A bikepacking-oriented bike places more emphasis on carrying capacity, low gearing, durable components, wider tires, stable loaded handling, and compatibility with bags or racks. If you do not need true bikepacking-level cargo capacity and are mainly deciding between speed and broader gravel versatility, compare race gravel vs adventure gravel instead.
The useful distinction is not whether one frame officially carries the bikepacking label. It is whether the complete bike remains suitable once food, water, tools, and overnight equipment are added.
Practical rule: if the ride is mostly about speed and efficiency on mixed terrain, think gravel. If the ride is about self-supported travel with a real load, think bikepacking.
The core difference isn't just frame shape. It's intent. Gravel bikes are usually better for quicker day rides and lighter adventures. Bikepacking bikes are the stronger answer when stability under load, carry capacity, and rough-terrain control matter more than speed.
Frame Geometry and Tire Clearance Differences
A bikepacking-oriented bike may use geometry and construction intended to remain manageable with cargo, but there is no single geometry formula that separates it from a general gravel bike. Some load-oriented bikes use longer wheelbases, longer rear centers, taller front ends, or calmer steering. Other models stay relatively quick and compact.
Compare the exact:
-
stack and reach
-
wheelbase and front-center
-
chainstay length
-
trail and head tube angle
-
bottom-bracket drop
-
standover
-
cockpit dimensions
-
heel clearance
-
maximum system weight
-
rack and cargo limits
Do not assume that a taller stack or shorter reach automatically makes a bike better for bikepacking. The correct position still depends on the rider, handlebar setup, trip duration, terrain, and load distribution.
Tire clearance matters because wider tires may provide more traction, impact protection, and control on rough terrain. However, there is no universal gravel-versus-bikepacking tire-width cutoff. Verify the manufacturer’s stated front and rear clearance for the exact wheel size, rim width, frame size, and model year.
| Decision factor | General gravel bike | Bikepacking-oriented bike | What to verify |
|---|---|---|---|
| Geometry | May prioritize mixed-surface efficiency or versatility | May prioritize loaded stability and rough-terrain control | Exact stack, reach, wheelbase, trail, and front-center |
| Tire clearance | Varies widely by model | May provide greater tire volume | Official front and rear limits |
| Wheel size | Commonly 700c, sometimes 650b compatible | May support multiple wheel and tire combinations | Manufacturer compatibility |
| Chainstay and heel room | Model dependent | May provide more bag, tire, or heel clearance | Frame size, crank position, and bag setup |
| Cockpit position | Can range from aggressive to upright | Can range from drop-bar to flat-bar and upright | Sustainable rider position with cargo |
| Load rating | Often not a headline feature | May publish clearer cargo or system limits | Maximum rider, bike, and cargo weight |
The geometry changes that actually matter
For a side-by-side geometry read, use SYCLR's compare bike geometry page and look at the numbers with your actual route, not just the model name.
Mounting Points and Load-Carrying Features
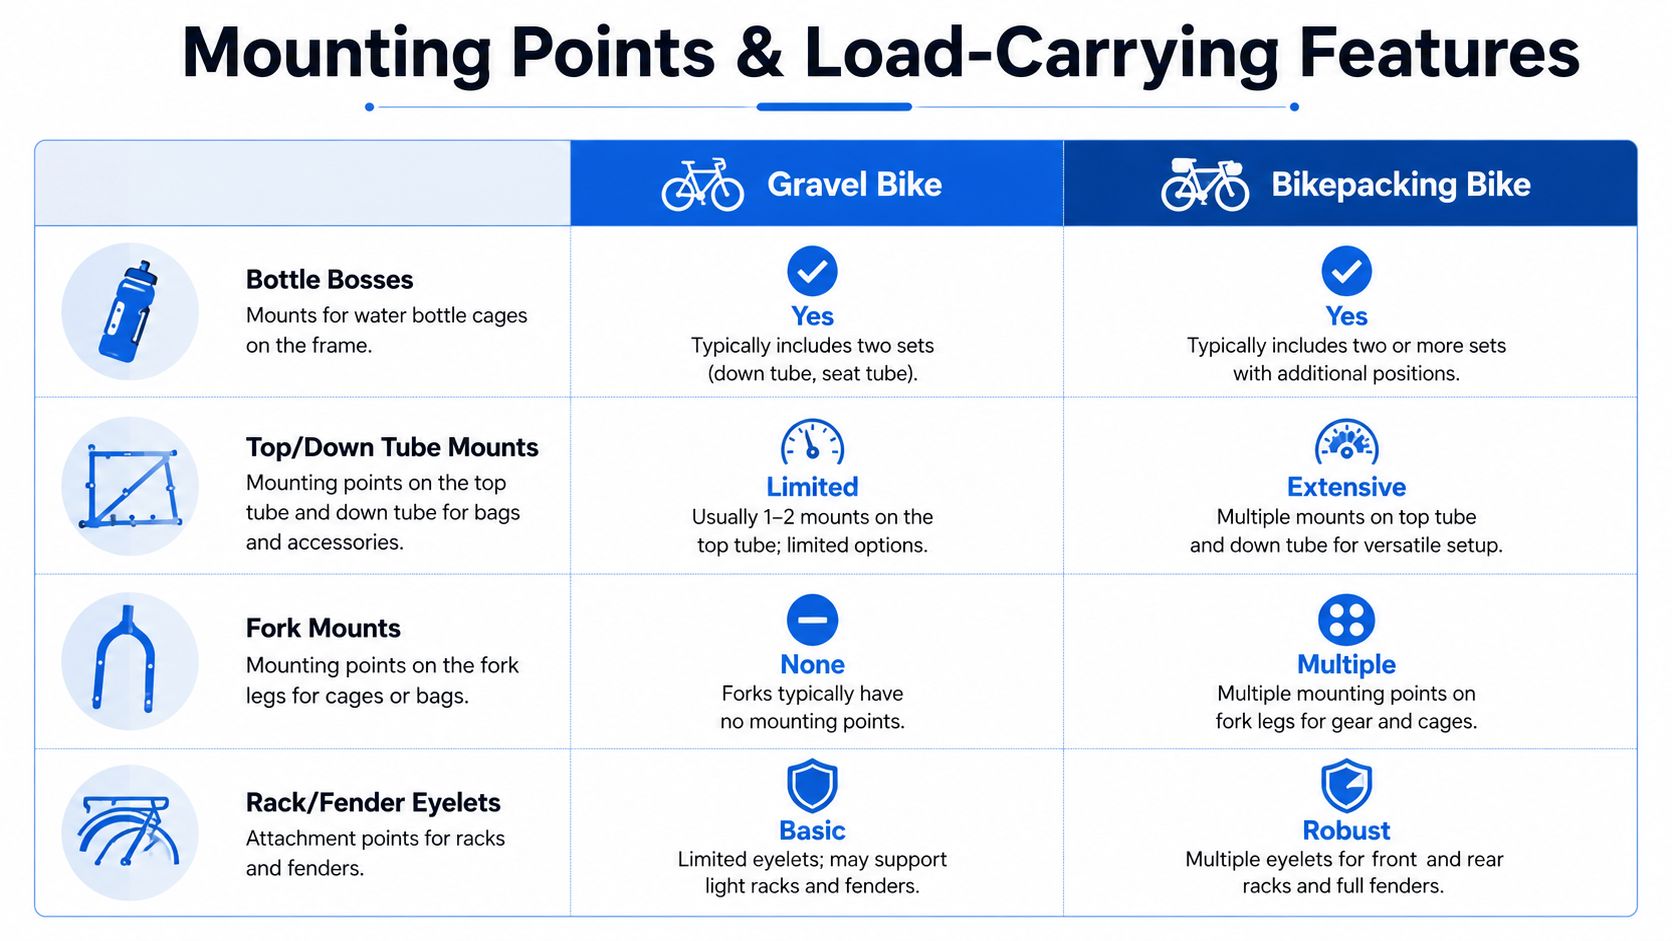
Mounting points affect how easily a bike can carry water, bags, racks, fenders, and repair equipment, but a frame does not need every possible boss to work for bikepacking.
Check for:
-
bottle-cage mounts
-
top-tube mounts
-
under-down-tube mounts
-
fork mounts
-
rack and fender eyelets
-
space for a frame bag
-
handlebar-roll clearance
-
seat-pack clearance
-
heel clearance
-
manufacturer cargo limits
Bolt-on accessories can reduce movement and simplify installation, while well-designed strap-mounted bags can also work effectively. The better system depends on the route, cargo weight, bag design, frame protection, and how securely the equipment is installed.
More mounts do not automatically make a bike better. Their placement, thread condition, load limits, and compatibility with the rider’s intended bags matter more than the total number.
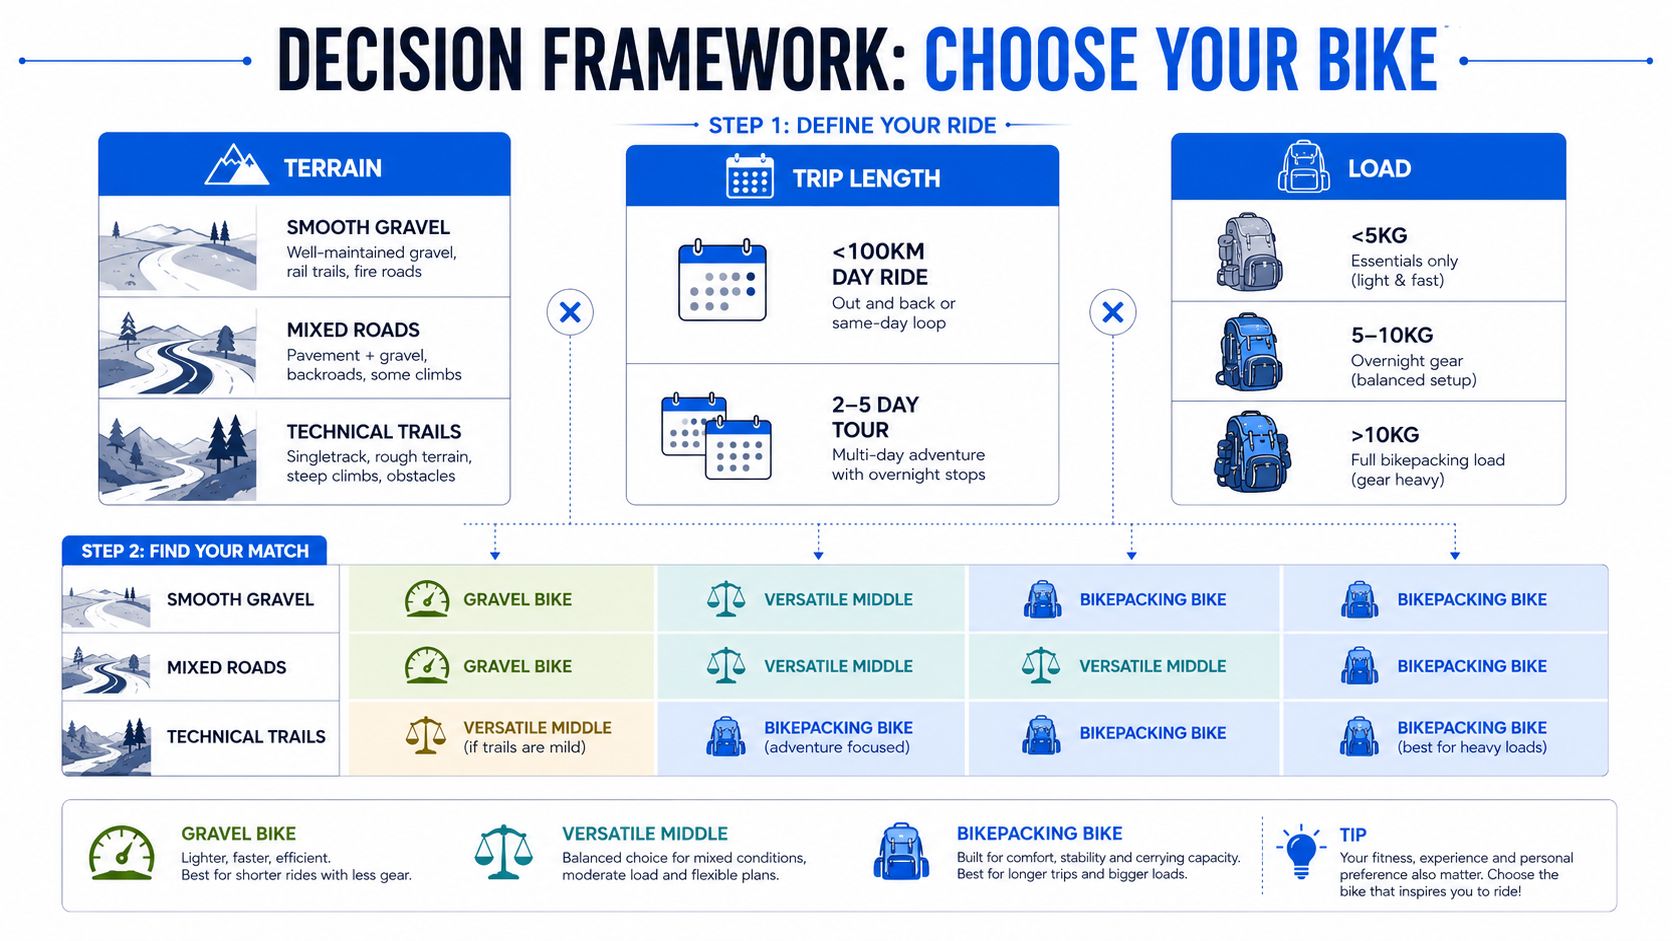
A useful visual reference is the comparison graphic below, and the bikepacking load discussion in this loaded-bike setup video shows how much the frame hardware matters once you start carrying real kit.
Gearing Brakes and Tire Width Working Together
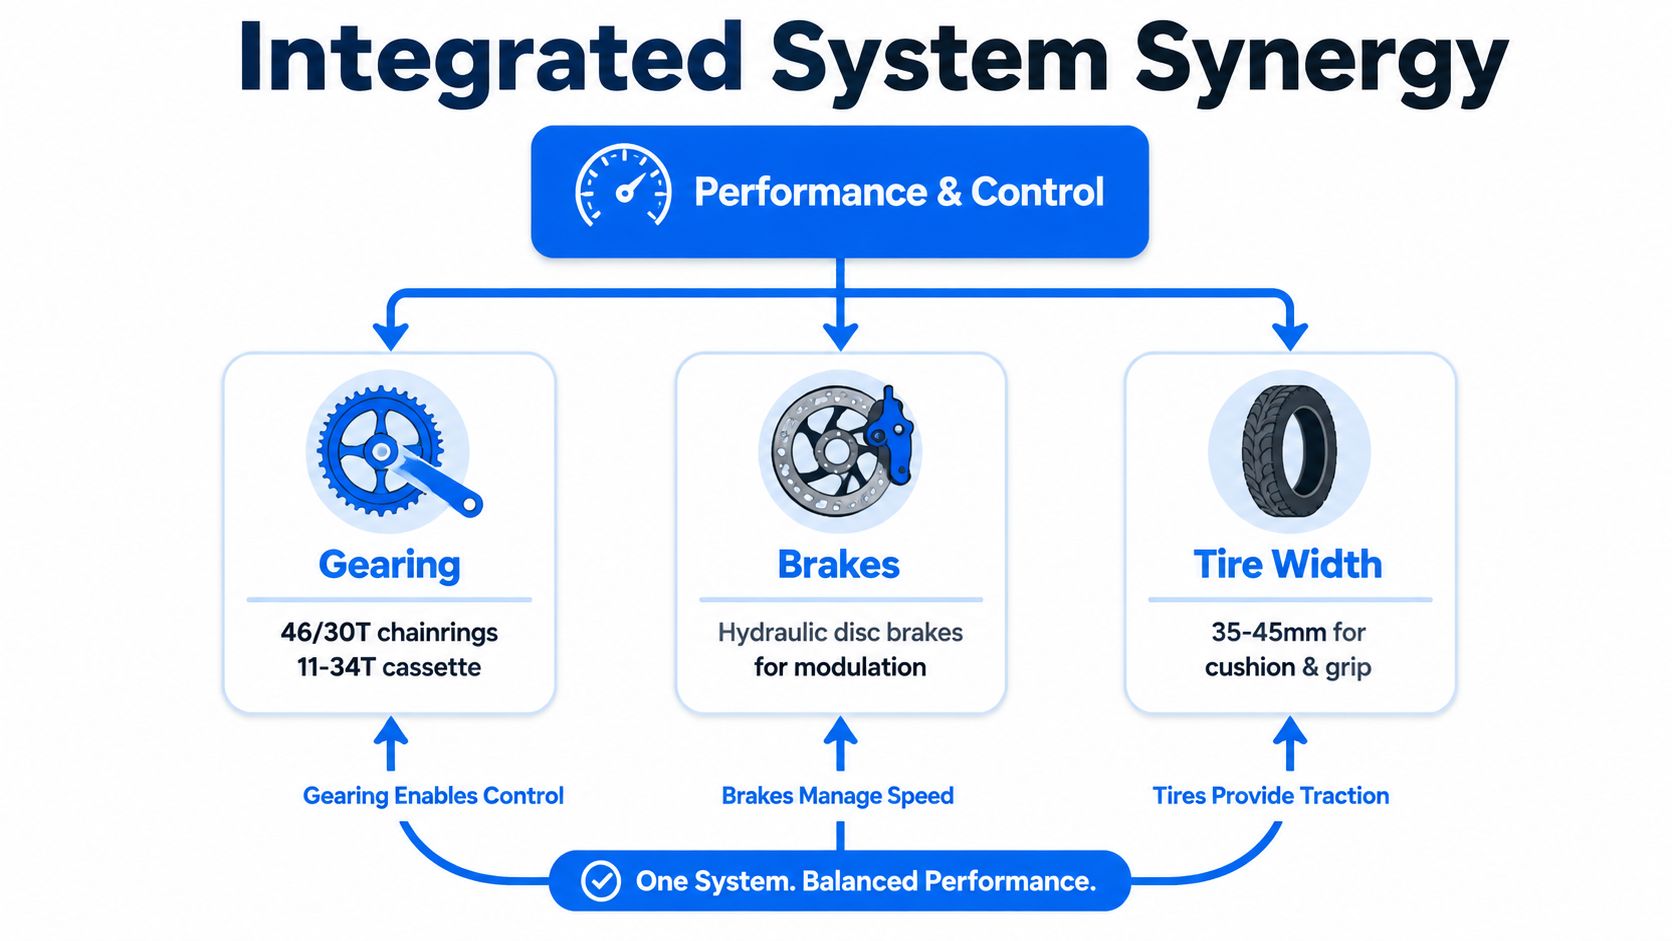
Gearing, brakes, and tires are one system. Treating them as separate spec lines is how buyers end up with a bike that looks right on paper and feels wrong on a climb with baggage.
Why the drivetrain has to match the load
Loaded riding can increase the value of lower climbing gears, wider tires, dependable braking, and durable wheels. The correct setup depends on total system weight, gradient, terrain, trip length, rider strength, and the amount of equipment being carried.
A general gravel drivetrain may be entirely suitable for light bikepacking. For steeper, rougher, or heavily loaded routes, compare the lowest gear rather than relying on drivetrain branding alone. Check the chainring, cassette range, derailleur capacity, and whether replacement parts are practical to obtain.
Both mechanical and hydraulic disc brakes can be appropriate when correctly specified, maintained, and matched to the intended load. Evaluate brake condition, rotor size allowed by the frame and fork, pad availability, service access, and the rider’s maintenance preferences.
Tires, brakes, gearing, wheels, and cargo placement should be considered together. A bike with sufficient frame mounts can still be a poor travel platform if the wheels, gearing, brakes, or manufacturer load limits do not suit the trip.
How Load Changes Fit Handling and Component Stress
A gravel bike that feels quick on a test ride can feel completely different after you add bags, food, water, and a sleep system. That's the part most buyers underestimate. The bike doesn't just get heavier, it changes how your body sits on it and how the frame reacts underneath you.
The weight changes the way the bike feels
Adding cargo changes total system weight, weight distribution, braking demand, wheel loading, and steering behavior. The effect depends on how much is carried and where it is placed. A large handlebar load can influence steering differently from a frame bag or rear rack load.
Inspect whether the wheels, spokes, tires, brakes, mounts, and frame are rated and suitable for the intended combined load. Do not assume a lightweight wheelset or minimalist race build is unsuitable without checking its published limits, but do not assume it is load-ready either.
Cargo does not change the frame’s stack or reach, but it can change how stable, balanced, and manageable the bike feels. Poorly distributed bags may also interfere with the rider, cables, wheels, pedals, or steering.
Fit should still be evaluated from the rider’s sustainable position, cockpit dimensions, standover, and contact points. Then assess whether the cargo arrangement leaves enough clearance and maintains predictable handling.
The best bikepacking platform is not simply the longest or most upright bike. It is the bike that fits the rider and supports the intended load, terrain, bags, gearing, tires, and service needs.
Matching Bike Type to Terrain Trip Length and Load
Use four inputs: terrain, trip duration, cargo requirements, and rider fit. If terrain is still the biggest unknown, start with our guide to the best gravel bike type for your terrain before deciding how much carrying capability you actually need.
A general gravel bike may be the stronger choice when most rides are day rides, surfaces are relatively smooth, cargo is light, and mixed-surface speed matters. A bikepacking-oriented platform may be the stronger choice when routes are remote, rough, steep, or multi-day and require additional water, food, shelter, tools, or spare equipment.
| Decision factor | General gravel bike | Bikepacking-oriented bike | Better choice when |
|---|---|---|---|
| Primary purpose | Efficient mixed-surface riding and versatility | Self-supported travel and loaded rough-terrain riding | Day-ride speed or cargo capability dominates |
| Fit | Depends on exact geometry and cockpit | Depends on exact geometry and cockpit | The rider can sustain the position for the trip |
| Tire clearance | Model dependent | May provide wider tire options | Roughness and traction needs justify more volume |
| Gearing | May suit unloaded or lightly loaded riding | May prioritize lower climbing gears | Steep grades or heavier cargo are expected |
| Mounts | Can range from minimal to extensive | Often provides more cargo attachment options | Bottles, racks, cages, or bolt-on bags are needed |
| Strap-on bags | Commonly compatible | Commonly compatible | Frame space and clearances support the system |
| Handling | May prioritize responsiveness | May prioritize stability with cargo | Load and terrain demand calmer handling |
| Wheels | Can be light or durable depending on build | May emphasize durability and load capacity | Published wheel and system limits match the trip |
| Brakes | Model and build dependent | Model and build dependent | Braking system suits total load and terrain |
| Trip duration | Strong for day rides and light overnights | Strong for extended or remote travel | Required equipment increases |
| Pavement use | Often efficient | May trade some efficiency for capability | Everyday mixed riding is the priority |
| Rough terrain | Depends on tires, geometry, and wheels | May be designed for more demanding surfaces | Rocks, loose surfaces, or remote tracks dominate |
| Maintenance | Often uses common gravel components | May favor simple or field-serviceable components | Remote repairability matters |
| Used-bike risk | Verify fit, clearance, wear, and compatibility | Verify the same plus mount, cargo, and load history | Favor the clearer listing with documented condition |
| Overall value | Strong when cargo needs are limited | Strong when carrying capability will be used | The complete bike solves the actual riding need |
Used Bike Checklist for Gravel and Bikepacking Frames
Secondhand buys are where the category choice gets expensive if you guess wrong. A used gravel bike can be a bargain, but a frame that's been loaded hard may hide stress you won't notice in a glossy listing.
What to inspect before you pay
Start with identity. Confirm the brand, model, size, approximate model year, and whether the components shown match the description. A serial number may help with identification or ownership records, but it does not by itself verify condition or legitimacy.
Inspect the entire frame and fork, including the head tube, bottom bracket area, stays, dropouts, fork crown, mounting points, and areas contacted by bags or racks. Listing photos can reveal visible wear or damage, but they cannot confirm structural condition.
Pay extra attention to mounts and threads. Stripped mounting bosses, damaged rack eyelets, cracked hardware interfaces, and steerer damage can affect compatibility or safety and should be evaluated before purchase. Wear depends on mileage, terrain, weather, maintenance, storage, crashes, cargo setup, and prior use—not simply whether the bike was marketed for bikepacking.
Buy the condition you can verify, not the condition you hope for.
Listing quality matters too. Look for full photo sets, close-ups of key areas, and clear shots of the original build. Compare the asking price to similar listings and adjust for uncertainty, not just component names. If the photos are thin and the seller is vague, the risk goes up fast.
For used gravel and adventure frames, SYCLR's used gravel bikes page is a sensible place to compare fit signals, geometry signals, and listing context before you make an offer.
How SYCLR Helps You Choose and Compare
SYCLR fits into this decision before you start jumping between marketplace tabs. You can begin with height, bike type, and budget to shortlist bikes quickly, or use the fit details entry point if you already know your stack, reach, or current-bike geometry. That's useful when you're comparing a fast gravel bike against a load-ready bikepacking build and you want the differences in front of you, not scattered across seller pages.
The platform organizes listings around fit signals, geometry signals, model-year context, price context, listing quality, and confidence signals. That matters here because the best-looking used bike isn't always the better fit once bags, terrain, and frame geometry enter the picture. SYCLR helps reduce guesswork, but it doesn't guarantee fit, replace a professional fit, verify every seller, or search every marketplace.
If you know your measurements, start with the fit details path at https://app.syclr.com/?entry=fitdetails. If you're still narrowing the category, use the main app at https://app.syclr.com to compare road and gravel listings, then shortlist the better-fit bikes with model-year and price context in view.
If you are comparing gravel and bikepacking-oriented bikes, start with your height, bike type, and budget in the SYCLR app. Compare available fit signals, geometry signals, model-year context, price context, listing quality, and confidence signals before building your shortlist.
Already know your stack, reach, current-bike geometry, or fit-report details? Use the advanced fit entry to improve your recommendations.