
Gravel Bike vs Touring Bike: How to Choose
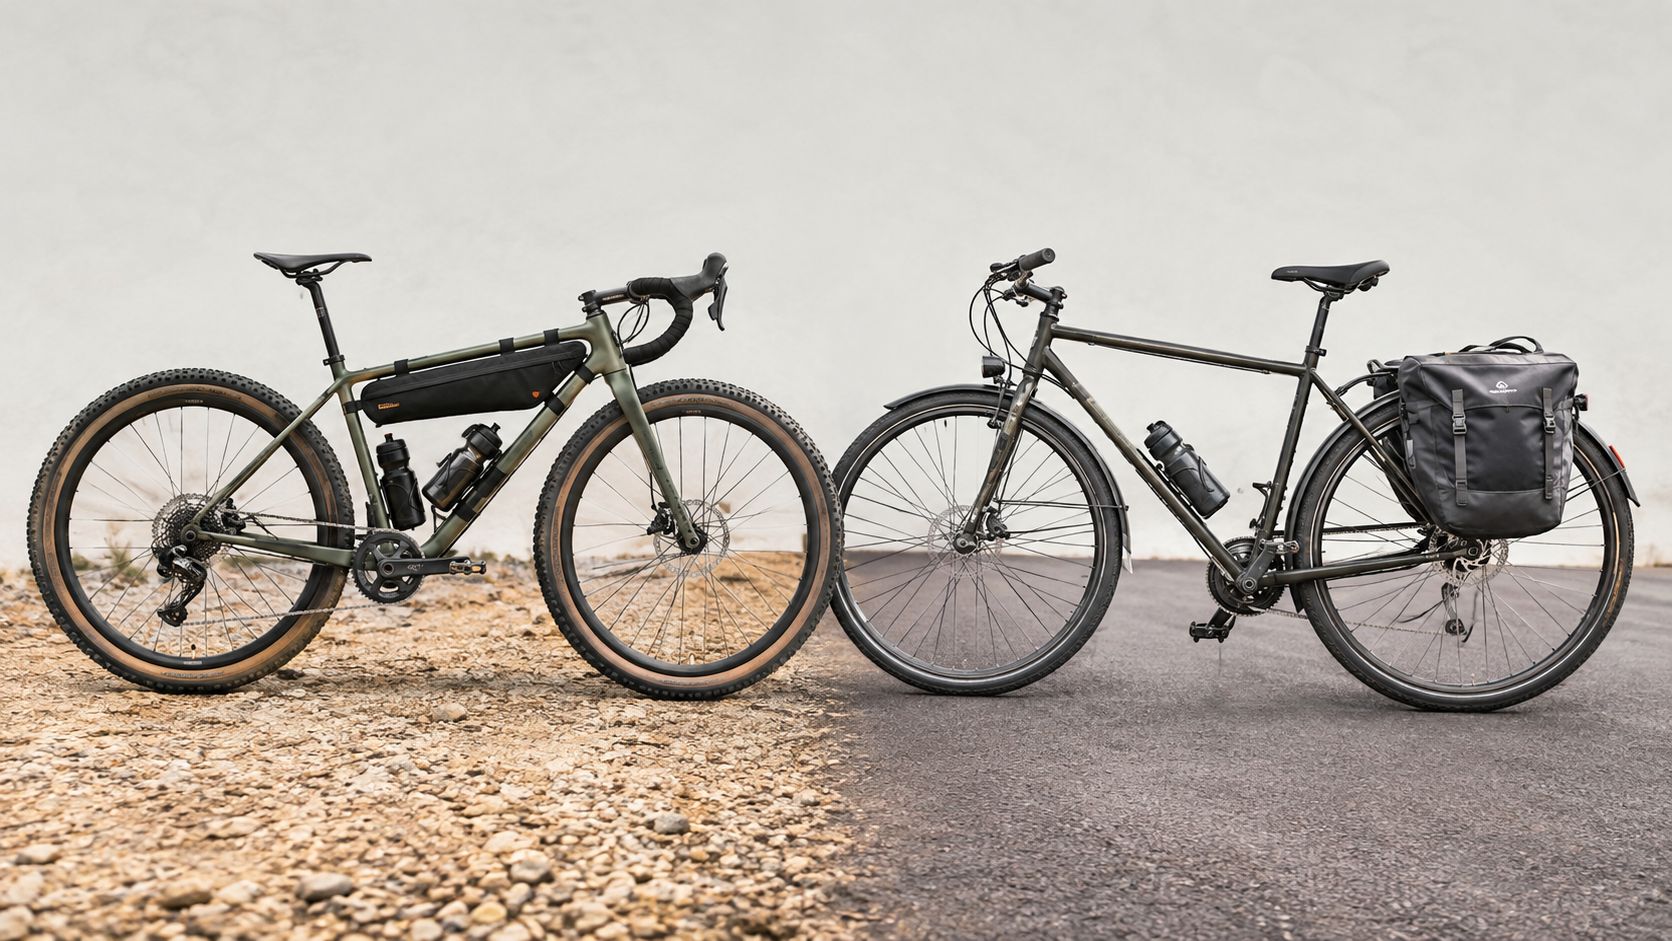
Most advice on gravel bike vs touring bike leans on a shortcut: gravel for speed, touring for luggage. That shortcut misses the real decision. The better question is which exact bike fits your body, suits your routes, and still works once you add the bags, tires, gearing, and accessories your riding actually requires.
Start with a gravel bike when mixed surfaces, lighter adventure packing, and regular unloaded riding dominate your use. Start with a dedicated touring bike when sustained loaded travel, rack and pannier compatibility, cargo capacity, and long-distance utility are central priorities. Neither category is automatically better. The right choice comes from fit, geometry, mounts, tire clearance, gearing, cargo compatibility, and the trip you want to ride.
Table of Contents
- Why the Gravel vs Touring Question Is Really a Fit Question
- What Each Bike Was Actually Built to Do
- Geometry and Fit Compared Under Real Conditions
- Tires, Drivetrain, and Components Worth Comparing
- Load Carrying, Mounts, and Cargo Capacity
- Matching the Bike to Your Riding Style and Trips
- Used Gravel and Touring Bike Checks That Matter
- FAQ
- How SYCLR Helps, Conditionally
Why the Gravel vs Touring Question Is Really a Fit Question
A bike that feels excellent in a short test ride can feel completely different after you add a handlebar roll, frame bag, rear rack, panniers, or several extra hours in the saddle. That is why the useful comparison starts with the rider and the exact bike, not with the category label.
Height is only the beginning. Stack and reach help locate the bars relative to the saddle, but cockpit length, bar shape, stem position, saddle setback, crank length, and standover all influence whether the bike remains comfortable and controllable. SYCLR's bike fit guide gives broader buying context, but no category name replaces checking the actual geometry and setup.
The loaded bike changes the decision
Loading a bike can change weight distribution, steering feel, and low-speed handling. A setup with front bags, rear bags, or a full rack can shift weight distribution enough to expose problems that were invisible when the bike was empty. That is why wheelbase, chainstay length, front-center, head angle, trail, bottom-bracket height, and cockpit position should be judged on the exact frame and size, with the intended luggage in mind.
Standover also matters more than many buyers expect. Starting, stopping, mounting, and dismounting become less forgiving once a bike is carrying weight. A frame that barely works in a showroom may feel much less manageable on the road or trail.
Practical rule: If the bike fits only after an unusually long stem, a large spacer stack, or a compromised saddle position, keep shopping. Cockpit changes should refine a suitable frame, not rescue the wrong one.
What Each Bike Was Actually Built to Do
Gravel bikes usually sit between road and off-road use. Many are designed to cover mixed surfaces efficiently, accept wider tires than a road bike, and leave room for bottle mounts, frame bags, and all-day riding. Representative gravel models include the Specialized Diverge, Cannondale Topstone, and Canyon Grail. Those names alone do not tell you enough, because one gravel bike may be race-oriented while another is built for longer, rougher, more utility-focused rides.
Dedicated touring bikes are built with long-distance carrying and day-after-day utility in mind. Representative platforms include the Surly Long Haul Trucker, Trek 520, and Kona Sutra. Many touring designs prioritize rack use, practical mounting options, and serviceable parts, but the exact frame still matters more than the label.
Treat categories as starting points, not answers
The boundary between gravel and touring is blurry. Some gravel bikes make excellent light tourers. Some touring bikes work well on gravel roads and rougher surfaces. Others do not.
That is why category stereotypes create bad buying decisions. Do not assume a gravel bike will fit a certain way, steer a certain way, or carry a certain load. Do not assume a touring bike will automatically be more upright, more stable, or better once bags are installed. Compare the exact bike, in the exact size, with the exact setup you plan to use.
Geometry and Fit Compared Under Real Conditions
The wrong geometry usually shows up after the bike is packed and ridden for longer days. Compare the actual frame and size, then ask how that bike will behave with your contact points, tires, and luggage.
Measurements that matter on the exact bike
Start with stack and reach. They shape bar height and cockpit length more reliably than frame-size labels alone. Then check effective top-tube length, stem length, handlebar reach, handlebar width, and saddle position, because those determine how the bike will actually fit once adjusted.
Next, compare the handling-related measurements on the exact frame:
Wheelbase, which affects how the bike occupies space and how weight is distributed between the wheels
Chainstay length, which affects rear cargo clearance and weight placement
Front-center, which matters for toe overlap, front-load clearance, and balance
Head angle and trail, which influence steering behavior and should be judged together, not in isolation
Bottom-bracket height, which affects pedal clearance and how planted the bike feels
Standover, especially if you will be starting and stopping with luggage
Use the SYCLR geometry comparison tool when dependable geometry data is available in the listing. The goal is not to match a category formula. The goal is to find a frame that puts you in a sustainable position and still works with the tires and cargo you plan to use.
A few practical checks help more than generic category claims:
Can you achieve your bar height without an extreme stem or spacer setup?
Will your shoe clear panniers or rear bags on the exact frame?
Does the front-center leave enough room for your foot, tire, fender, and any front luggage?
Does the bike still give you confident standover when loaded?
Can the cockpit support long hours, not just a short test loop?
Tires, Drivetrain, and Components Worth Comparing
Start with the tire system, not the category label. Tire clearance, actual tire size, rim width, tread, casing, pressure range, fender use, and mud clearance all affect comfort and control. The important figure is the manufacturer's stated clearance for that exact frame and fork, then the real-world space left once you account for your rim width, tire model, and riding conditions.
A bike that clears one stated tire size on a narrow rim may not safely clear the same labeled size on a wider rim. A setup that works in dry conditions may be too tight once mud and debris enter the picture. Clearance also needs to be checked alongside fenders, fork bags, and any accessory mounts.
Touring and gravel bikes can both be configured around narrow or wide tires depending on the specific model. What matters is whether the exact bike supports the tire that suits your terrain, load, and desired ride feel.
Gearing should match the route, load, and rider
Do not choose gearing by category assumption. Compare the full system on the actual bike: chainrings, cassette range, derailleur capacity, lowest practical gear, highest useful gear, and replacement-part availability.
A loaded route with long climbs may require a much lower gear than an unloaded mixed-surface day ride. A flatter route may not. The best setup depends on rider strength, cadence preference, cargo weight, terrain, and how easy it will be to service the bike later.
| Attribute | What to compare on the exact bike |
|---|---|
| Tire clearance | Manufacturer clearance, rim width, real tire size, mud space, fender compatibility |
| Tire setup | Tread, casing, pressure range, tubeless compatibility, route suitability |
| Gearing | Chainrings, cassette, lowest gear, highest gear, derailleur capacity, replacement availability |
| Brakes | Brake type, rotor size where applicable, condition, serviceability, and manufacturer compatibility |
| Wheels | Spoke count, rim condition, hub condition, intended load and route |
| Mounts | Bottles, racks, fenders, fork mounts, top-tube mounts, frame-bag space |
For remote or extended trips, serviceability matters as much as performance. Check axle standards, brake standards, hanger availability, rack interfaces, and any proprietary parts before buying.
Load Carrying, Mounts, and Cargo Capacity
Cargo decisions should start with the exact bike and your packing system. Some bikes are easiest to use with racks and panniers. Others work best with a frame bag, seat pack, handlebar roll, or fork bags. None of those systems is universally best.
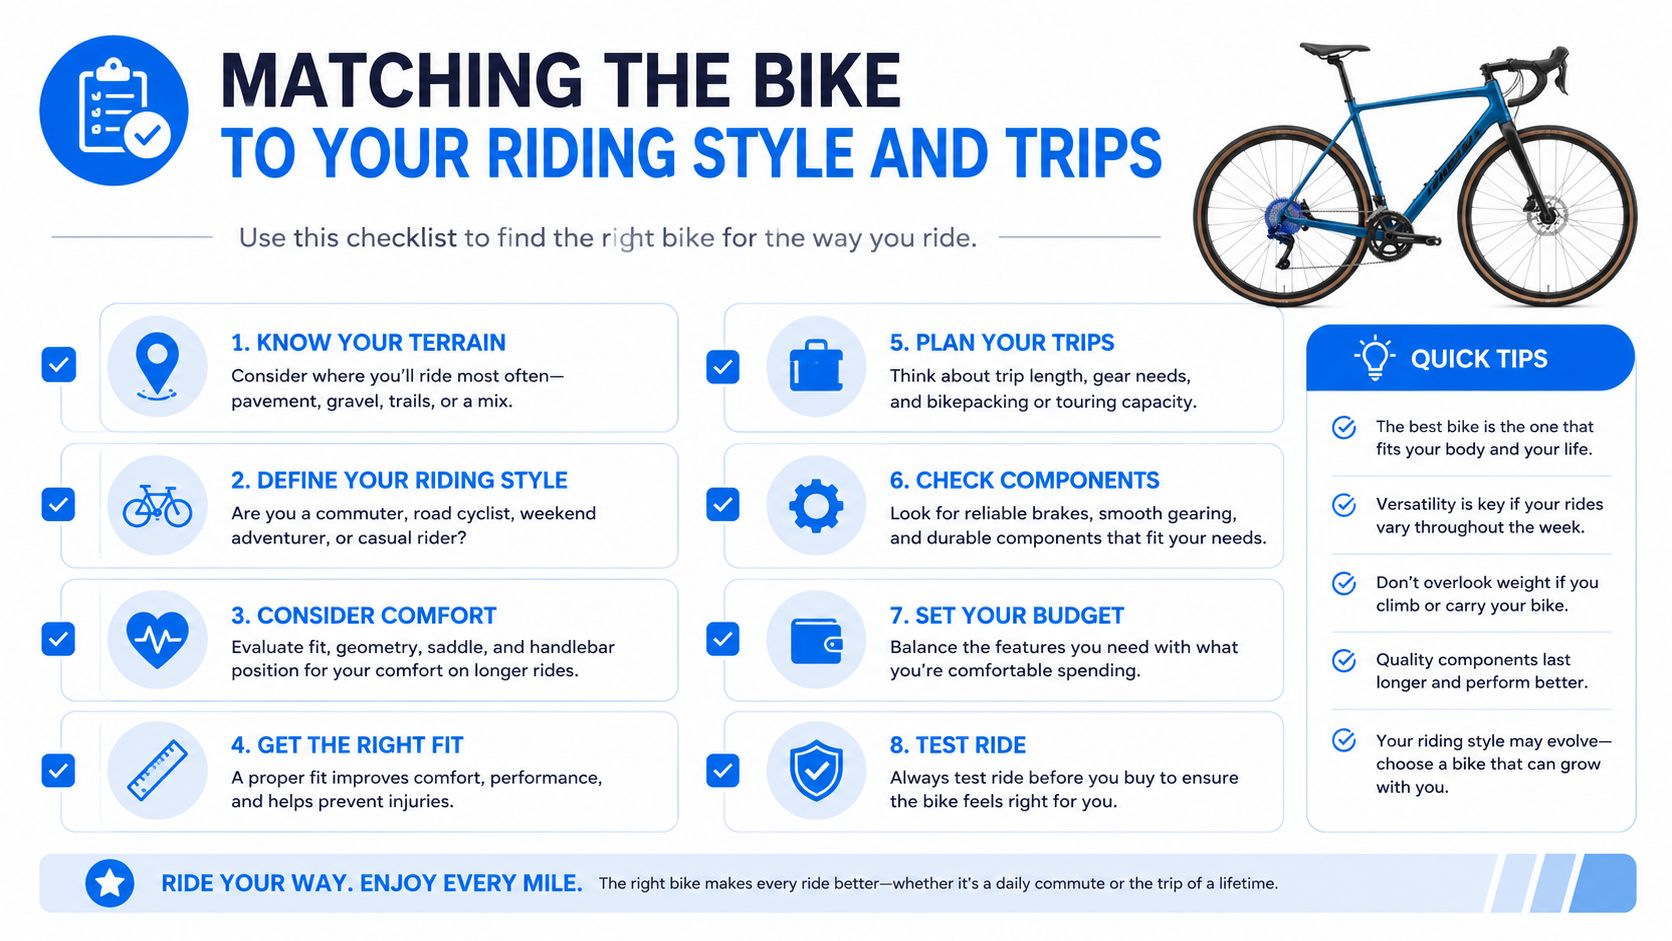
Mounts matter, but so do clearances and ratings. A bike may have rack eyelets yet still be a poor choice for your specific bags, heel clearance, fork load, or tire and fender combination. Another bike may lack traditional touring hardware but work well with a light bikepacking setup.
Compare these points on the exact build:
Rear-rack mounts and rack compatibility
Fork mounts and any fork-load limits
Fender mounts and usable tire clearance with fenders installed
Bottle and accessory mounts
Frame-bag space inside the main triangle
Heel clearance with panniers or larger rear bags
Total bike, rider, and cargo limits from the manufacturer
Capacity is a product specification
Cargo limits are product-specific. Use manufacturer sources for the exact frame or complete bike, and for any rack, fork, or accessory you plan to install. Check whether the brand lists a maximum system weight, a rack-load limit, a fork-load limit, or accessory-specific restrictions. Never assume one bike's rating applies to another, and do not exceed stated limits.
For panniers, verify the frame and rack interface, heel clearance, and the rack's own rating. For frame bags, check triangle space and bottle-boss interference. For fork bags, confirm both fork compatibility and load limits. For seat packs, check insertion depth, exposed seatpost, tire clearance, and whether dropper or suspension-related movement changes the fit.
Use this gravel bike and bikepacking bike guide to compare packing layouts. The best setup is the one your exact bike supports safely and predictably.
Matching the Bike to Your Riding Style and Trips
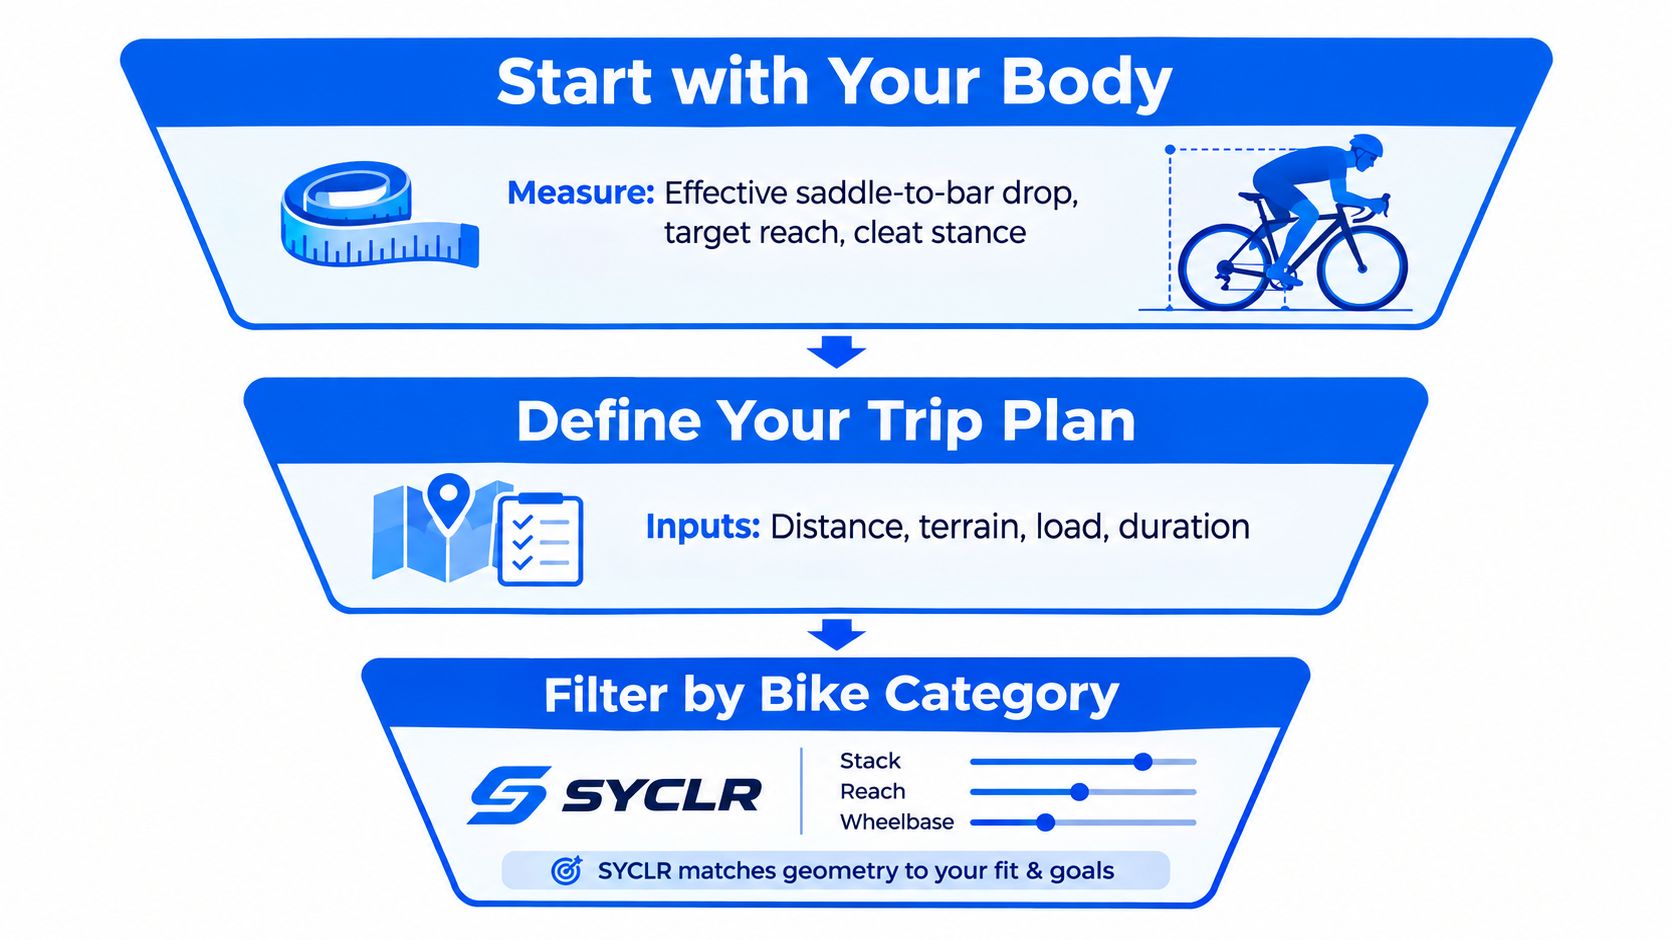
Your route and packing list should decide the category. Start by describing the riding you will actually do: surfaces, trip length, typical load, weather, maintenance expectations, and how often the bike will be ridden unloaded.
Choose for the dominant use
If most rides are mixed-surface day rides, short overnights, or lighter bikepacking trips, a gravel bike often makes more sense, provided the exact bike fits well and supports the luggage and tire setup you need.
If the bike's main job is sustained loaded travel with racks, panniers, and repeated long-distance use, a dedicated touring bike becomes more relevant, provided the specific frame fits you and supports your intended cargo system.
If your use sits between those two, the answer may come down to the exact bike's geometry, mounts, tire clearance, and component choices more than the category name.
Representative decisions
Mostly paved or mixed roads with sustained cargo: Start by checking dedicated touring bikes and cargo-capable gravel bikes against your exact rack, bag, and fit needs.
Mixed surfaces with lighter packing: Start with gravel bikes that fit well, clear the tires you want, and support the bags you plan to use.
Frequent unloaded riding between trips: Favor the bike that best matches your normal fit and day-to-day use, not the one with the most mounts on paper.
Occasional touring on a gravel bike: Keep the decision tied to real cargo limits, gear range, bag compatibility, and ride stability on that specific bike.
Occasional rough-surface riding on a touring bike: Check actual tire clearance, gearing, handling, and whether the fit still works for the terrain you ride most.
Neither category wins on principle. The right answer is the bike that fits your body, supports your bags, matches your route, and stays practical to live with.
Used Gravel and Touring Bike Checks That Matter
Used listings often hide the details that matter most. Keep the inspection simple and relevant.
Check:
Frame and fork: cracks, dents, corrosion, impact damage, alignment concerns
Racks and mounts: damaged eyelets, stripped threads, bent hardware, missing bolts
Wheels: rim condition, spoke condition, hub play, signs of load-related abuse
Brakes and drivetrain: wear, damage, shifting quality, braking condition, replacement cost
Cargo compatibility: rack interface, fork mounts, fender clearance, axle and brake standards
Fit: stack, reach, cockpit, standover, and whether the frame can be set up sensibly for you
Service history: mileage estimate, recent work, crash history, and parts replaced
Inspect the right things, briefly
A seller's phrase like "light touring use" tells you very little. Ask for the exact model year, full build, tire clearance details, and clear photos of the mounts, drivetrain, wheels, and fork. If possible, ride the bike with a representative amount of cargo.
Use the used-bike checklist to stay organized. For pricing, think in this order: comparable value minus condition risk minus fit uncertainty minus compatibility risk minus listing uncertainty.
FAQ
What is the main difference between a gravel bike and a touring bike?
The main difference is usually the intended use of the exact bike. Gravel bikes are often chosen for mixed surfaces, lighter adventure packing, and regular unloaded riding. Touring bikes become more relevant when long-distance utility, cargo compatibility, racks, and sustained loaded travel are the priority. The deciding factor is still the exact frame, fit, and equipment.
Is a touring bike always better for loaded travel?
No. A dedicated touring bike may be the better tool when your trip depends on racks, panniers, and repeated loaded days, but that is not automatic. Some gravel bikes are fully capable light tourers, while some touring bikes may not match your fit, tire, or route needs. Check the actual bike's cargo limits, mounts, geometry, and fit.
Is a gravel bike better for bikepacking?
Sometimes, especially when the trip uses lighter soft luggage and mixed surfaces. But bikepacking is not reserved for one category. A touring bike can work for bikepacking if the fit, terrain, tire clearance, and bag setup all make sense. Compare the exact luggage system you want to run rather than assuming one category owns the use case.
Which matters more, category or fit?
Both matter, but they answer different questions. Category helps establish intended use, while fit determines whether the individual bike can support a sustainable riding position for you. Start with stack, reach, cockpit setup, standover, and the ability to place the bars and saddle where you need them without extreme adjustments.
How should I compare tires and tire clearance?
Use the manufacturer's clearance for the exact frame and fork, then check your real tire and rim combination, mud clearance, fender clearance, and route conditions. Do not rely on a category-wide tire assumption. Clearance that works on paper may be too tight once accessories, debris, or wider rims are involved.
Can a gravel bike replace a touring bike?
For some riders, yes. If the gravel bike fits properly, supports the right tire and gearing setup, accepts the bags you need, and stays within all stated cargo limits, it can cover many touring-style trips. But if your riding depends on sustained heavy cargo, rack compatibility, and long-distance utility on a specific setup, a dedicated touring bike may still be the better choice.
How SYCLR Helps, Conditionally
SYCLR focuses on road and gravel listings, not dedicated touring-bike discovery. That matters here.
If a gravel bike fits your route, packing style, and fit needs, the SYCLR app helps you compare listings using rider details, bike type, budget, fit signals, geometry signals, model-year context, price context, listing quality, condition signals where available, and confidence signals. Riders who know their stack, reach, current-bike geometry, or fit-report details can use the advanced fit entry.
If a dedicated touring bike fits better, use the same framework elsewhere: compare fit, cargo compatibility, tire clearance, gearing, condition, and serviceability before you buy.
Build the shortlist around fit, cargo, and compatibility
A practical buying order looks like this:
Define the terrain. Separate pavement, smooth gravel, rough gravel, dirt roads, and any technical sections.
Define the cargo. Decide whether you need panniers, racks, frame bags, fork bags, seat packs, or a mix.
Check the exact geometry. Compare stack, reach, wheelbase, chainstay, front-center, head angle, trail, cockpit, and standover.
Confirm compatibility. Match tire clearance, rims, fenders, racks, fork mounts, axle standards, and brake standards.
Review the listing carefully. Look for model year, complete specification, condition notes, clear photos, and seller transparency.
Price the uncertainty honestly. Reduce your working value for condition risk, fit uncertainty, compatibility risk, and listing uncertainty.
If gravel is the right answer, use the SYCLR app to compare available gravel listings using fit signals, geometry signals, model-year context, price context, listing quality, condition signals where available, and confidence signals. If touring is the better fit, apply the same fit, cargo, compatibility, and condition framework when shopping dedicated touring bikes elsewhere.