
Used Bike Checklist: What to Check Before You Buy
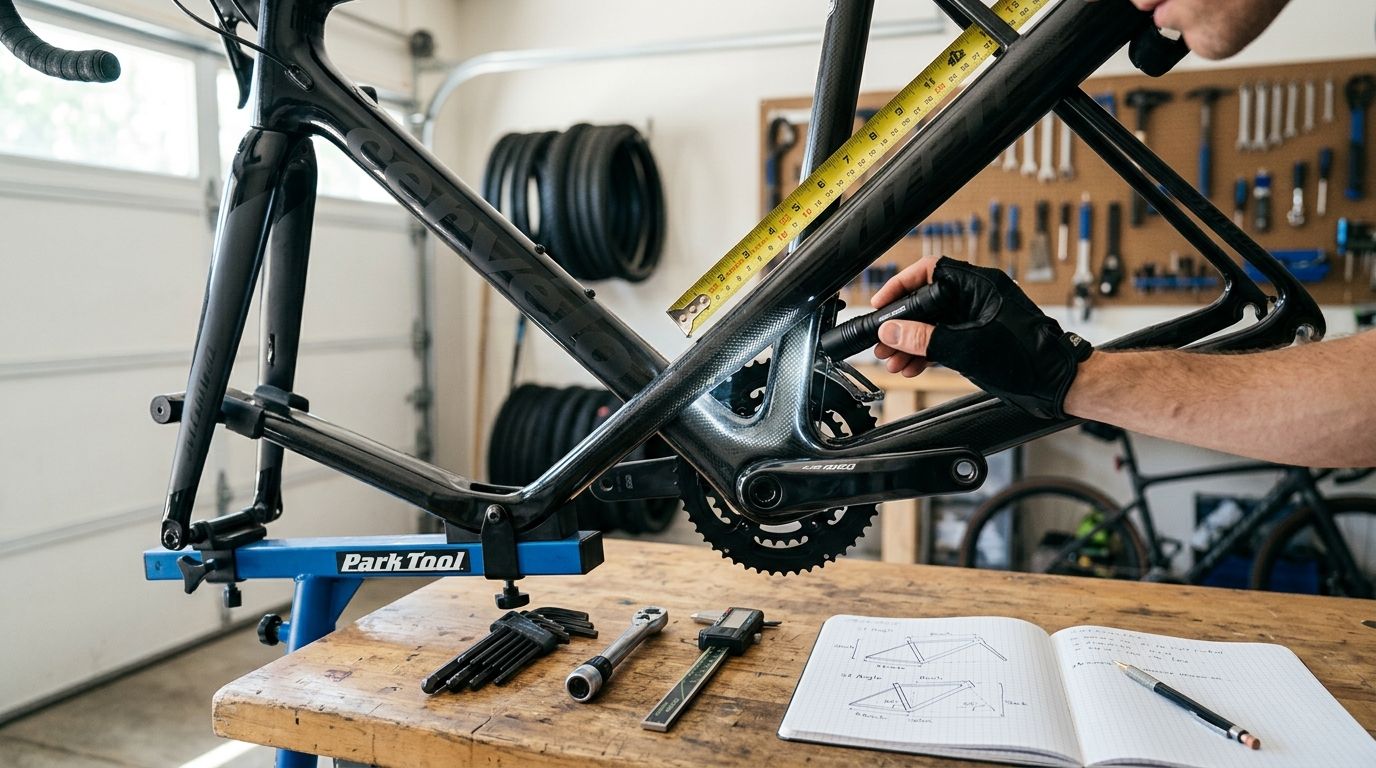
You're probably looking at a listing right now that seems hard to ignore. The photos are clean, the brand is right, the seller says it was “well maintained,” and the price feels close enough that you're already thinking about the pickup drive.
That's exactly when a used bike checklist matters most.
The mistake most buyers make is starting with appearance and emotion. A proper checklist starts with identity, fit, geometry, and listing confidence. Only after the bike clears those hurdles is it worth spending time on the in-person inspection. For road and gravel bikes especially, a bike that misses on fit, frame generation, or category suitability can be a bad buy even if the paint looks excellent and the components seem attractive.
Table of Contents
Why Your Used Bike Checklist Should Start Online
A good used bike checklist begins before you message anyone. That's the fastest way to avoid wasting a Saturday on a bike that was never a serious candidate.
For road and gravel buyers, the first screen should be data checks, not a test ride. When you are ready to test ride or inspect a bike in person, browse local bikes from supported retailers. Fit, geometry, model year, and listing completeness can rule out weak candidates before you spend time messaging, traveling, or inspecting the bike in person.
That changes how a practical buying used bike checklist should work. You don't start with “Does it feel okay in the parking lot?” You start with whether the bike should even stay on your shortlist.
Checklist order matters
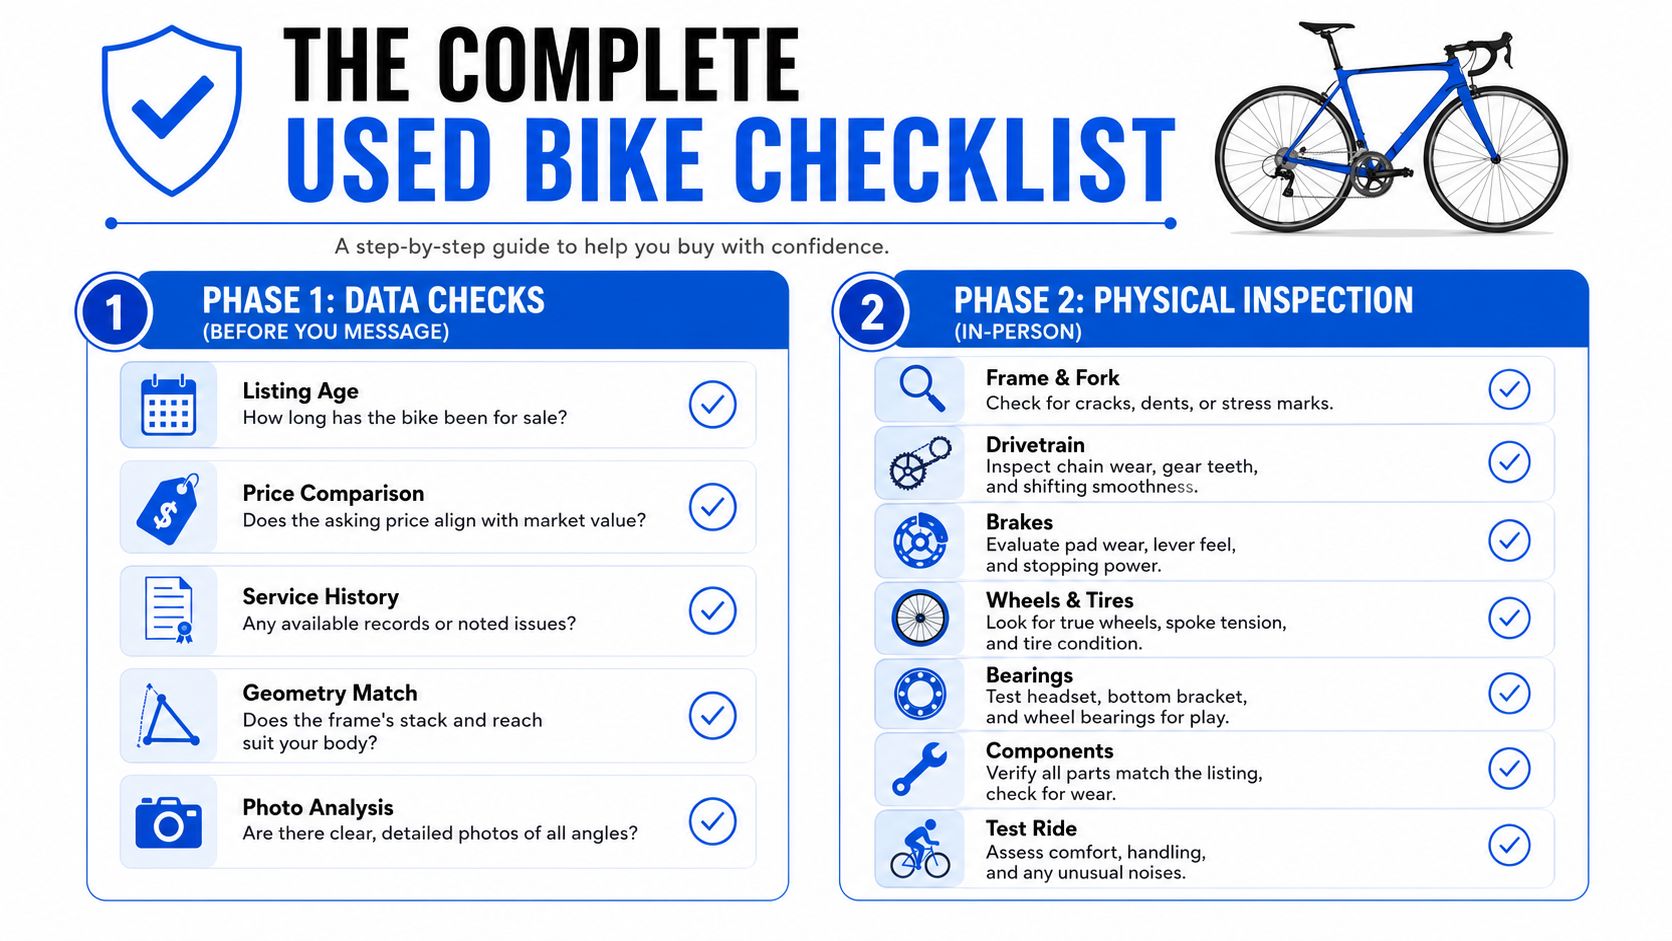
Use the checklist in two passes:
Pass one is remote. Verify the exact model year, full model name, frame size, geometry chart, tire clearance, brake type, drivetrain, asking price, and listing completeness.
Pass two is physical. Inspect the frame, fork, wheels, brakes, bearings, cockpit, and seller documentation only if the listing survives the first pass.
Practical rule: A clean photo doesn't make a bike a good candidate. It only means the seller took a clean photo.
That sequence saves time because many listings fail before you ever need to inspect them. The bike may be the wrong size, the wrong generation, too limited in tire clearance, missing enough detail to trust, or vague about what it is.
Why appearance is a weak first filter
Used listings often create false confidence. A bike can look modern and tidy while still being an older frame generation with different geometry, tighter clearance, or a lower original trim than the listing implies.
That's why the best used bicycle checklist puts fit, model year, and geometry ahead of cosmetics. Price, brand, and parts still matter, but they only matter after the bike clears the basics. A strong used bike checklist doesn't help you admire listings. It helps you rule them out quickly.
Phase 1 Data Checks Before You Message the Seller
Treat the listing like a pre-purchase file review. Line up the questions to ask when buying a used bike before you message the seller. If the seller can't clearly establish what the bike is, how it's built, and why it belongs on your shortlist, you shouldn't be arranging a meetup yet.
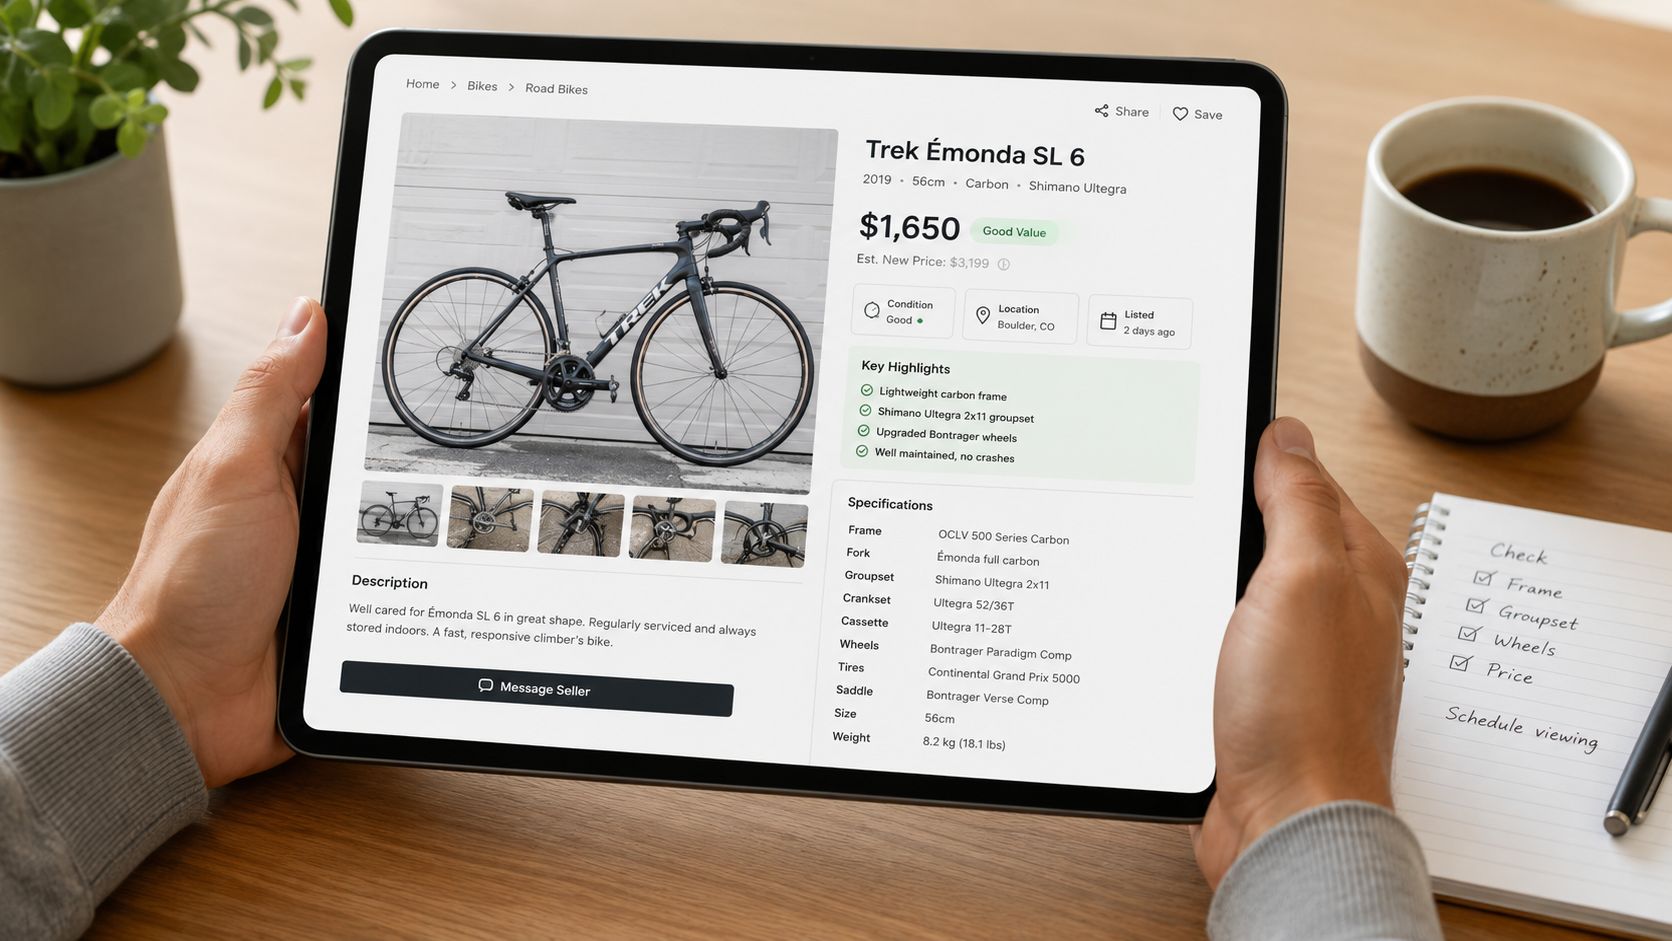
Start with the bike's identity. Confirm the exact model year, the full model name, and the trim level. Many bike names stay the same across multiple years while geometry, axle standards, tire clearance, and stock components change. If the seller only says “Specialized Roubaix 54” or “Trek Checkpoint medium,” that isn't enough.
What to verify from the listing
Before you travel, check for these items:
Exact model year. Ask for the year, not just the model family name.
Full model and trim. A frame can share a name across very different builds.
Frame size. Needed before you even open a geometry chart.
Brake type and wheel standard. Important for compatibility and category relevance.
Drivetrain details. Confirm what's on the bike now, not what the seller assumes came stock.
Tire clearance. Critical for gravel use and still relevant for all-road or endurance road buyers.
Photo coverage. You want both sides of the bike, close-ups of the drivetrain side, cockpit, wheels, fork, and wear areas.
Seller transparency. Straight answers, specific details, and clear photos are stronger confidence signals than enthusiastic language.
If the listing is vague, compare it against common warning signs in this guide to used bike red flags.
What works and what doesn't
What works is simple: listings with enough detail to confirm fit, category, and basic condition. What doesn't work is guessing from a size label and a few flattering photos.
A used bike can be clean, expensive-looking, and still be a poor match for your body, riding goals, or terrain.
Before moving on, build rough price context. Compare the bike against similar listings for the same model year and condition. This isn't about finding a universal valuation. It's about seeing whether the asking price makes sense once fit risk, wear, missing details, and seller quality are considered.
If the listing still looks coherent after that, then it's worth a closer fit review.
The Critical Fit and Geometry Checklist
This is the part buyers skip when they get distracted by brand and components. It's also the part that determines whether the bike should stay on the list at all.
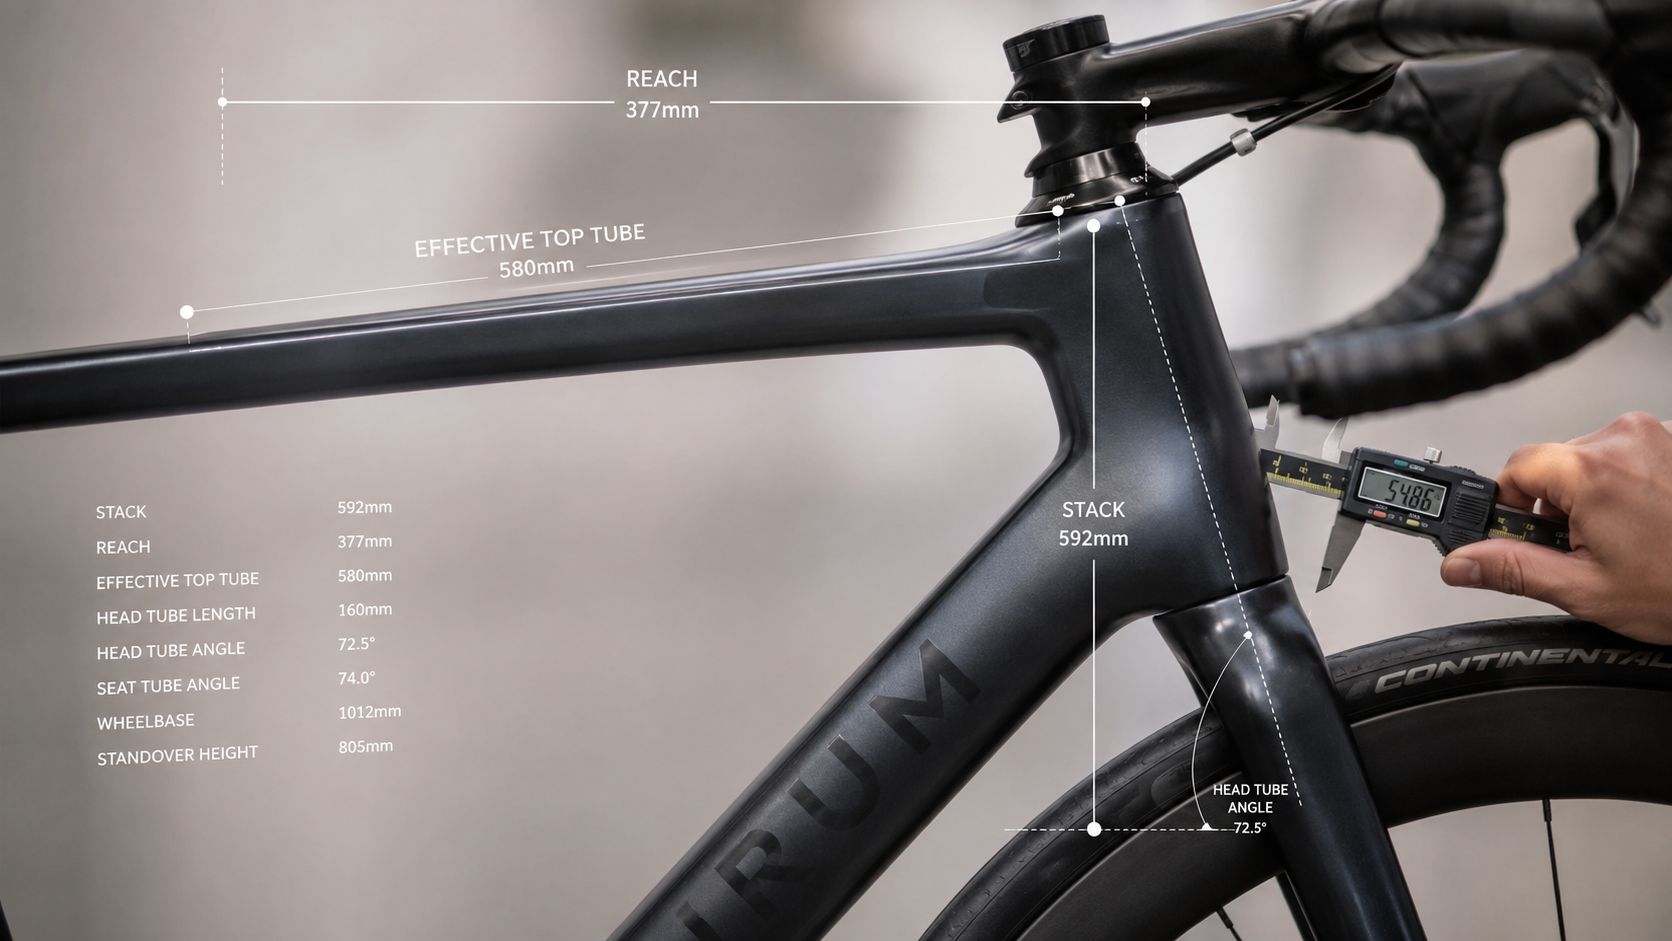
The most important fact in any used bike inspection checklist is this: a great price does not matter if the bike does not fit. Frame size is only the starting point, and the real fit picture comes from model year, stack, reach, standover, and category-specific geometry.
Frame size is only the entry point
A size label tells you which row of the geometry chart to inspect. It does not tell you whether the bike is right for you.
Height can narrow the field, but it can't finish the job. Two bikes both labeled 54 cm can place a rider very differently once stack, reach, front-end height, and frame proportions are considered. If you want a clearer way to evaluate listings, use a geometry-first approach and compare bike geometry instead of trusting size labels alone.
The checklist items to confirm are:
Exact frame size
Model year or frame generation
Stack
Reach
Standover
Effective top tube if stack and reach are missing
Wheelbase
Head tube angle
Seat tube angle
Tire clearance
Current-bike comparison if you have one
The four fit checks that matter most
The four checks that belong on every used road bike checklist and used gravel bike checklist are frame size, stack and reach, standover, and model-year-specific geometry.
Stack and reach matter most. Stack tells you how tall the front end starts. Reach tells you how long the frame feels. Compare both numbers against a current bike that fits well, a fit report, or a trusted geometry reference when possible.
Standover is the confidence check. It does not define riding posture, but it matters when mounting, stopping, and buying without a long test ride.
Saddle-height range is a reality check. If the seatpost, saddle position, or frame proportions force an extreme setup, the frame may not be a strong match even if the size label sounds right.
Model year matters because geometry changes. The bike name can stay the same while the fit, handling, tire clearance, and frame details change across generations.
Use fit numbers as screening tools, not universal rules. A used bike should stay on the shortlist only when the geometry supports your body, terrain, and riding goals.
If the geometry doesn't support your body, terrain, and riding goals, stop there. Component upgrades won't fix a frame that starts from the wrong place.
Phase 2 The In-Person Physical Inspection
Once the listing clears the data pass, inspect the bike in person with the assumption that hidden problems exist until you've ruled them out.
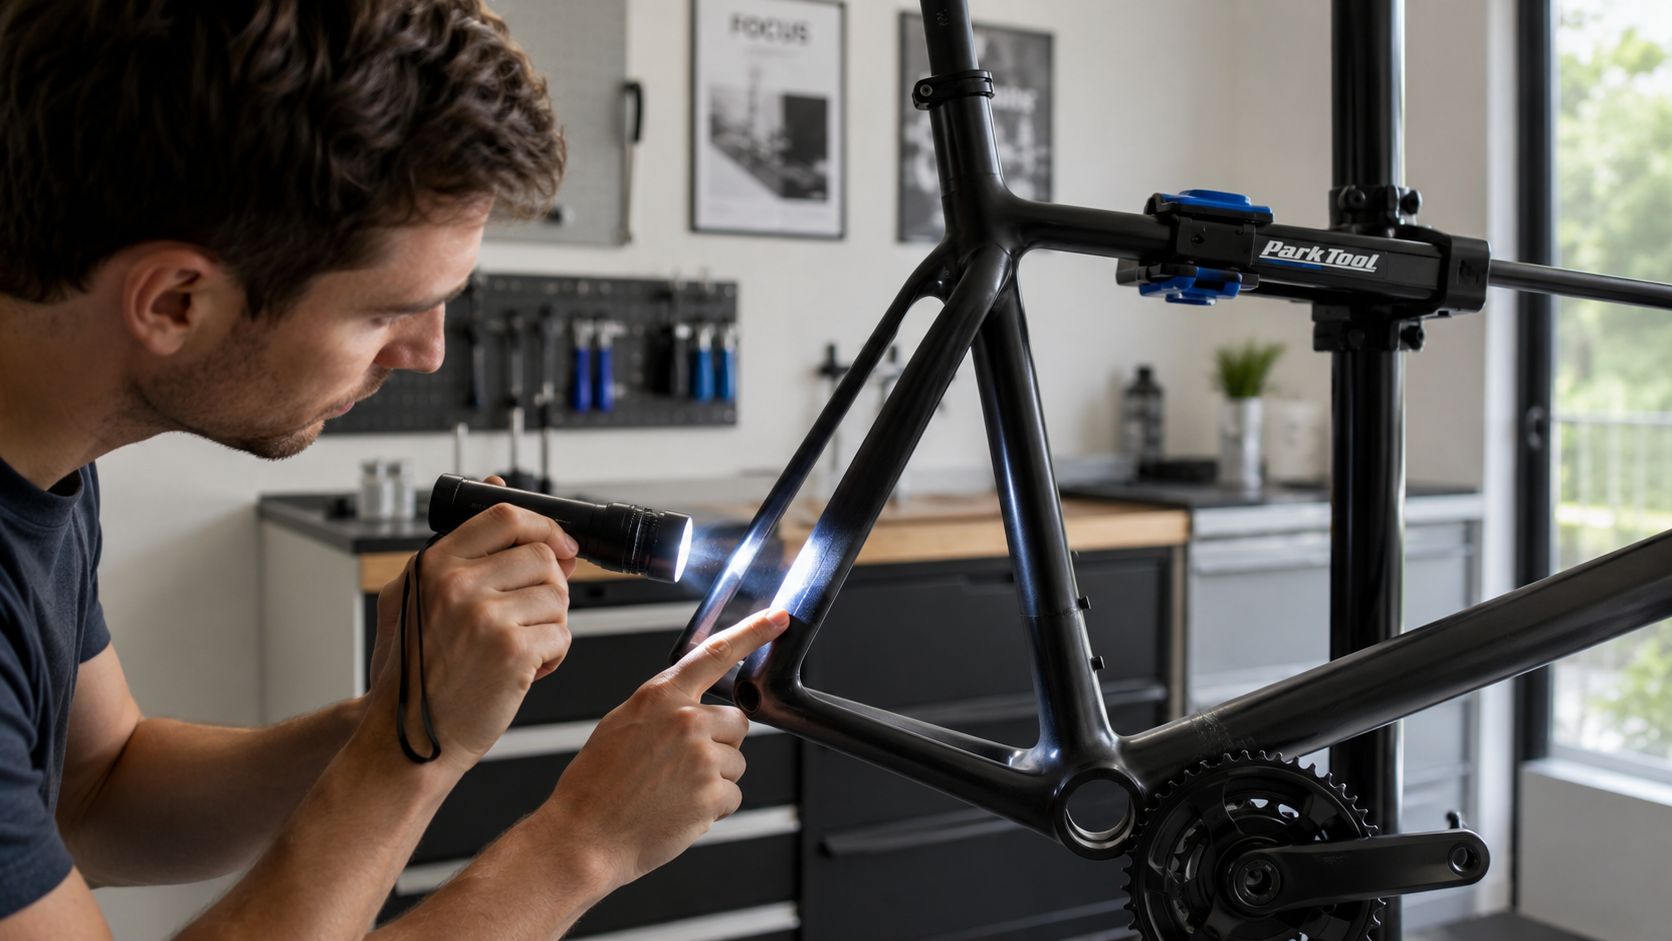
Frame and fork condition come first during the physical inspection. Use a bright flashlight, look along the tubes rather than only at the paint, and slow down around high-stress areas such as the head tube, bottom bracket shell, dropouts, fork crown, chainstays, and seat cluster.
Start with the frame and fork
Bring a bright flashlight and slow down. Look along the tubes rather than only at them. That makes dents, ripples, and alignment issues easier to spot.
Inspect these areas carefully:
Head tube area. Look for cracks, paint disturbance, or stress around the headset junctions.
Bottom bracket shell. High-stress area, often overlooked in rushed inspections.
Chainstays and seatstays. Check for impact marks, tire rub, and irregular shaping.
Dropouts. Confirm the wheels sit straight and centered.
Fork blades and crown. Look for impact clues, scrapes, and asymmetry.
Seat cluster. Check around the seat tube, collar area, and any wedge mechanism.
Also check seized seatposts, cracked saddle rails, warped wheels, and serial number visibility during this stage. Those details affect both usability and confidence.
What carbon changes
A used carbon bike checklist should include a tactile check, not just a visual one. Press gently around suspect areas and feel for soft spots or odd bulges. Run your hand over painted surfaces to detect transitions that may suggest repair, filler, or damage beneath the finish.
Clean paint can hide a lot. Your hand often finds what your eye misses.
Carbon doesn't get a free pass because it looks expensive. If a seller can't clearly explain a mark, impact, or repair history on a carbon frame, caution is warranted. The same goes for unexplained paint bubbling, crushed-looking fibers around pinch points, or odd noises when the bike is loaded side to side.
Assessing Drivetrain Brakes and Wheels
After the frame passes inspection, move to the parts that wear out first and change the bike's overall value fastest.
Wear parts that change the real cost
A clean bike with a tired drivetrain isn't a bargain. It's a bike that comes with immediate follow-up spending.
Use a chain checker if you have one. Then inspect the cassette and chainrings for hooked, pointed, or “shark fin” teeth. Shift through the range while the bike is in a stand or during a short ride. Slow or hesitant shifting can point to wear, adjustment issues, bent hangers, or neglected cables and housing.
For brakes:
Rim brakes. Check pad wear and inspect the braking track for heavy wear or irregular surfaces.
Disc brakes. Check pad thickness, rotor straightness, and lever feel.
Brake response. The system should engage consistently, not with grinding, pulsing, or excessive lever travel.
For wheels and tires:
Spin both wheels. Look for side-to-side wobble or vertical hop.
Inspect rims closely. Watch for dents, cracks, and flat spots.
Check hub play. Wiggle the wheel at the rim while installed.
Inspect tire condition. Look for cuts, dried sidewalls, embedded debris, and old sealant mess around tubeless setups.
If you're trying to judge whether the asking price still makes sense after wear and likely replacement parts, a broader used bicycle value framework then becomes useful.
What a short parking-lot check can reveal
You don't need a long ride to catch basic component issues. A few minutes can reveal a lot:
Pedal under moderate load. Listen for clicking from the bottom bracket or crank interface.
Shift across the cassette. Look for hesitation or skipping.
Brake firmly. Watch for rotor rub, weak bite, or shudder.
Coast and listen. Noise often shows up when you stop pedaling.
This part of the used bike inspection checklist is where buyers often discover that “just needs a tune-up” turns out to mean several wear items are due.
The Test Ride and Final Ownership Checks
The test ride is the final filter. Not a joy lap, not a sizing shortcut, and not a substitute for the earlier geometry work.
Use the ride as a diagnostic check
Keep the ride purposeful. Start seated, shift through the usable gears, brake at low and moderate speed, and stand up on the pedals briefly to load the frame and drivetrain.
Listen for:
Creaks under load
Clicks during pedaling
Grinding from bearings
Rotor rub or brake vibration
Delayed or inconsistent shifting
Also check basic tracking. The bike should feel stable and coherent, not twisted, vague, or reluctant to hold a line. A brief no-hands moment can reveal obvious alignment problems, but use common sense and only do it where it's safe.
A test ride should confirm the checklist, not rescue a bike that already failed it on paper.
Ownership proof matters
Before money changes hands, verify the bike's identity and the seller's connection to it.
Check these items:
Serial or frame number. It should be present, legible, and not tampered with.
Service history. Even basic receipts or maintenance notes help.
Original purchase proof. Helpful when available.
Seller explanation. Why are they selling, what's been changed, and what issues do they know about?
A transparent seller usually answers directly. Evasion, inconsistent details, or unwillingness to show the serial number should lower your confidence fast. The goal isn't to prove every detail beyond doubt. It's to decide whether the bike and seller provide enough confidence to proceed.
The Complete Used Bike Checklist
A practical used bike checklist works best when it's used in order. Data first. Inspection second. That sequence helps you rule out weak listings before time, travel, and enthusiasm take over.
| Checklist Item | What to Verify | Why It Matters | Signal (Pass / Caution / Walk-Away) |
|---|---|---|---|
| Exact model year | Confirm the specific year or frame generation | Geometry, tire clearance, and build details can change | Pass if specific, caution if uncertain, walk away if seller won't clarify |
| Full model and trim | Verify complete model name and original trim | Prevents confusion between similar bikes | Pass if clear, caution if partial, walk away if misleading |
| Frame size | Confirm the stated size matches the chart row | Size label is the starting point for fit review | Pass if clear, caution if vague, walk away if inconsistent |
| Stack and reach | Compare to your known targets or current bike | Best fit signals for rider position | Pass if close, caution if uncertain, walk away if clearly off |
| Standover | Check practical clearance | Important for confidence at stops and dismounts | Pass if comfortable, caution if tight, walk away if unsafe |
| Tire clearance | Confirm actual and model-year-specific clearance | Affects category fit and terrain use | Pass if suitable, caution if limited, walk away if it blocks intended use |
| Drivetrain | Inspect wear and shifting quality | Wear parts affect total cost | Pass if healthy, caution if serviceable, walk away if heavily worn |
| Brake type | Confirm rim or disc and inspect function | Matters for use case, maintenance, and feel | Pass if working well, caution if inconsistent, walk away if compromised |
| Wheel condition | Check trueness, dents, cracks, and hub play | Wheels are costly and safety-critical | Pass if straight, caution if minor issues, walk away if cracked or badly damaged |
| Tire condition | Look for cuts, dry sidewalls, and wear | Immediate replacement changes the deal | Pass if usable, caution if aging, walk away if damaged |
| Frame and fork condition | Inspect all tubes, joints, and high-stress areas | Core structural check | Pass if clean, caution if questionable marks, walk away if cracked or bent |
| Carbon damage clues | Feel for soft spots, bulges, odd repairs | Hidden damage can be hard to see | Pass if consistent, caution if uncertain, walk away if suspect |
| Bearings | Check headset, bottom bracket, and hubs for play | Reveals neglect and future service needs | Pass if smooth, caution if rough, walk away if loose and ignored |
| Seller photos | Look for clear multi-angle images | Better photos usually mean better listing quality | Pass if complete, caution if limited, walk away if evasive |
| Service history | Ask what was serviced and when | Adds confidence and context | Pass if documented, caution if verbal only, walk away if stories don't line up |
| Ownership details | Verify serial number and seller transparency | Reduces theft and legitimacy concerns | Pass if clear, caution if partial, walk away if hidden or altered |
| Price context | Compare asking price to similar bikes and wear level | Prevents paying strong money for weak confidence | Pass if sensible, caution if ambitious, walk away if unsupported |
| Listing completeness | Judge whether the listing provides enough detail to trust | Weak data creates weak buying confidence | Pass if complete, caution if patchy, walk away if consistently vague |
The first phase is where better filtering happens. The second phase is where you confirm whether the bike deserves your money. That's also the kind of uncertainty SYCLR is designed to help reduce by organizing used listings around fit signals, geometry signals, price context, model year context, listing quality, and confidence signals before you commit to a meetup.
Used Bike Checklist FAQ
What should I check first when buying a used bike?
Check the exact model year, full model name, frame size, and geometry first. Those details help you decide whether the bike belongs on your shortlist before you inspect it in person.
What is the most important part of a used bike checklist?
Fit and identity come first. A clean-looking bike can still be a poor buy if the model year, geometry, frame size, or category do not match the rider.
What should I inspect on a used bike in person?
Inspect the frame and fork, drivetrain, wheels, tires, brakes, bearings, cockpit, seatpost, mounts, and serial or frame number. Look for wear, damage, inconsistent parts, or signs the seller’s story does not match the bike.
What are the biggest used bike red flags?
Major red flags include missing model year, vague size claims, weak photos, seller avoidance, hidden frame damage, worn drivetrain parts, unclear ownership, and a price that does not match the bike’s condition or details.
Is frame size enough to choose a used bike?
No. Frame size is only a starting point. Stack, reach, standover, model year, and category-specific geometry give a better picture of whether the bike may fit.
Should I test ride a used bike before buying?
A test ride is helpful when possible, but it should confirm your checklist instead of replacing it. Use the ride to check fit feel, shifting, braking, tracking, noises, and obvious mechanical issues.
Can SYCLR help with a used bike checklist?
Yes. SYCLR helps riders compare used bike listings by fit signals, geometry signals, model year context, price context, listing quality, and confidence signals before they commit to a meetup or purchase.
If you want to compare used bike listings with a fit-aware starting point, use the SYCLR app to shortlist road and gravel options by rider details, geometry signals, price context, model year, listing quality, and confidence signals before you commit to a meetup.
Already know your stack, reach, current-bike geometry, or fit-report details? Start with detailed fit inputs to improve your recommendations.