
How to Inspect Used Bike Wheels: The Essential Checklist
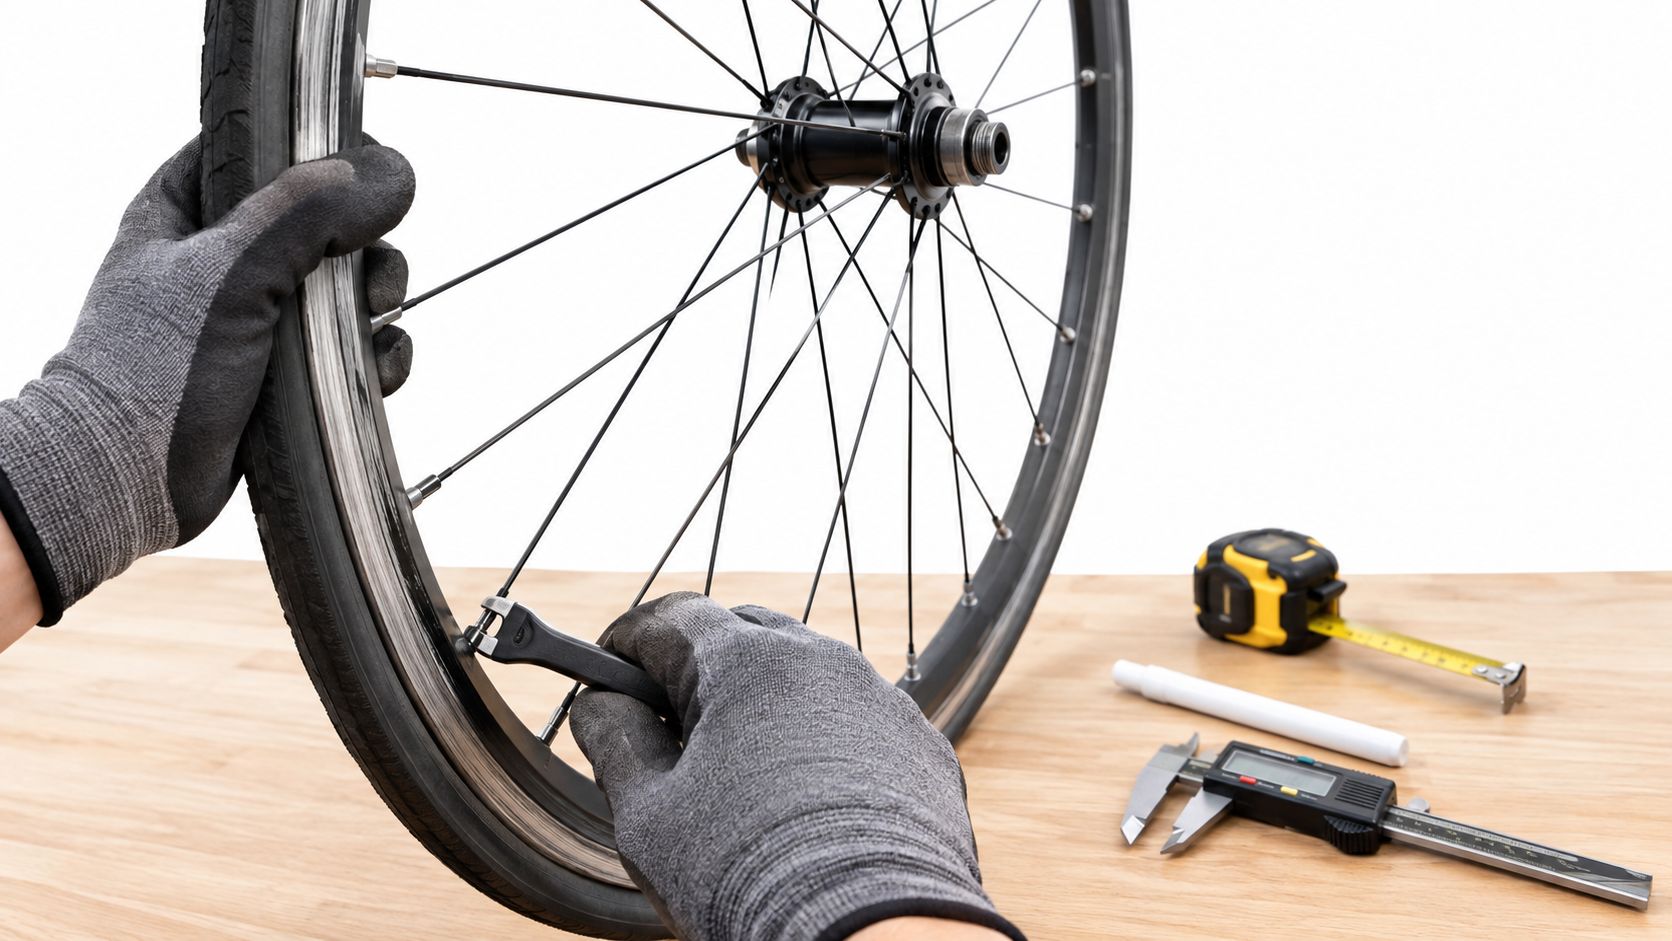
A used wheel should be inspected for structural rim condition, true rotation, spoke condition, hub smoothness and play, tire and bead seating, and the level of uncertainty around prior damage or repairs. A quick spin in a seller's driveway is not enough to answer those questions.
You're standing beside a used road or gravel bike, the seller spins the wheel, and it appears fine. That demonstration proves very little. Lateral or radial rim deviation can be easy to miss until the wheel is rotated against a fixed reference, a tire can mask rim movement, and hub problems may not be obvious from a quick spin. The useful distinction is between cosmetic wear, which may affect appearance, and structural defects, which affect braking, tire retention, wheel stability, or fatigue life.
The wheel inspection should happen before you decide whether the bike's price makes sense. If a wheel may need replacement, a rebuild, or professional diagnosis, that cost and uncertainty should be considered separately from the bike's overall value. If you cannot establish that the wheel is structurally sound, treat the condition as unresolved until a qualified mechanic evaluates it.
Table of Contents
- Preparation and Tool Requirements for Wheel Inspection
- Inspecting the Rim for Structural Integrity and Wear
- Testing Wheel Trueness and Spoke Tension Dynamically
- Evaluating Hub Bearings and Axle Play
- Deciding Whether the Wheel Needs Service, Diagnosis, or Replacement Consideration
- Keeping Fit Separate From Wheel Condition
Preparation and Tool Requirements for Wheel Inspection
Start with a clean, controlled workspace. You do not need an expensive truing stand to assess a used bike, but you do need enough light, room to rotate the wheel, and a methodical sequence. At a meet-up, ask to see the bike in daylight and bring a small flashlight. At home, place the bike where the wheel can spin freely and where you can view it against a fixed reference.
Separate the surface inspection from the load and movement inspection. Dirt can hide hairline cracks around spoke holes, corrosion at nipples, and damage near the valve hole. Wipe the rim, spokes, hub, and tire sidewall before deciding that a mark is only cosmetic.
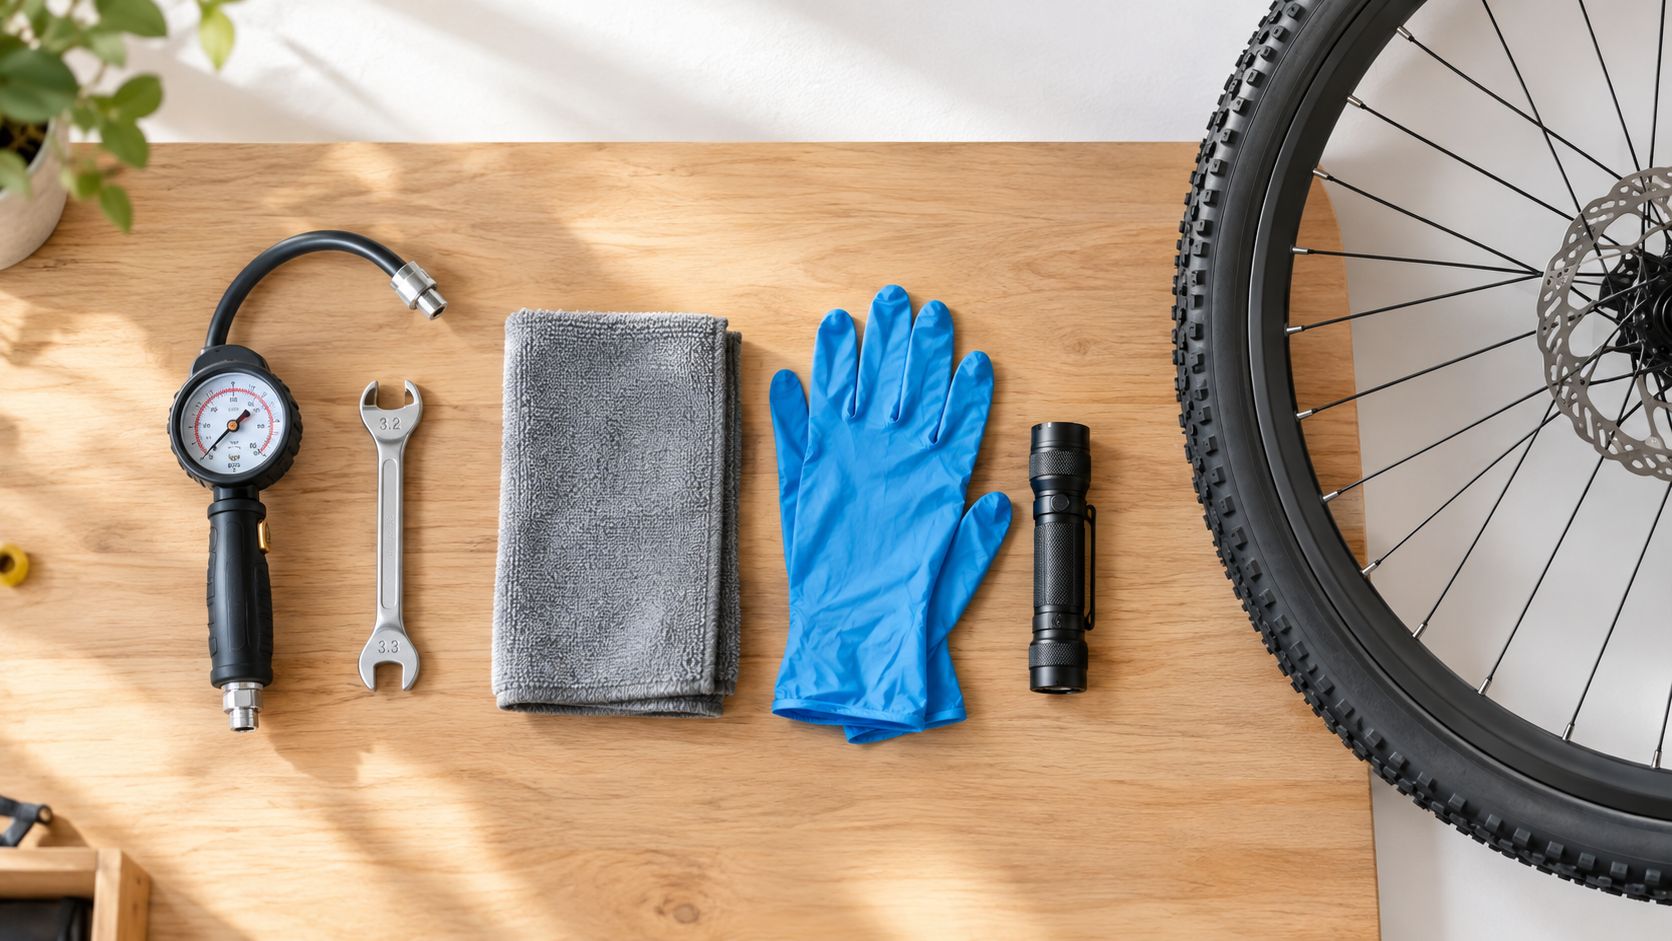
Assemble a practical inspection kit
A compact kit gives you more useful information than a specialist tool you do not know how to use.
Pressure gauge: Check whether the tire is within its stated operating range and whether anything changes as pressure is brought up within the manufacturer's limits.
Flashlight and cloth: Clean and illuminate the brake track, spoke holes, bead seat, and hub seals.
Tape measure or small ruler: Record visible movement and compare a gap against a fixed reference.
Chalk marker: Mark the point where a wobble, hop, dent, or damaged spoke appears during rotation.
Small wrench set: Check axle hardware only where the hub design allows it without forcing parts.
Spoke wrench: Useful for identifying the nipple size and discussing serviceability, but do not start turning nipples during a purchase inspection.
Notebook or phone: Record defects separately for each wheel, rather than relying on memory.
A used bike checklist from SYCLR can help you organize the wider inspection, but the wheel still deserves its own pass. Record whether the wheel is rim-brake or disc-brake, aluminum or carbon, tubeless-ready or tube-type, and whether the tire appears properly seated.
Practical rule: Do not negotiate from vague impressions. Mark the exact defect, identify whether it affects structure, adjustment, or uncertainty, and ask what repair or inspection would clarify the wheel's condition.
Keep a tolerance reference available, but do not treat one measurement as a universal safety limit. Wheel designs differ, and the key question is whether the observed problem reflects normal service adjustment, poor tire seating, impact damage, or structural compromise.
Never exceed the tire or rim manufacturer’s stated pressure limits during inspection. If rim integrity is uncertain, deflate the tire and obtain professional assessment.
Inspecting the Rim for Structural Integrity and Wear
A used wheel can look clean in a seller's garage and still fail after a hard impact or repeated braking load. Separate cosmetic flaws from structural damage: scratches, faded decals, and light surface marks may be harmless, while a concave brake track, cracked spoke hole, or distorted bead seat can create real safety concerns. The rim carries spoke tension, supports the tire bead, and, on rim-brake wheels, supplies the braking surface. Inspect its full circumference slowly, including the areas hidden when the bicycle is parked.
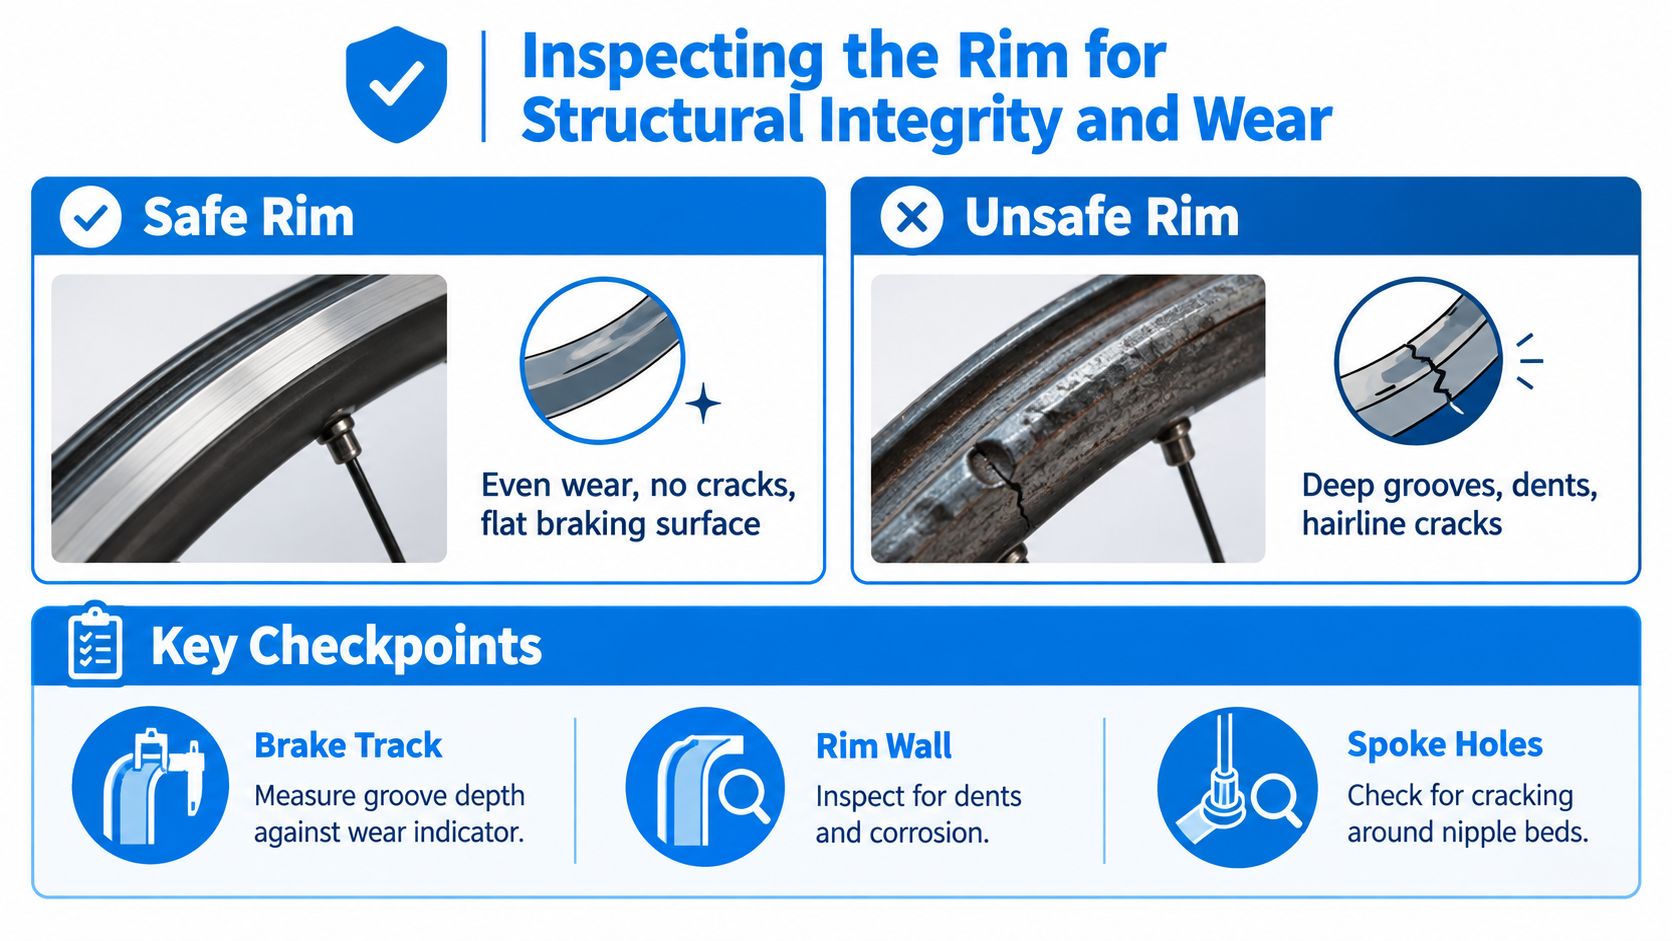
Read the brake track and sidewalls
On a rim-brake wheel, sight along the braking surface for a concave profile, deep grooves, cracks, or deformation. Use manufacturer wear indicators or specifications where they are available. A wear indicator reaching its stated limit, deep concavity, cracks, or sidewall deformation deserves professional assessment and may require replacement consideration.
Do not assume that a missing or unclear wear indicator tells the whole story by itself. Some rims use different wear-marking systems, and some older rims may require more careful visual and physical inspection of the sidewall shape and condition.
Disc-brake rims avoid brake-track wear because the rotor carries the braking load. They remain exposed to impact damage, spoke-hole fatigue, dents, and bead-seat deformation.
Inspect common stress areas
Use light to inspect both sidewalls, the spoke holes, nipple beds, valve hole, and tire bead seat. A visible crack is a serious defect. A dent in the brake track can affect braking, while deformation at the bead seat can interfere with tire retention. A sharp flat spot usually indicates a hard impact rather than normal wear.
Check these areas carefully:
Spoke holes: Look for hairline cracks, elongation, pulled-through nipples, or polished stress marks.
Bead seat: Check for dents, rolled edges, and sharp deformation.
Brake track: Look for deep grooves, sidewall concavity, cracks, or deformation.
Carbon surfaces: Inspect for cracks, crushing, soft spots, and surface irregularities. The guidance on how to inspect a used carbon bike is particularly relevant around impact zones.
Visual inspection cannot rule out hidden carbon damage. Suspicious impact marks, cracking, crushing, delamination, or soft areas require professional evaluation before riding.
A scratch may justify a closer look. A structural crack changes the diagnosis entirely. If a rim shows confirmed cracking, do not ride it until a professional has assessed whether replacement is required.
Testing Wheel Trueness and Spoke Tension Dynamically
A wheel can look acceptable at a glance yet reveal lateral or radial deviation when rotated carefully against a fixed reference. Install it in the bicycle or a truing stand. Use a fork blade, frame stay, brake pad, rotor, or fixed pointer as a reference, then rotate the wheel slowly.
Watch for two movements:
Lateral deviation: the rim shifts from side to side.
Radial deviation: the rim moves toward and away from the axle.
Any clearly visible lateral or radial deviation deserves closer inspection. Compare against manufacturer specification when available and determine whether the cause is truing, tire seating, impact damage, or structural deformation.
Separate tire movement from rim movement
Watch the rim edge first, then the tire tread and sidewall. If the tire moves while the rim stays steady, check for poor seating, casing irregularity, or tire damage. If the tire and rim move together, inspect the rim and spoke structure more closely.
Mark the high or low point with chalk. Look there for a dent, flat spot, brake-track damage, or a spoke with noticeably different feel from its neighbors. A repeated deviation at one impact point suggests a different problem from a smooth, distributed deviation that careful truing may correct.
The same rotation test can expose rotor rub, rim-brake pad contact, movement at the dropouts, or a hub that shifts as the wheel turns. Velopedia's used-wheel guidance also recommends distinguishing tire movement from rim movement and checking spokes, nipples, corrosion, bearing roughness, axle play, and distortion around the spoke holes.
Treat the squeeze test as screening only
Squeeze paired spokes gently at several representative points and compare their feel. Plucking can reveal a dramatic outlier, but it cannot measure actual tension. The left and right sides of a dished wheel may use different spoke tensions, so matching feel or pitch is not the goal.
Use the squeeze or pluck check only as screening for obvious anomalies such as a loose spoke, a seized nipple, or a spoke that feels very different from nearby spokes. Tension targets are wheel-specific and rim-specific. If tension is in doubt, compare against the manufacturer specification and have a mechanic confirm it with a calibrated tensiometer. The manufacturer-based wheel tension guidance recommends measuring multiple representative points, recording the tight and slack sides separately, and comparing the results with the rim or wheel specification.
Evaluating Hub Bearings and Axle Play
Rim trueness and hub condition are separate questions. A wheel may run straight while its bearings are worn, or the hub may be smooth while the rim needs truing. Remove the wheel when possible, support it by the axle, and rotate it slowly rather than judging it by how long it free-spins.
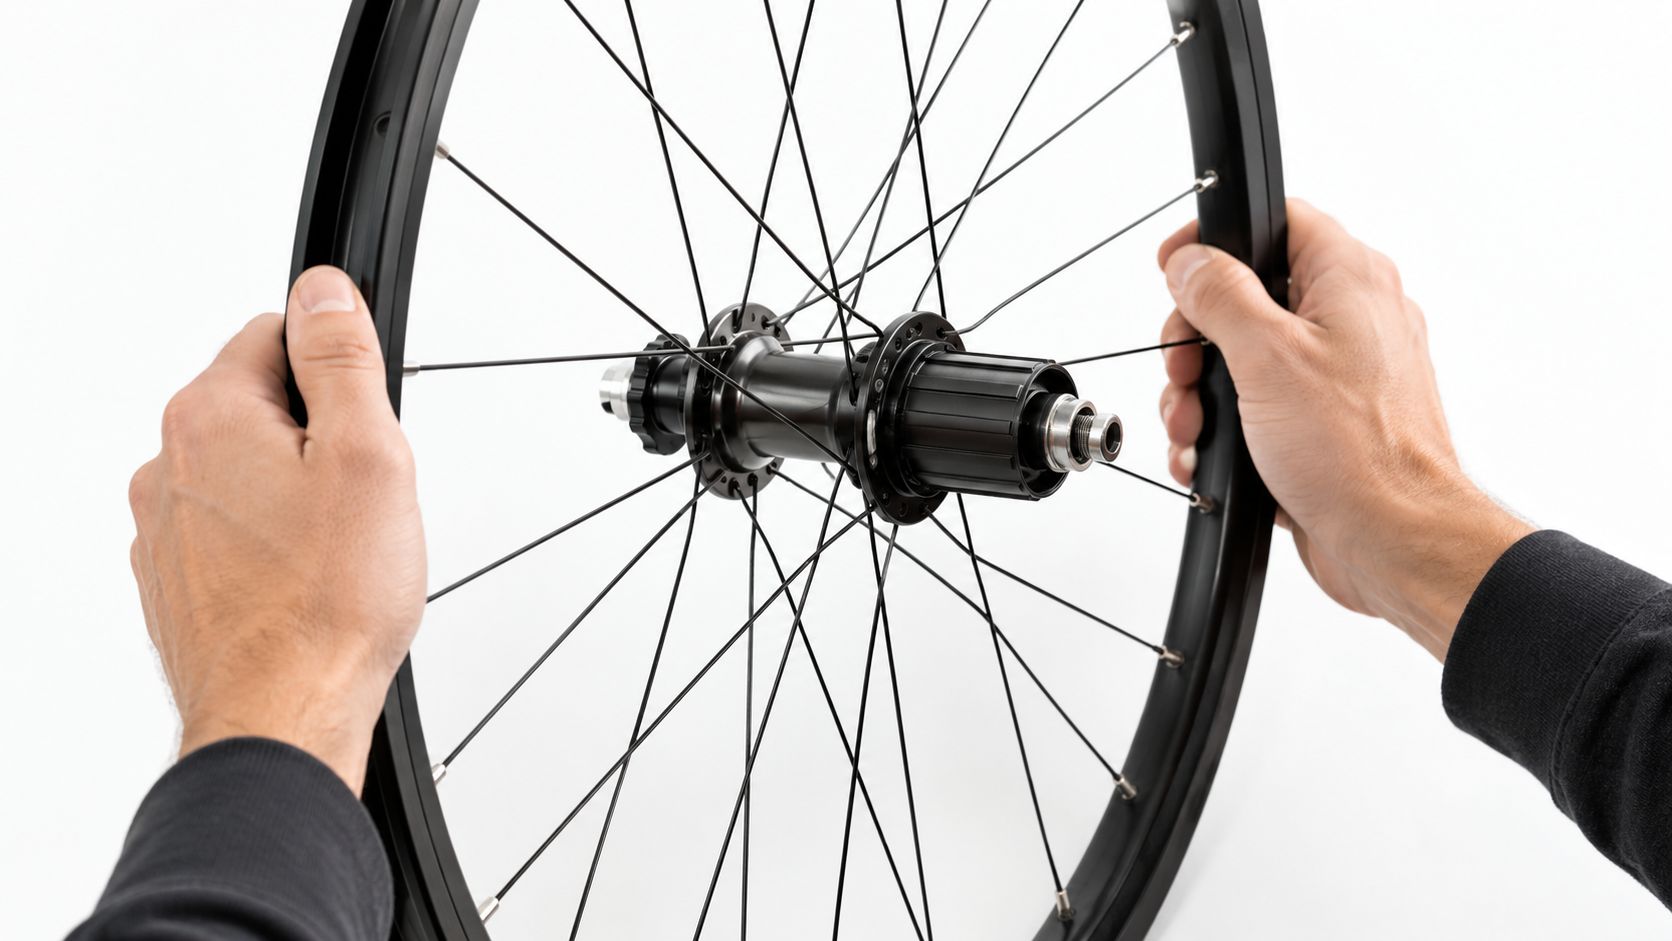
Feel for grinding, binding, repeating rough spots, or a notch as the axle or wheel turns. Smooth rotation matters more than spin duration. Seal drag can shorten a free-spin without indicating a bearing fault, while a bearing can feel rough even if the wheel continues rotating.
Test play at the rim
Hold the rim firmly and rock it from side to side relative to the axle. Noticeable play relative to the axle warrants diagnosis. First confirm correct installation and axle security, then inspect bearing adjustment, bearings, end caps, and hub condition.
Possible causes include loose adjustment, worn cartridge bearings, worn cup-and-cone bearings, a damaged axle, contamination, or a hub that needs replacement parts. Do not confuse this movement with a rim that just needs truing. Truing changes the rim's relationship to the hub. It does not remove bearing play.
Check the axle ends and threads for damage, and inspect end caps for looseness where the hub design allows it. If a dust cap can be removed without damage, look for contamination or pitting. Do not pry off sealed parts at a seller's driveway, since creating damage during inspection does not improve your buying position.
A short video can clarify the difference between smooth rotation and rough bearing movement when you are learning the feel. Use it as a visual aid, not as a substitute for handling the wheel yourself.
If the seller says the play is "just adjustment," ask whether the wheel can be adjusted without damaging the bearings or compromising preload. A mechanic can often diagnose that quickly. You should not treat hub condition as resolved until the cause of the play is understood.
Deciding Whether the Wheel Needs Service, Diagnosis, or Replacement Consideration
A wheel can look clean in a seller's driveway and still become unstable once it carries weight over rough pavement. Cosmetic marks, a dirty cassette, and superficial scratches may be acceptable. Cracks, unstable hubs, severe wear, and unexplained fatigue can turn a low price into an immediate inspection or repair project.
Classify the wheel by condition and uncertainty, not by appearance alone.
| Finding | What it means | Next step |
|---|---|---|
| Confirmed structural crack in the rim, spoke hole area, or sidewall | Structural integrity is compromised | Do not ride until professionally assessed. Replacement may be required. |
| Deep brake-track concavity, deformation, or a manufacturer wear indicator at its stated limit | Rim wear may have reached a service limit | Obtain professional assessment and compare with manufacturer guidance. |
| Noticeable hub play or rough bearing feel | The hub needs diagnosis | Confirm installation first, then inspect bearing adjustment, bearings, end caps, and axle condition. |
| Clearly visible wobble or hop with no obvious crack | The wheel may need truing, tire reseating, or closer structural inspection | Determine whether the cause is tire seating, spoke tension imbalance, impact damage, or rim deformation. |
| Broken, corroded, or repeatedly replaced spokes | Fatigue history or maintenance history may be affecting reliability | Check for matching spoke types, nipple condition, rim-hole stress, and service records. |
| Cosmetic scratches with sound structure | Appearance issue only | Note it separately from mechanical condition. |
Ask for evidence when wheel history is unclear
Seller evidence matters most when the wheel's condition is uncertain. Ask about wheel age, impacts, spoke replacements, previous truing, rebuilding, bearing service, tubeless setup history, and whether a shop has recently inspected the wheel.
Useful evidence includes service receipts, rebuild invoices, spoke replacement records, photos taken before and after a repair, or a mechanic's written notes. A seller who can explain when the wheel was last trued or why a spoke was replaced gives you more context than a seller who only says the wheel "spins true."
A quiet spin cannot reveal hidden fatigue, poor tire seating, unresolved spoke-tension concerns, or localized damage. When the wheel history is unclear, unresolved uncertainty is itself part of the condition assessment.
Keep value separate from diagnosis
First determine the wheel's mechanical condition as carefully as you can. Then consider how that condition affects value. Keeping valuation separate from diagnosis helps prevent a low asking price from distracting you from unresolved structural or service questions.
For wider seller and listing warnings, consult the used bike red flags guide. Ask about wheel age, spoke replacements, prior truing or rebuilding, bearing service, impacts, and any professional inspection. A transparent answer supports confidence. Evasive answers increase uncertainty, even when cosmetic condition looks good.
Keeping Fit Separate From Wheel Condition
Wheel condition is separate from fit. First determine whether the exact bike is a plausible candidate using fit and geometry signals or a known reference, then evaluate the wheels as a mechanical-condition question.
Compare wheel findings with listing confidence
Rim-brake wheels need focused brake-track inspection because braking removes material from the rim sidewall. Disc-brake wheels avoid that specific wear mode, but they still need checks for impacts, spoke-hole cracks, bead-seat damage, hub play, and tension fatigue. The brake system changes the failure modes, not the need for inspection.
Before visiting a seller, collect the listing's frame size, model year, wheel type, component descriptions, photographs, seller disclosures, and any service history. Missing photographs of the brake track, spoke holes, or hub ends should lower your confidence in the listing, even if the wheel is described as "true."
SYCLR compares road and gravel listings using fit signals, geometry signals, model-year context, price context, listing quality, condition signals where available, and confidence signals. It can help you compare listings before you spend time inspecting a bike in person, but it does not perform a professional bike fit, physically inspect bikes, authenticate listings, verify ownership or seller claims, or guarantee fit or condition.
Use the digital shortlist to decide which bikes deserve a hands-on visit. Then apply the wheel checks in this guide, document defects, and keep wheel diagnosis separate from overall fit and value decisions.
Frequently asked questions
How can I tell whether a used bike wheel is safe?
Look for a crack-free rim, stable hub, intact spokes, proper tire and bead seating, and true rotation. On rim-brake wheels, inspect the brake track with attention to wear indicators, concavity, and deformation. A wheel that only appears straight while stationary has not passed a meaningful inspection.
Is a small wheel wobble acceptable?
The amount matters less than the cause. Any clearly visible lateral or radial deviation deserves closer inspection. Compare against manufacturer specification when available and determine whether the cause is truing, tire seating, impact damage, or structural deformation.
Can I check spoke tension without a tensiometer?
You can compare spoke feel or sound to identify major outliers, but that is only screening. It is not a true tension measurement. Use manufacturer specification for the wheel or rim, and have a mechanic confirm uncertain tension with a calibrated tensiometer.
Should I buy a wheel with a cracked rim?
A confirmed structural crack means the wheel should not be ridden until it has been professionally assessed. Replacement may be required.
How do I test hub bearings?
Rotate the axle slowly and feel for grinding, binding, rough spots, or notching. Then rock the rim side to side relative to the axle. Noticeable play relative to the axle warrants diagnosis. First confirm correct installation and axle security, then inspect bearing adjustment, bearings, end caps and hub condition.
Are disc-brake wheels less risky than rim-brake wheels?
They avoid brake-track wear on the rim, but they are not automatically healthier. Inspect disc-brake rims for impact damage, spoke-hole cracks, bead-seat deformation, tension problems, and hub play.
What should a seller disclose about used wheels?
Ask about wheel age, impacts, spoke replacements, prior truing or rebuilding, bearing service, tubeless history, rim-wear indicators where relevant, and any professional inspection. "Spins true" is useful information, but it does not describe fatigue history, repair history, or hub condition.
SYCLR compares road and gravel listings using fit signals, geometry signals, model-year context, price context, listing quality, condition signals where available, and confidence signals. Visit SYCLR to shortlist plausible bikes first, then use this wheel inspection process to reduce mechanical guesswork before you buy.