
Long Torso Short Legs Bike Fit Guide to Better Geometry
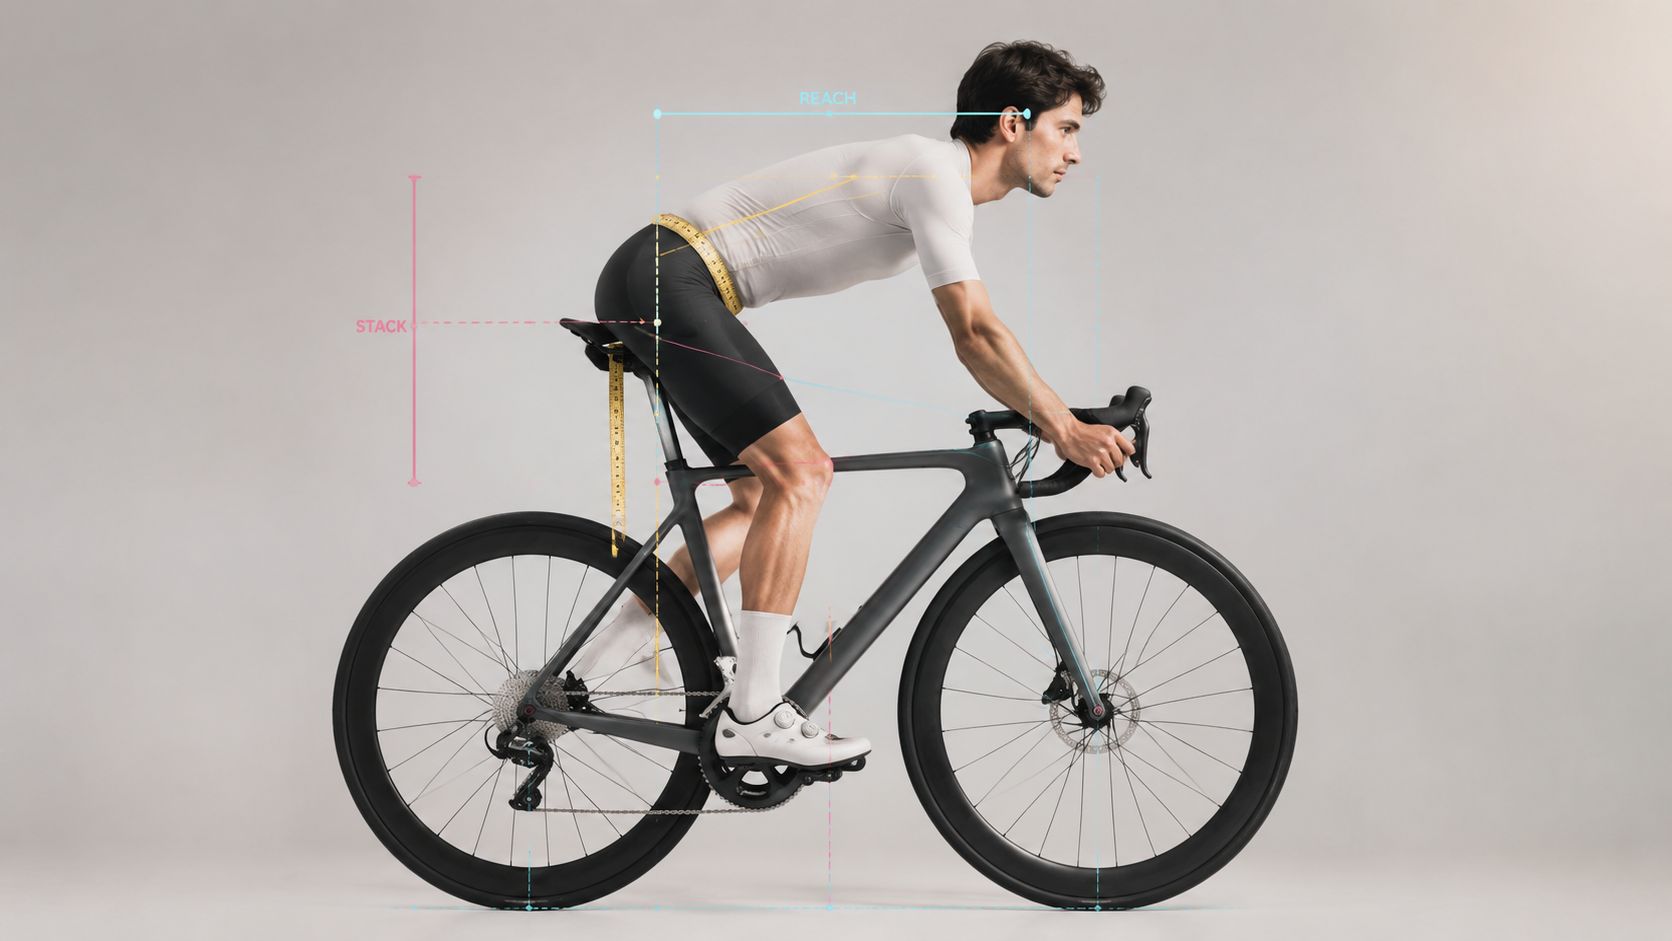
You've found a road or gravel bike that looks right, the price is reasonable, and the frame size seems to match your height. But once you compare the actual geometry, the size suggested by height alone may not support the riding position you expected.
For a long torso short legs bike fit, height is still a useful starting filter, but it is often not enough on its own. Stack and reach are useful frame-level comparison signals, especially when you read them alongside current-bike contact points or fit context that already works for you. A good deal is only a good deal if the bike fits your body, riding goals, terrain, and realistic adjustment range.
Table of Contents
- Why Long Torso Short Legs Changes Bike Fit
- Build Useful Fit References
- Understanding Stack Reach and Frame Geometry for This Build
- Choosing Frame Size and Adjusting the Cockpit the Right Way
- Evaluating Used Listings and Test Ride Checklist
- How SYCLR Helps You Shortlist Better Fit Options
- Long Torso Short Legs Bike Fit FAQs
- Is height useless for bike fitting?
- Does a long torso and short legs combination automatically determine frame size?
- Can body proportions tell me exactly what stack and reach I need?
- Should I move the saddle back to fix a short cockpit?
- Can cockpit changes fix any frame mismatch?
- Should I choose a race frame or an endurance frame because of my proportions?
- Can I assess a used bike's fit from listing photos?
Why Long Torso Short Legs Changes Bike Fit
Height-based or inseam-heavy sizing charts can point riders toward a nominal size that does not fully reflect their proportions or current-bike position. That is why the exact geometry chart matters more than the size label alone. The opposite can also happen. A rider may look at a larger size for more room up front, then discover that the frame brings compromises elsewhere.
The key point is simple. A long torso and short legs combination can make height-only sizing less useful, but it does not automatically determine frame size, required reach, stack, stem length, or whether a race or endurance frame is the answer.
The body proportion problem
Body proportions affect how a bike may feel, but they do not create a simple sizing rule. Two riders of similar height can need different bikes. Two riders who both describe themselves as long-torso and short-leg can also need different positions, different cockpit setups, and different frame shapes.
That is why proportion labels are best treated as fit context, not as a formula. They tell you to look more carefully at geometry and adjustment range. They do not tell you, by themselves, what the final answer will be. Independent fit guidance discusses these morphology differences in its bike-fit guidance on body proportions.
Practical rule: Use body proportions to ask better fit questions, not to assume a specific frame size or cockpit solution.
A fit-first buying workflow
Start with height and inseam as basic context, then add any reliable professional-fit information or current-bike geometry from a position that already works well for you. After that, compare candidate frames using the manufacturer's geometry chart and the bike's actual cockpit parts.
The buyer consequence is straightforward. If you filter by height alone, you may end up compensating for a frame that was never a strong match. If you compare size, stack, reach, standover, seat-tube angle, cockpit parts, and adjustment limits before you buy, you are more likely to shortlist bikes that are plausible in the first place.
Build Useful Fit References
Use repeatable measurements as supporting context rather than as a formula for determining frame geometry.
Build a reliable comparison set
-
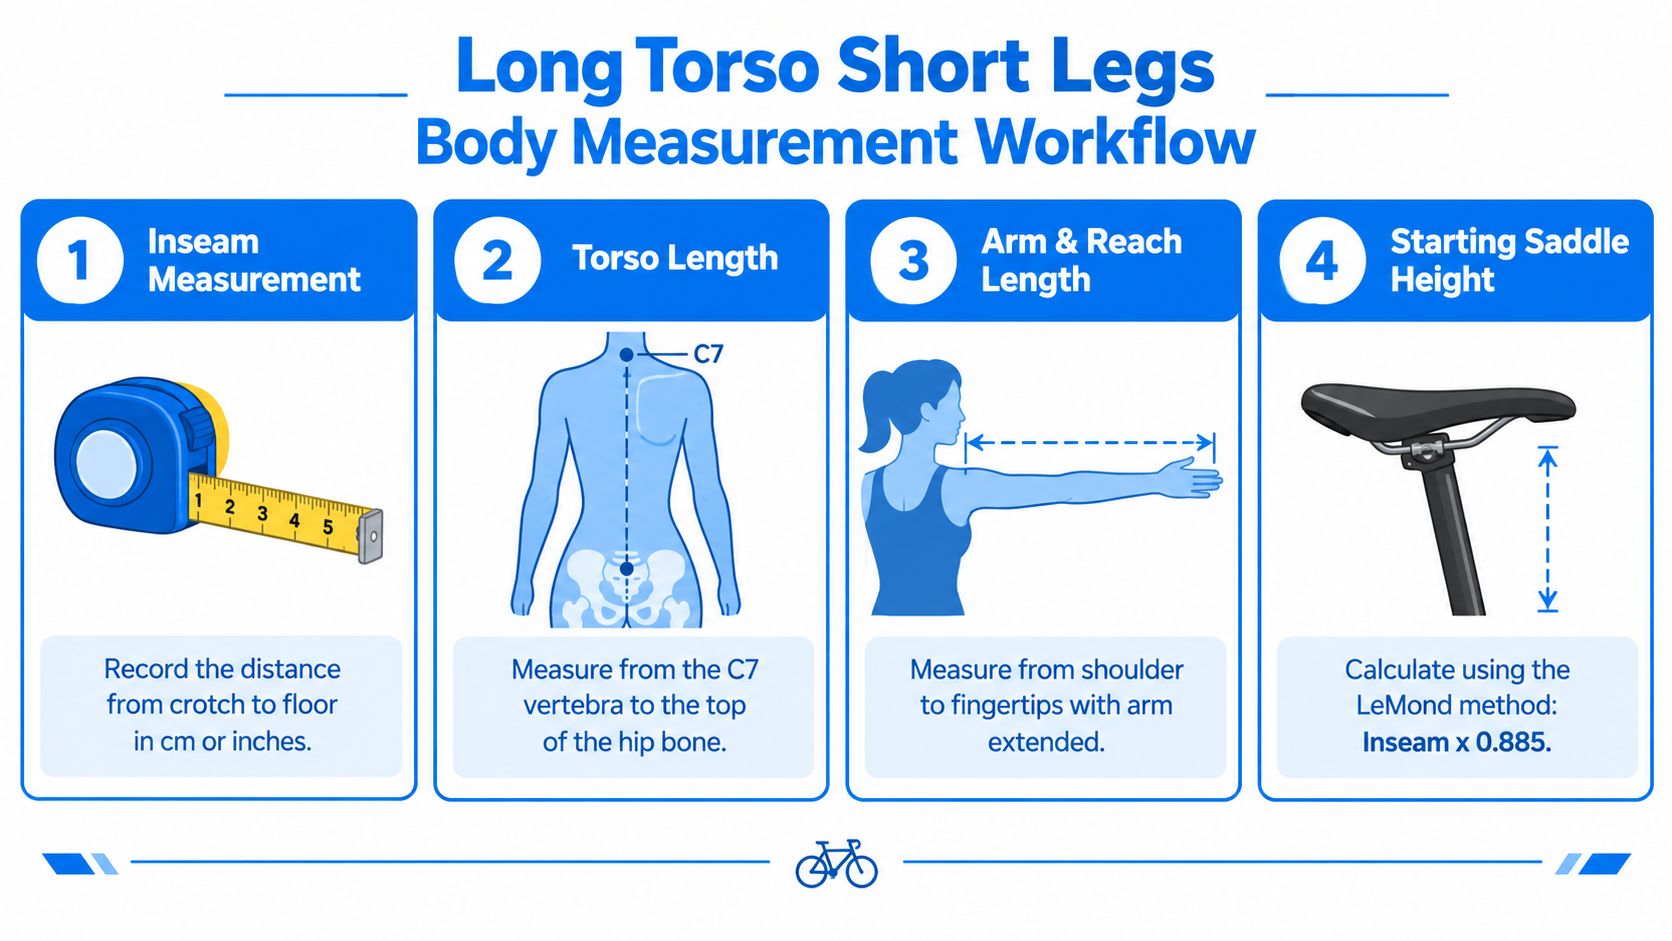
Measure inseam. Stand barefoot with your back against a wall and the book pressed firmly upward between your legs. Keep the book level, mark its top edge, and measure vertically from the floor. Repeat the process until the result is consistent. This is a cycling inseam, not the inside-leg measurement printed on trousers.
-
Record your current position if it works well. Measure from the bottom bracket to the top of the saddle along the seat-tube line, then note saddle setback, bar height, hood position, and the distance from saddle to hood. These contact-point measurements are useful only when the current bike already works for you, or when you are deliberately trying to understand what should change.
-
Collect the frame data for bikes you are considering. Save the exact model year, size, stack, reach, standover, seat-tube angle, stem length, handlebar specification, spacer setup, and seatpost position where available.
Use current-bike information carefully
Current-bike geometry and contact points are helpful only when the current position is genuinely comfortable, functional, and worth keeping. If the bike already feels cramped, too tall, too short, or otherwise compromised, copying its numbers can repeat the same problem.
Use your current bike as a reference when it gives you a position you trust. If it does not, treat it as background information rather than a target.
Turn measurements into useful references
Your aim is not to convert body proportions into geometry formulas. Instead, build a short list of useful references:
-
Inseam, to understand basic saddle-height range and clearance context.
-
Current saddle position, only if it already supports pedaling well.
-
Current reach to the hoods, only if the cockpit already works well and is worth preserving.
-
Current handlebar height, if that front-end height is known to work for your riding.
-
Adjustment range, so you can see whether a candidate bike reaches a sensible setup without substantial cockpit changes.
Enter these details into the SYCLR fit details workflow when you already know your current-bike geometry or fit-report numbers. The more consistent your measurements are, the more useful the comparison becomes.
Understanding Stack Reach and Frame Geometry for This Build
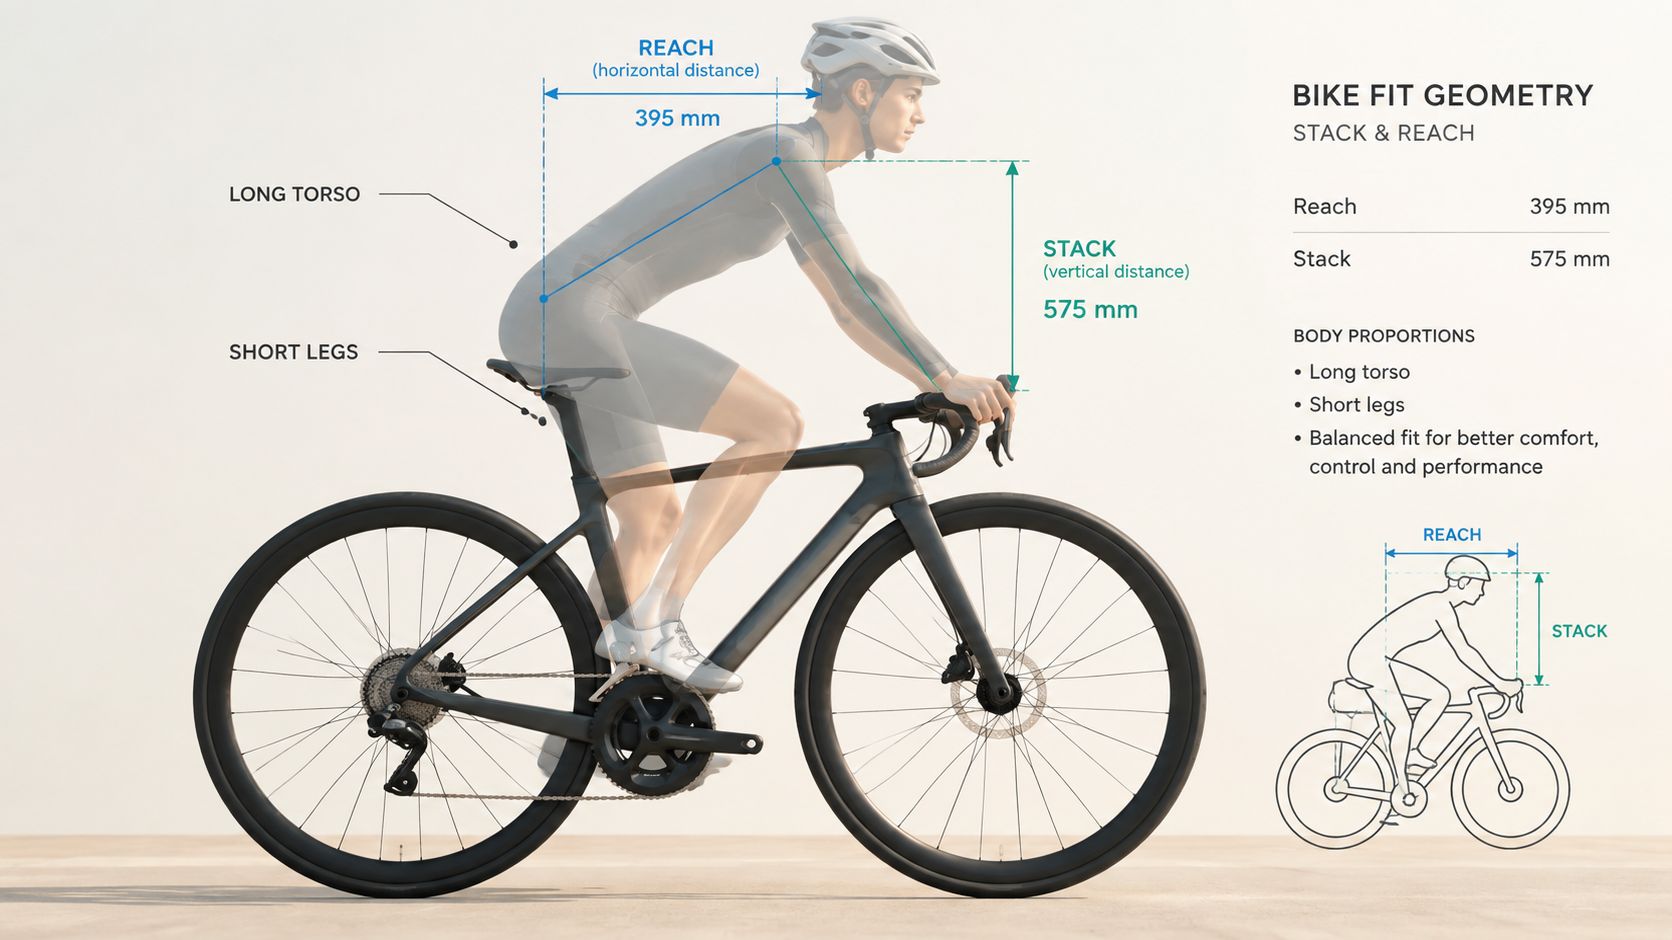
Stack is the vertical distance from the bottom bracket to the top of the head tube. Reach is the horizontal distance between those same points. These coordinates provide a common way to compare how tall and how long a frame may be, even when manufacturers use different size labels.
For riders whose proportions make height-only sizing less informative, stack and reach provide useful frame-level comparison signals.
Read the chart beyond the size label
Seat-tube length can help you understand the frame's nominal sizing, but it does not tell you where the handlebars will land. Top-tube length can also mislead because its measurement method varies, and a sloping top tube makes the number less useful as a direct indicator of rider position.
Check:
-
Exact size, not just Small, Medium, or Large.
-
Stack and reach, for the frame's basic vertical and horizontal coordinates.
-
Standover, for practical clearance while straddling the bike.
-
Seat-tube angle, because it affects how saddle position relates to the bottom bracket.
-
Stem and handlebar specifications, because frame reach is not the same as reach to the hoods.
-
Manufacturer adjustment limits, because a plausible fit still has to stay within the bike's intended setup range.
Standover is a practical clearance consideration, but it is not the same as seated fit. A bike can offer acceptable standover clearance while still being poorly matched to the rider’s intended position. Evaluate seated fit separately from standover.
Use the stack and reach geometry guide when you need a deeper explanation of the two coordinates. The important distinction is that saddle position serves pedaling position, while stack and reach help compare frames.
Choosing Frame Size and Adjusting the Cockpit the Right Way
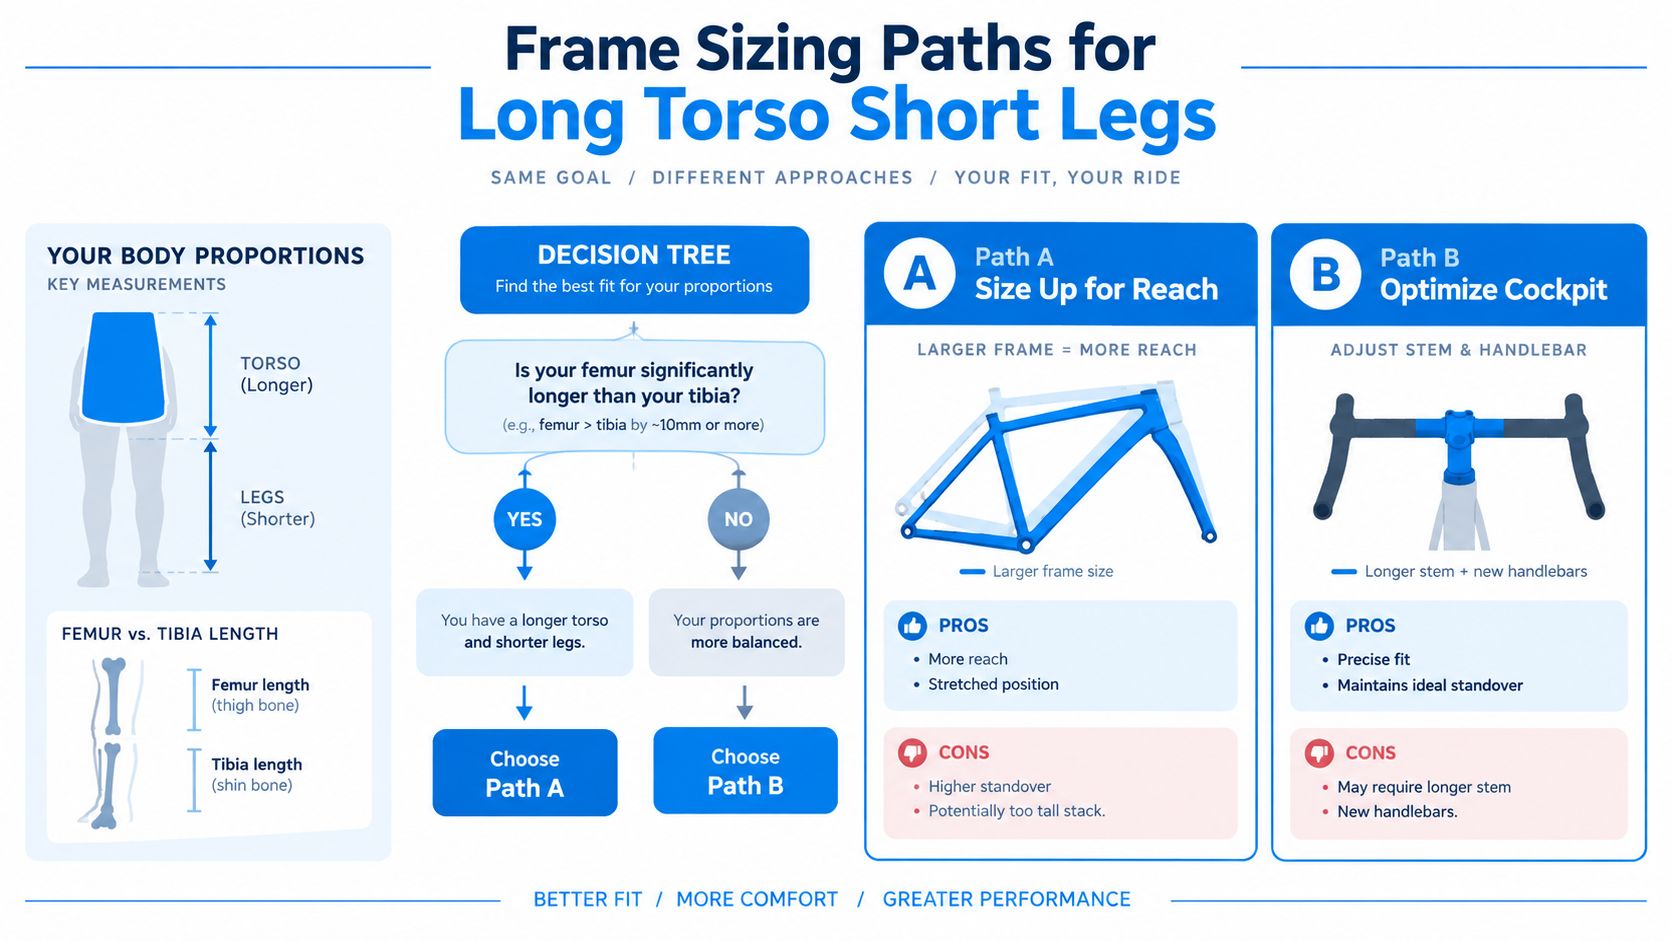
There is no automatic size-up or size-down rule for this body type. A better approach is to compare adjacent sizes carefully, then decide whether the cockpit changes needed are reasonable for a frame that is already broadly suitable.
Compare Adjacent Sizes Without Assuming the Answer
When you sit between two sizes, compare both without assuming that the smaller bike is right for leg length or that the larger bike is right for torso length.
Focus on:
-
Exact size
-
Stack and reach
-
Standover
-
Seat-tube angle
-
Current cockpit specification
-
Manufacturer adjustment limits
This keeps the decision grounded in the actual bike rather than in a body-type rule. The adjacent sizes may differ in stack, reach, standover, front-center, cockpit position, and adjustment range, so compare the complete geometry rather than assigning one size to leg length and the other to torso length. Compare the complete package rather than assuming the answer from body proportions alone.
Use Cockpit Adjustments Only Within a Suitable Frame
Cockpit changes can refine a plausible frame. They do not rescue a poorly matched frame.
A different stem, bar shape, hood position, or spacer arrangement can fine-tune reach and bar height when the underlying frame is already close. But those changes should be judged in the context of the bike's intended setup range and the manufacturer's adjustment limits.
Keep one principle fixed: saddle position serves pedaling position. Do not move the saddle fore or aft to solve cockpit reach. If the bars only make sense after distorting saddle position, the frame choice needs another look.
The practical question is whether the frame can support the intended position within the manufacturer’s permitted setup range.
If the frame requires substantial cockpit changes to reach the intended position, reassess whether another size or model provides a better starting point.
Evaluating Used Listings and Test Ride Checklist
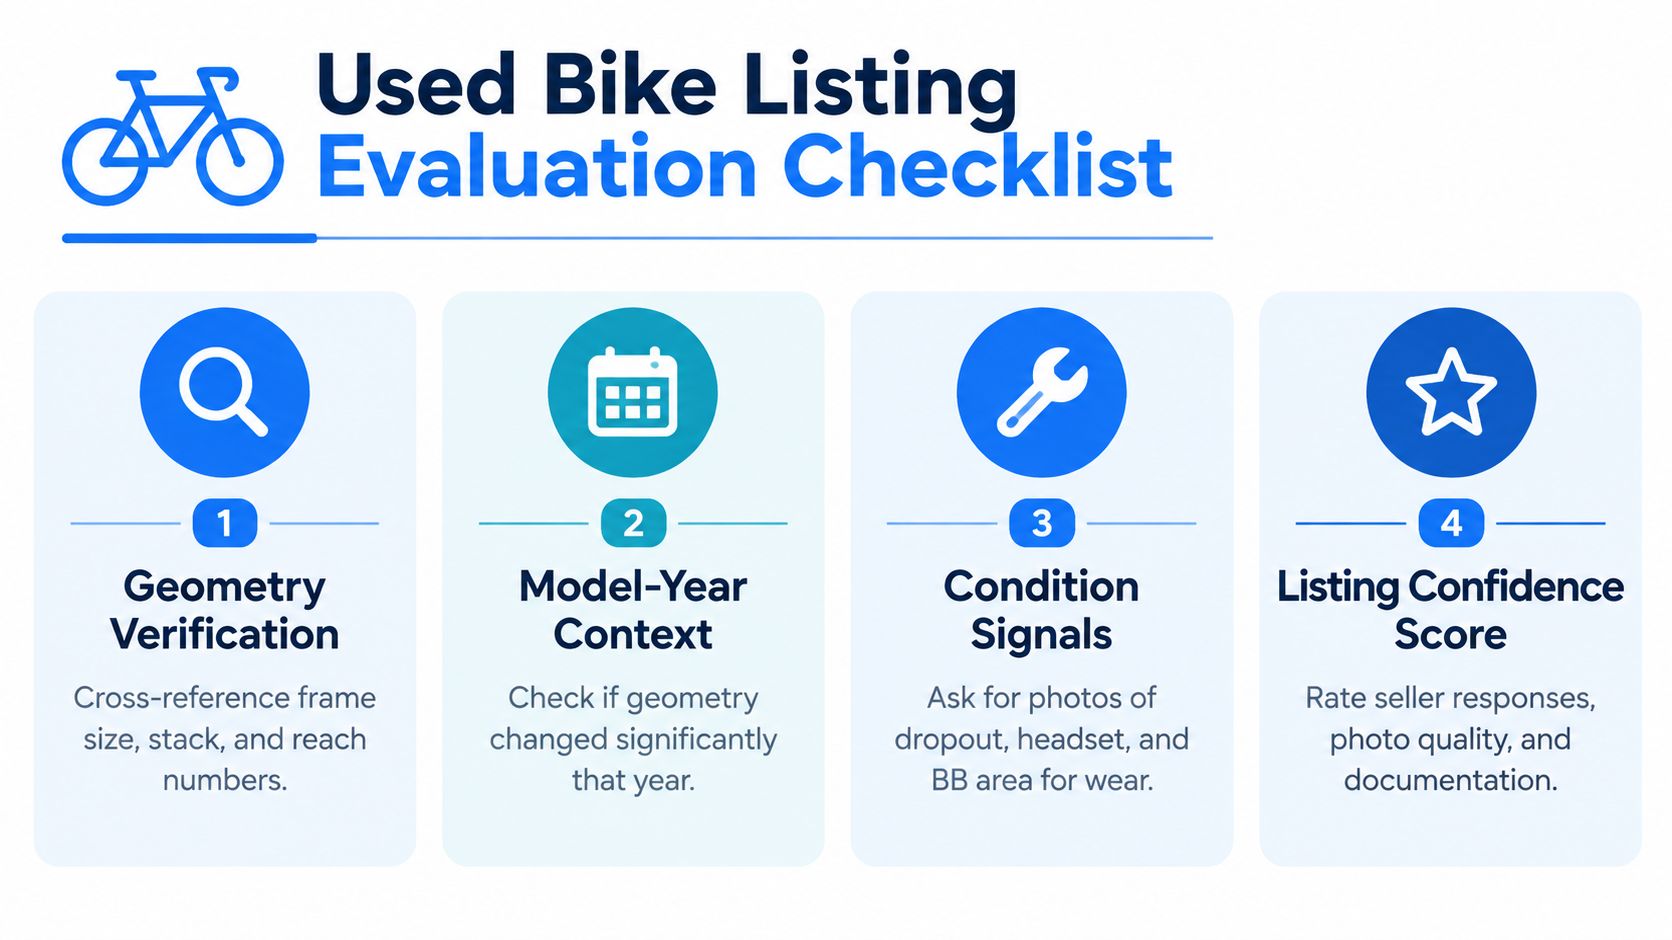
When evaluating a used listing for fit, start with the exact model, model year, frame size, manufacturer geometry, and current cockpit setup. Confirm that the photographed components and cockpit are consistent with the configuration you are evaluating.
Listing information can be incomplete, so verify enough geometry and setup detail to determine whether the bike is a plausible fit candidate.
Request the evidence that changes the decision
Use this checklist before arranging a viewing:
-
Confirm the exact model, year, and size.
-
Check the manufacturer's geometry chart.
-
Review the current cockpit setup, including stem, spacers, handlebar, and saddle position.
-
Compare the listing with your fit reference, if you have one that already works.
-
Account for listing uncertainty, especially when photos, measurements, or specification details are incomplete.
If important geometry or setup information is missing, treat the bike as an unresolved fit candidate until the details can be verified.
Keep the fit check practical
Evaluate saddle position independently from cockpit reach, then compare the frame and cockpit against a known-good current-bike or professional-fit reference where available. If your current bike gives you a known-good reference, compare the used bike against that. If it does not, avoid assuming that a listing photo can answer the fit question on its own.
For a broader inspection process, use SYCLR's used-bike checklist, then treat any remote assessment as a shortlist tool rather than a substitute for an in-person mechanical inspection.
How SYCLR Helps You Shortlist Better Fit Options
A long-torso, short-leg search works best when you separate the questions. First, identify bikes that match your bike type, riding goals, and budget. Then compare the fit and geometry signals that help you decide whether the frame is worth closer attention.
SYCLR lets riders begin with height, bike type, and budget, then add more detailed information when available. That can include current-bike geometry, contact points, inseam context, stack, reach, and other fit references. The platform organizes road and gravel listings around fit signals, geometry signals, model-year context, price context, listing quality, condition signals where available, and confidence signals.
The useful outcome is not a guarantee that a bike will fit. It is a more disciplined shortlist that reduces the number of listings requiring manual geometry research. You still need to verify seller information and confirm whether the final bike is right for you.
If you already know your current-bike stack and reach, enter them through SYCLR's advanced fit details. If you're earlier in the process, start comparing road and gravel listings with rider details and budget, then remove options that appear poorly matched to your geometry and setup needs.
The platform fits alongside, rather than replaces, a broader bike fit guide, a road bike size chart, or an inspection workflow for used road bikes. Its role is to help you compare better-fit options before you contact a seller. SYCLR does not perform a professional bike fit, physically inspect bikes, authenticate listings, verify ownership or seller claims, or guarantee fit or condition.
Long Torso Short Legs Bike Fit FAQs
Is height useless for bike fitting?
No. Height is still a useful starting filter, but it is often not enough for precise fit. A long torso and short legs combination is one reason to compare the actual bike more carefully instead of relying on height alone.
Does a long torso and short legs combination automatically determine frame size?
No. It can make height-only sizing less reliable, but it does not automatically determine the correct frame size. You still need to compare the exact bike, adjacent sizes, geometry, cockpit setup, and adjustment limits.
Can body proportions tell me exactly what stack and reach I need?
No. Stack and reach are useful frame-level comparison signals, but they should not be mathematically derived from body proportions alone. They are most useful when compared with a known-good bike or a fit context that already works.
Should I move the saddle back to fix a short cockpit?
No. Saddle position should serve pedaling position. If the bike only feels long enough after moving the saddle fore or aft for cockpit reasons, reassess the frame and cockpit together.
Can cockpit changes fix any frame mismatch?
No. Cockpit changes can refine a frame that is already plausible, but they do not rescue a poorly matched frame. The bike still needs suitable stack, reach, clearance, and setup range to begin with.
Should I choose a race frame or an endurance frame because of my proportions?
Not automatically. Category labels are less useful than the actual geometry and cockpit setup of the bike you are considering. Compare the specific frame and size rather than assuming a body-type rule.
Can I assess a used bike's fit from listing photos?
Photos can provide clues about cockpit configuration and visible setup, but verify the exact model, year, size, and geometry from reliable documentation. Photos cannot establish whether the bike fits you.
Use SYCLR to compare road and gravel listings with your height, bike type, budget, and available fit context. If you already know your current-bike geometry or fit numbers, use Advanced Fit to narrow the shortlist further.