
How to Buy a Used Gravel Bike Without Guessing on Fit or Value
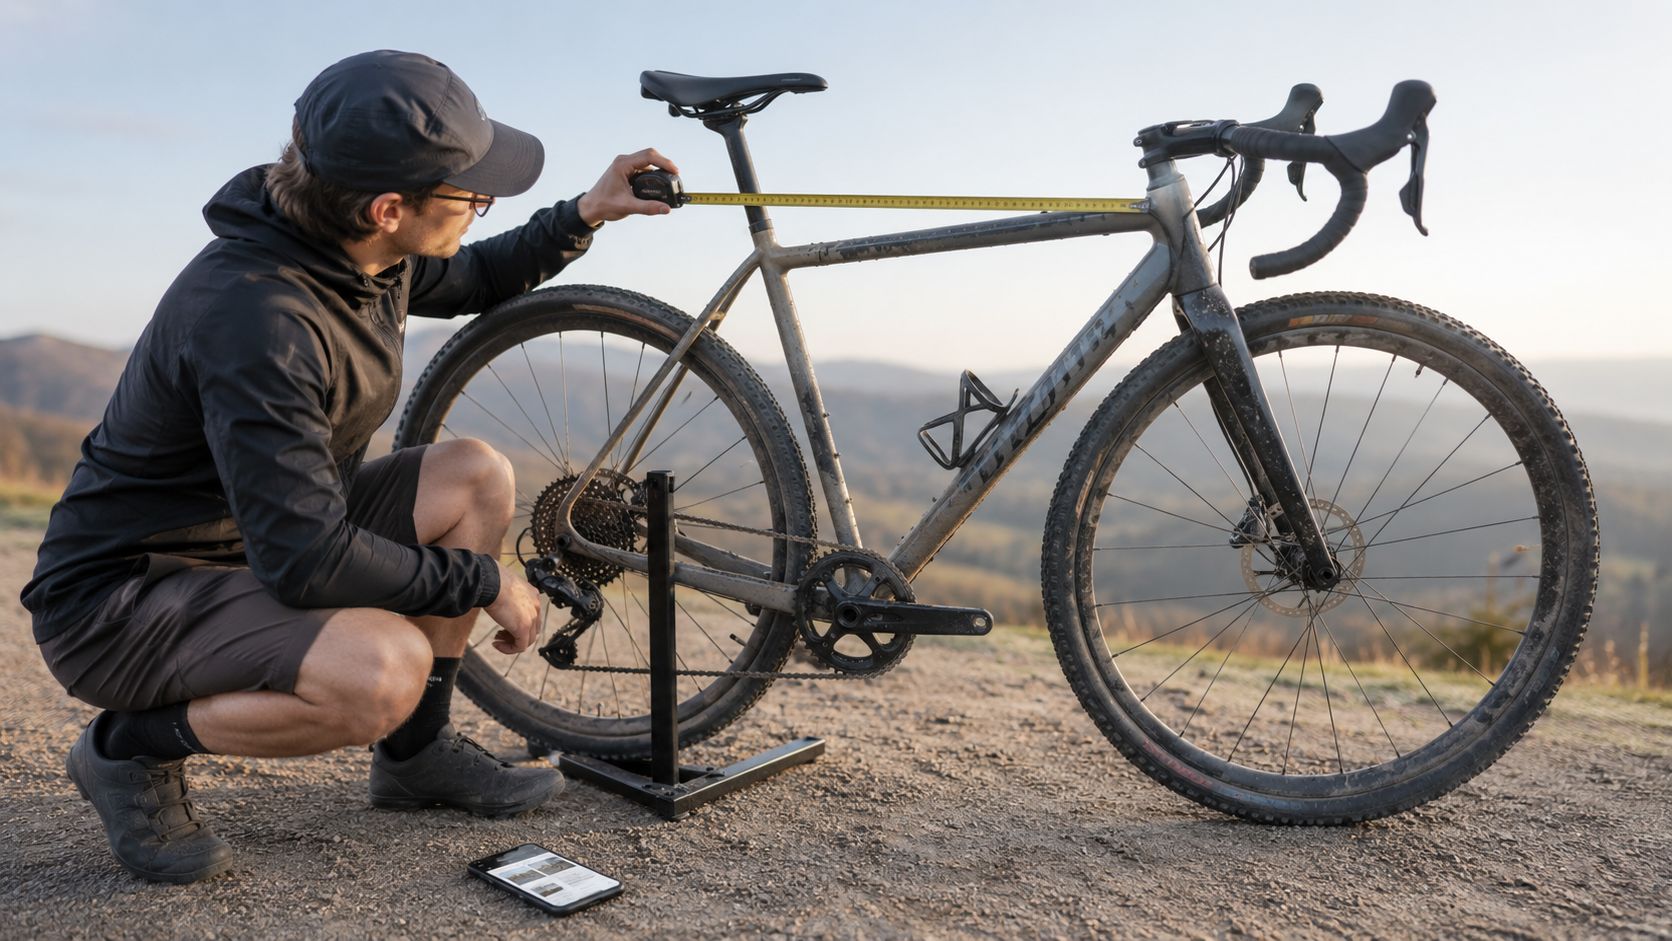
A lot of used gravel bike searches start the same way. You find a listing that looks clean, the price looks low enough to move fast, and the spec list seems close enough to what you want. Then the doubts start. Is it the right year, the right generation, the right fit, and a gravel bike that matches your riding, or just a cheap listing with missing details?
That's the primary challenge when you buy a used gravel bike. The goal isn't to find the lowest asking price. The goal is to shortlist the listings where fit, model year, tire clearance, condition, and seller transparency all line up well enough to justify the money and the effort.
Table of Contents
Understanding why used gravel buying demands care
A cheap listing can hide two expensive problems. First, the bike may not fit the way the size label suggests. Second, the parts that matter most for gravel use may already be worn, outdated, or poorly documented.
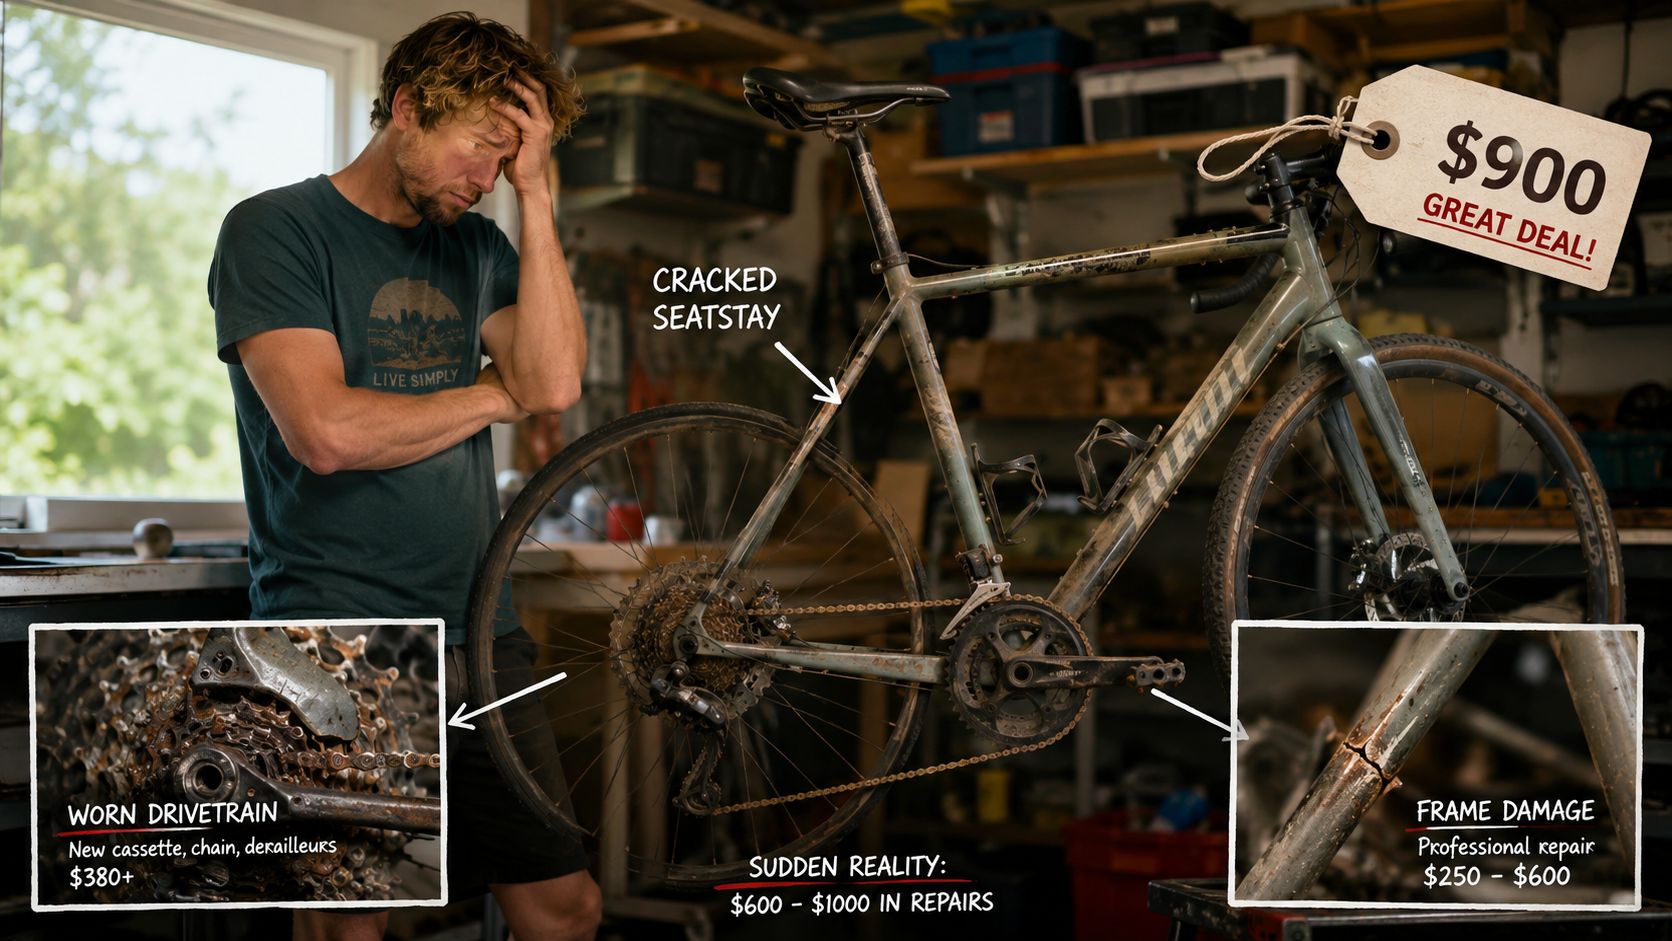
That matters even more now because the used market is large and still expanding. Used inventory can give buyers more options, but more options also mean more variation in quality, fit relevance, and listing clarity. That is why the buying process needs a filter: first fit, then exact model identity, then gravel capability, then condition, then price.
Gravel adds another layer. Two bikes that both say “54” or “Medium” can ride very differently. One may feel stable and controlled on rough roads. The other may put you too low, too stretched, or too cramped once the ride gets long and loose.
Practical rule: A used gravel bike is only a strong buy when the fit works first, the technical details match your terrain, and the condition is clear enough that you're not paying for uncertainty.
I've seen buyers focus on drivetrain tier or frame material before they even know whether the geometry suits them. That usually leads to wasted seller messages, wasted travel, or a bike that looked right in photos and felt wrong within the first hour.
A structured workflow protects you from that. Start with riding intent. Confirm the exact bike. Check fit before you get emotionally attached to the listing. Then judge condition and price in that order.
Defining riding needs and budget
Set the use case before you compare listings. If you don't, every bike starts to look “close enough,” and that's how weak matches make your shortlist.
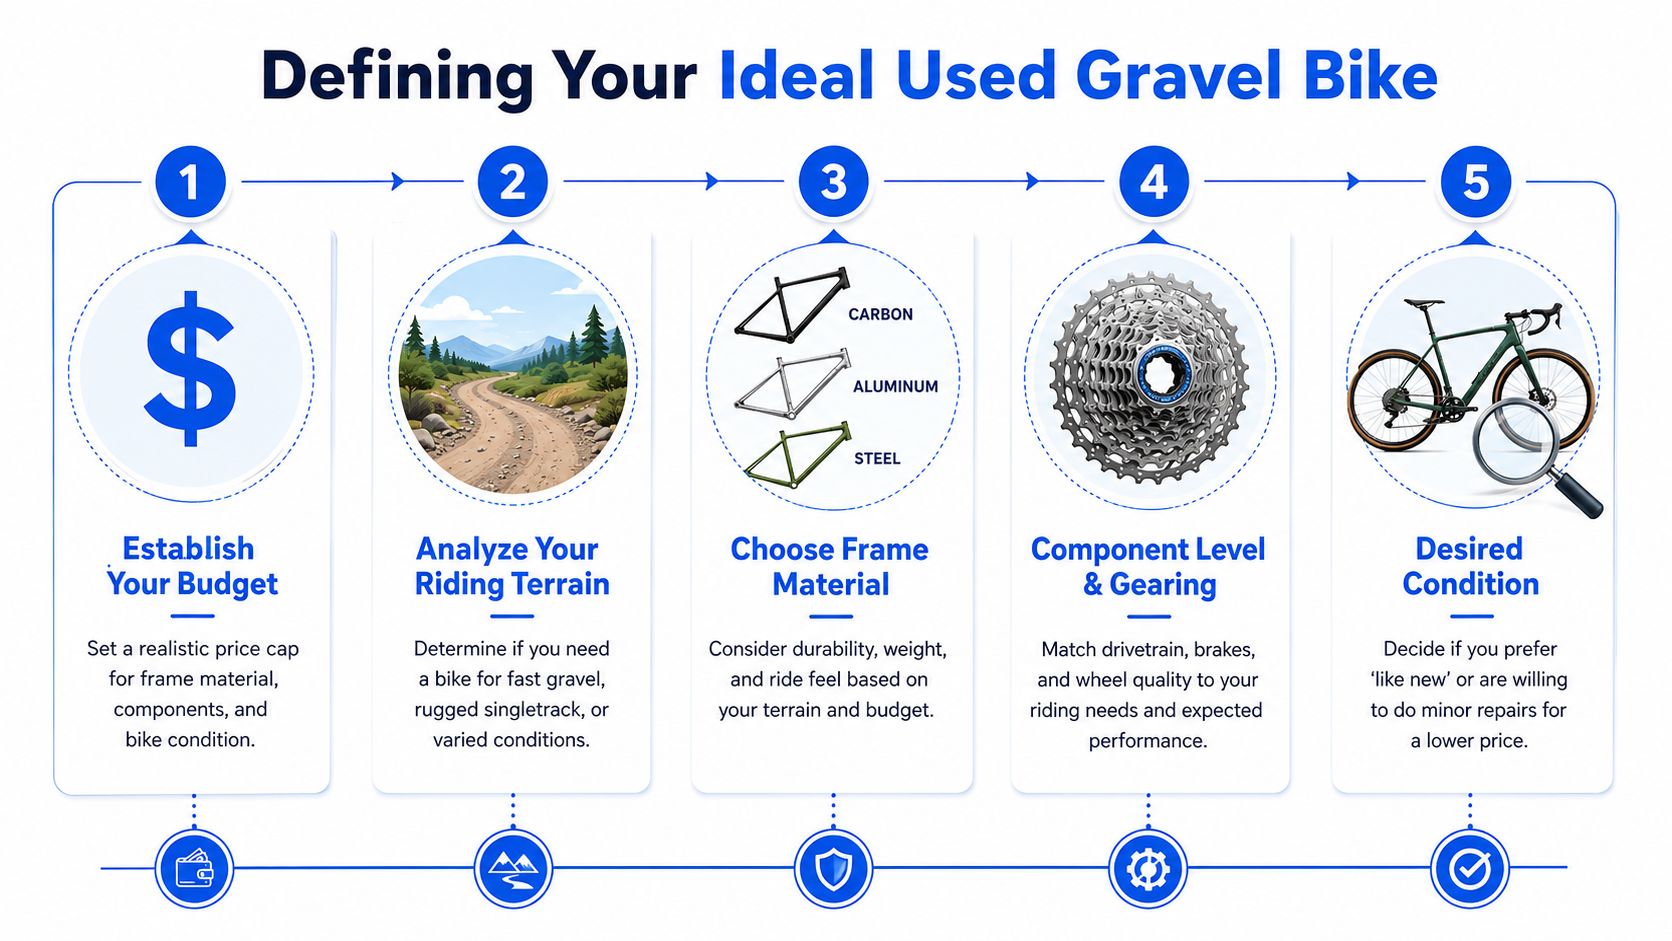
A rider doing mostly pavement, hardpack, and occasional crushed stone can accept a more road-leaning setup than someone riding washboard gravel, loose descents, or loaded mixed-surface routes. A commuter who wants one bike for everything should think differently than a rider building a second-bike quiver option.
Use these questions to define the target before you shop:
-
Terrain first: Are you riding fast mixed-surface loops, rough gravel roads, or loaded all-day routes with gear?
-
Pace and position: Do you want a quick, road-adjacent bike or a calmer bike that feels more stable when surfaces get messy?
-
Repair appetite: Are you comfortable buying a bike that needs basic service, or do you want something ready to ride?
-
Upgrade tolerance: Do you want the bike to work now, or are you okay changing tires, cassette, bars, or wheels later?
Build a budget around trade-offs
Budget isn't just the number in your payment app. It's the total amount you're willing to tie up in the bike after likely service, missing parts, fresh tires, or deferred maintenance.
A realistic used gravel budget should account for:
| Budget area | What it should cover | Why it matters |
|---|---|---|
| Bike price | The listing itself | Cheap entry price can hide expensive follow-up work |
| Immediate service | Tune-up, cables, chain, pads, sealant, bearings | Even a clean listing may need basic maintenance |
| Fit adjustments | Stem, spacers, saddle, bar width | A mostly-correct bike can still need cockpit changes |
| Usage upgrades | Tires, gearing, mounts | The listed setup may not match your actual terrain |
Buy for the riding you’ll actually do, not the fantasy route that sounds good in your head.
If you’re still deciding whether gravel is even the right category, compare the broader use case first in gravel bike versus road bike. If you already know gravel is the target, keep the shortlist tight and practical.
Confirming the correct model year and frame generation
The same model name can describe very different bikes across years. A seller may list only the brand, model, and frame size, while leaving out the exact year, trim, or frame generation. That’s a problem because geometry, tire clearance, axle standards, mounts, and drivetrain spec can change without the name changing much at all.
Start by asking for four things in one message: exact model year, full model name, trim level, and frame size as shown on the frame or original sales material. If the answer is vague, slow down.
What to verify before you compare anything else
Use the listing photos and seller answers to match the bike against official product pages, archived manufacturer catalogs, or retailer spec pages. Frame paint, fork shape, mount placement, and groupset spec often reveal whether the seller has the year right.
Check these details against each other:
-
Frame graphics and paint should match the claimed year.
-
Fork and rear triangle details can reveal a newer or older generation.
-
Groupset level should make sense for the trim.
-
Axles and brakes should align with the claimed production era.
-
Tire clearance and wheel compatibility should match the generation, not just the model family.
A lot of wasted time comes from comparing prices on bikes that aren’t equivalent. A later generation with more tire room, better mounts, or revised geometry should not be evaluated the same way as an older version that shares only the name.
If the seller can’t confirm the year and the photos don’t let you verify it, treat the listing as high uncertainty, not as a bargain.
When I’m sorting listings quickly, I remove any bike with unresolved year confusion before I think about value. Price context only gets useful after you know exactly what the bike is.
Assessing fit through stack reach and standover
When you buy a used gravel bike, geometry signals do a lot of the work that a shop test ride normally would. That’s why stack, reach, and standover matter so much in the early filter.
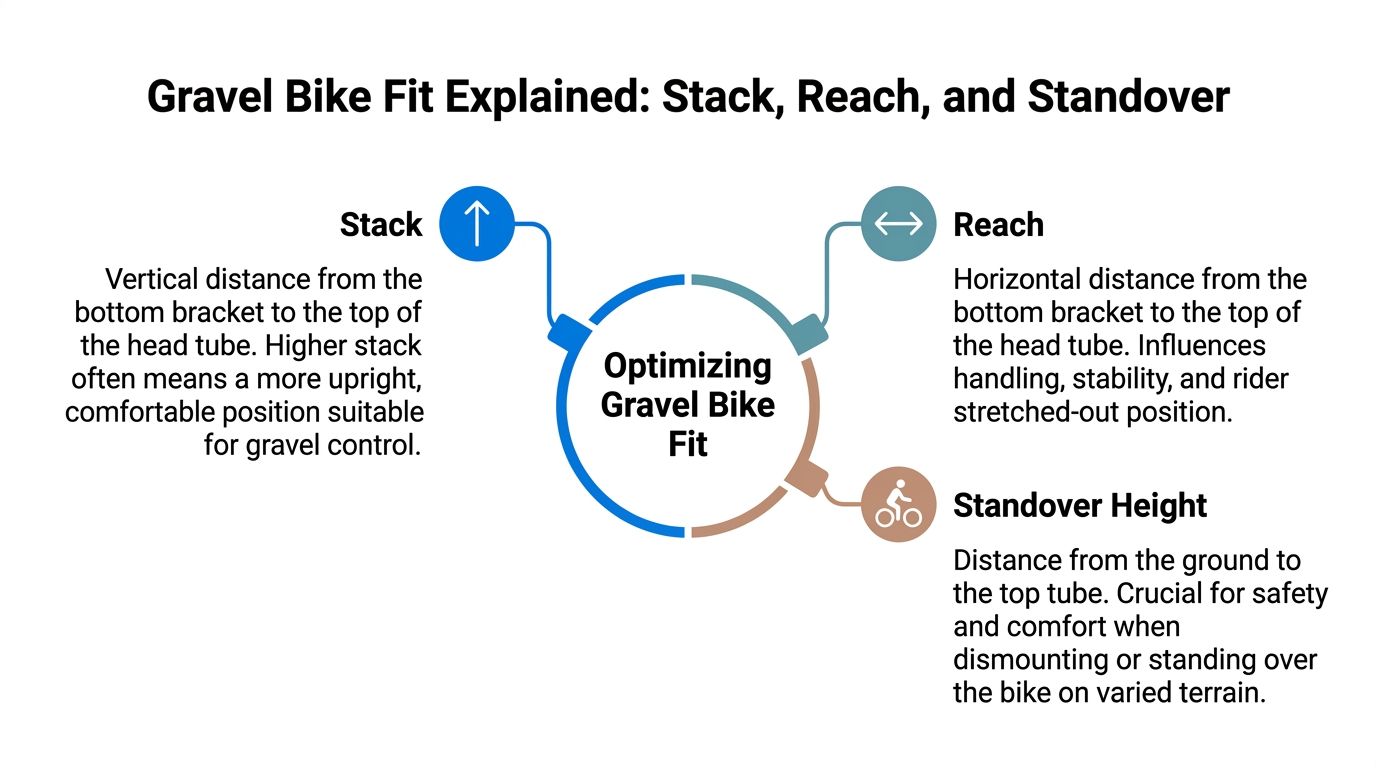
Many used listings do not include enough geometry detail on the page itself. That forces buyers to verify the exact model year and frame generation before they can check stack, reach, standover, and tire clearance. If the geometry cannot be verified, the listing should move down the shortlist. That’s the main reason I check geometry before messaging most sellers.
For a deeper breakdown of what these numbers mean, use SYCLR’s guide to bike stack and reach.
Use your current bike as the baseline
If you already own a bike that fits reasonably well, start there. Compare the used gravel candidate’s stack and reach against your current bike, then consider how much change you want.
A gravel bike often benefits from a front end that doesn’t force an aggressive road position. More stack can make rough-surface control easier. Reach matters just as much because too much length can make the bike feel demanding when surfaces get loose or when the ride gets long.
Look at the whole contact-point picture:
-
Stack affects front-end height and the starting handlebar position.
-
Reach affects how stretched or compact the cockpit feels.
-
Standover is a practical confidence check when stopping on uneven ground.
-
Current cockpit setup matters because a slammed stem on one bike and a tall spacer stack on another can mask the frame’s true fit.
Don’t trust the size label by itself
A Medium from one brand can feel longer and lower than a 56 from another. That’s normal. It’s also why shopping by size label alone is risky.
If you don’t know your geometry yet, use your body dimensions as a starting point, then cross-check with what size gravel bike do I need, gravel bike frame size chart, and a practical bike fit guide. But don’t stop there. Those tools narrow the field. They don’t replace bike-to-bike comparison.
A listing can look right because the frame size sounds familiar. Geometry is what tells you whether it’s actually a strong fit candidate.
If a seller won’t provide geometry and you can’t verify it elsewhere, that listing should move down the list fast.
Verifying gravel-specific technical details
A lot of second-hand listings are “gravel” in name but not in capability. Some are older cyclocross bikes. Some are all-road bikes with limited tire room. Some have gearing that works on fast dirt and not much else.
Check the parts that define real gravel use
Start with tire clearance. That single detail tells you a lot about how future-proof the bike is for mixed surfaces. Start with tire clearance. That single detail tells you a lot about how useful the bike will be for the surfaces you actually ride. A frame with limited clearance can still work for fast mixed-surface riding, but it may narrow your tire options, reduce versatility, and make the bike less appealing to future gravel buyers.
That doesn’t mean every rider needs huge tires. It means a bike that can’t clear modern gravel widths narrows your options immediately.
Check these details against your real use:
-
Tire clearance: Confirm actual frame and fork clearance, not just what’s currently installed.
-
Wheel size: Ask whether the bike is built around 700c only or also works well with 650b.
-
Drivetrain range: Make sure the gearing suits your terrain, not just flat test rides.
-
Brake type: Hydraulic and mechanical discs both work, but condition and service matter.
-
Mounts: Look for rack, fender, and bag mounts if commuting, touring, or long gravel days are part of the plan.
-
Intended category: Decide whether the bike reads as race-gravel, all-road, adventure, or light bikepacking.
A bike can have a good frame and still be the wrong tool. I’d rather buy a slightly less flashy listing with useful tire room, sensible gearing, and the mounts I need than chase a cleaner-looking bike that boxes me into one style of riding.
Inspecting physical condition and detecting red flags
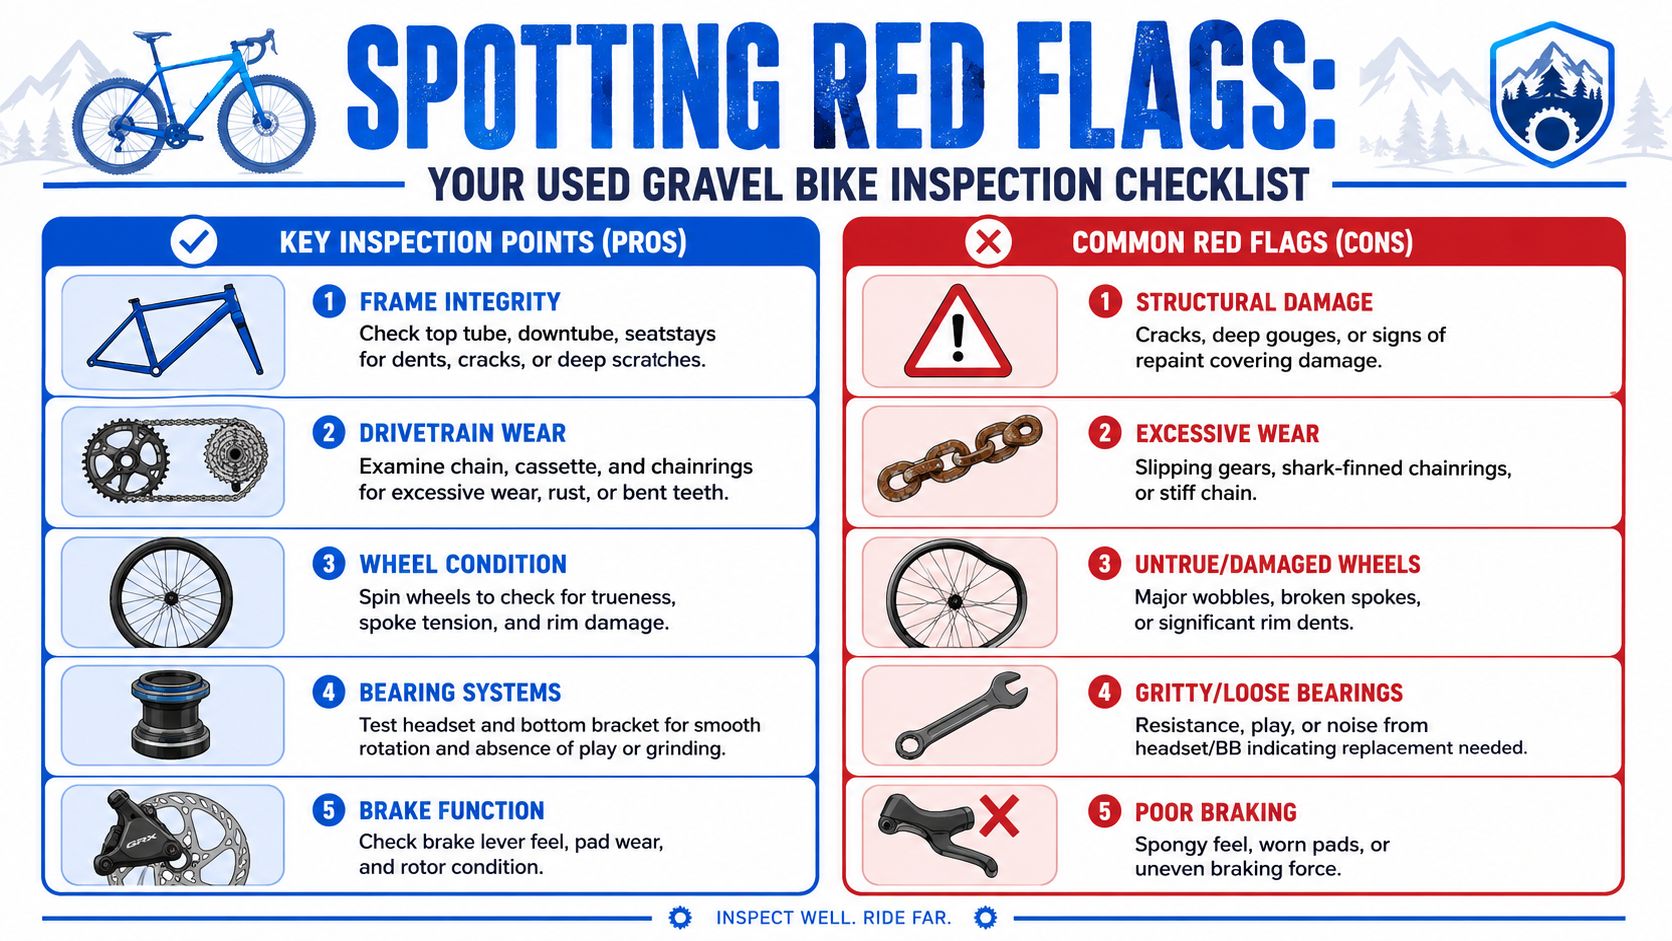
Condition is where good listings separate themselves from expensive projects. Photos matter, but they’re not enough. If you can inspect the bike in person, bring a flashlight and move slowly. If you’re buying remotely, ask for close-up photos in strong light of the same areas you’d check by hand.
Start with the frame and fork
The high-risk spots deserve your first attention. Experts recommend checking the top tube where handlebar contact occurs and the area under the downtube from headtube to bottom bracket, where paint cracks or scratches may indicate prior impacts. On dark frames, use a flashlight to spot subtle carbon delamination. That guidance comes from The Cyclist House used gravel bike inspection guide.
If the bike has a carbon seatpost or carbon frame, loosen the seatpost binder and make sure the post moves smoothly. A gritty sand-like feel can indicate proper carbon paste application. If the bike has a dropper post, test it through its travel and watch for sticking, sagging, or inconsistent return. Dropper service can add cost quickly, so it should be part of the condition check.
For a broader warning list, review used bike red flags.
Used gravel bike inspection photo checklist:
-
Full drive-side photo
-
Full non-drive-side photo
-
Fork and head tube close-ups
-
Underside of the down tube
-
Bottom bracket area
-
Chainstays and seatstays
-
Dropouts
-
Drivetrain close-ups
-
Brake calipers, pads, and rotors
-
Wheels and tire sidewalls
-
Any scratches, chips, dents, or repaired areas
Check wear before you debate upgrades
Cosmetic mess is one thing. Mechanical neglect is another. I’d rather see a few honest paint marks than a “clean” bike with hidden drivetrain wear and badly maintained bearings.
Use a simple inspection sequence:
-
Frame and fork: Look for cracks, dents, gouges, repaint clues, and impact marks.
-
Drivetrain: Check chain, cassette, and chainrings for hooked or shark-fin tooth profiles.
-
Wheels: Spin both wheels, watch for wobble, and inspect rims for dents or damage.
-
Brakes: Check rotor straightness, lever feel, pad wear, and rubbing.
-
Bearings: Turn the headset and crank slowly, feeling for play or grinding.
-
Cockpit and controls: Check bar tape, hoods, clamp bolts, cable condition, and lever damage.
-
Tires: Look for sidewall cuts, dry rot, or mismatched wear that suggests long neglect.
Hidden wear matters more than shiny upgrades. Carbon wheels don’t rescue a bad frame or a worn-out drivetrain.
When sellers avoid close-up photos, resist the urge to “assume it’s fine.” Missing detail is its own condition signal.
Evaluating listing confidence pricing and using SYCLR
You find two used gravel bikes at the same price. One listing has clear drive-side photos, the exact model year, size, full build, and a seller who can answer fit and service questions. The other has three blurry photos, a guessed size, and “upgraded” in place of a parts list. Those bikes do not carry the same risk, even if the asking price matches.
That is the point where pricing starts to make sense. After you sort fit, frame generation, and condition, the next job is judging how much uncertainty is still baked into the listing. Good used-bike buying is not just bargain hunting. It is building a fit-aware shortlist where geometry signals and listing confidence support the price.
Used Gravel Bike Buying Workflow
Use this workflow to cut bad candidates early:
-
Set your budget and intended terrain.
-
Filter for used gravel bikes that match your riding type.
-
Verify exact model year, full model name, trim, and frame size.
-
Check stack, reach, and standover before messaging the seller.
-
Confirm tire clearance, wheel size, drivetrain, and brake type.
-
Review photos for drivetrain wear, frame or fork damage, wheels, tires, and cockpit setup.
-
Compare the asking price against similar listings.
-
Reduce your offer when details are missing or inconsistent.
-
Shortlist only the bikes where fit, condition, and listing confidence line up.
Why the cheapest used gravel bike is not always the best buy
Cheap can still be expensive. A low asking price often reflects missing details, fit risk, worn consumables, old standards, or a seller who cannot verify what they are selling.
Use a clear pricing framework instead of reacting to the number in the headline. This guide to used bicycle value is a good reference for judging whether the asking price matches the bike, the spec, and the risk level.
Here is a practical shortlist filter:
| Step | What to check | Why it matters | Red flag |
|---|---|---|---|
| Budget and terrain | Riding style and total spend | Keeps the shortlist relevant | Buying only on price |
| Model year | Exact year and generation | Prevents false comparisons | Seller can't confirm year |
| Frame size and geometry | Label and published chart | Size label alone is weak | No usable geometry trail |
| Stack and reach | Compare to current bike | Filters poor-fit listings early | Numbers move in the wrong direction |
| Standover | Practical clearance check | Matters on uneven stops | Marginal clearance |
| Tire clearance | Real max tire room | Affects use and future setup options | Tight clearance for intended riding |
| Wheel size | 700c and or 650b compatibility | Changes setup flexibility | Seller doesn't know |
| Drivetrain | Range and wear | Affects climbing ability and replacement cost | Worn teeth or vague spec |
| Brake type | Mechanical or hydraulic disc | Changes service needs and lever feel | Weak lever feel or poor photos |
| Frame and fork condition | Cracks, impacts, repairs | Core safety and value issue | Damage, repaint, missing close-ups |
| Wheel and tire condition | Trueness, rim health, casing wear | Creates immediate cost risk | Wobble, dents, sidewall cuts |
| Seller transparency | Answers, records, details | Raises buying confidence | Evasive replies |
| Comparable pricing | Similar year, trim, condition | Gives real price context | Price unsupported by details |
A confident listing usually earns a smaller discount because the seller has already removed common unknowns. A vague listing needs a bigger discount, and sometimes it does not belong on the shortlist at all. I would rather pay a bit more for a bike with a clean geometry match and a transparent seller than save money on a bike that may need parts, does not fit well, or turns out to be a different frame generation than advertised.
Buy Used Gravel Bike FAQ
What should I check first when buying a used gravel bike?
Check the exact model year or frame generation first. That helps you verify geometry, tire clearance, drivetrain compatibility, axle standards, mounts, and original build details.
Is buying a used gravel bike worth it?
Buying a used gravel bike can be worth it when the fit, model year, tire clearance, condition, and listing quality all make sense. A low price alone is not enough.
What geometry numbers matter most on a used gravel bike?
Stack, reach, and standover are the first fit numbers to check. Wheelbase, head tube angle, seat tube angle, and tire clearance help explain handling, comfort, and intended use.
How much tire clearance do I need on a used gravel bike?
It depends on your riding. Fast pavement and light gravel may need less clearance than rough gravel, loaded riding, or loose surfaces. Check the frame and fork’s stated maximum clearance, not just the tires currently installed.
Should I choose a 1x or 2x drivetrain on a used gravel bike?
A 1x drivetrain can be simpler for rougher terrain, while a 2x drivetrain can offer tighter gear steps for pavement and mixed riding. The right choice depends on your terrain, climbs, speed, and the condition of the parts.
What are red flags when buying a used gravel bike?
Red flags include missing model year, vague sizing, unclear tire clearance, weak photos, no drivetrain details, hidden frame damage, worn wheels or brakes, and a seller who avoids direct questions.
Can SYCLR help me compare used gravel bike listings?
Yes. SYCLR helps riders compare used gravel listings by fit signals, geometry signals, model year context, price context, condition signals, listing quality, and confidence signals before contacting sellers.
If you are comparing used gravel bikes now, start with your height, bike type, and budget in the SYCLR app. SYCLR helps you compare used gravel listings by fit signals, geometry signals, model year context, price context, condition signals, listing quality, and confidence signals so you can shortlist better-fit bikes before you contact the seller.
Already know your current-bike geometry, stack, reach, or fit-report details? Use the fit-details entry to improve your recommendations.
A good used gravel bike is the one that fits your riding, suits your terrain, and gives you enough confidence to buy without guessing.