
How to Compare Used Bike Listings the Smart Way
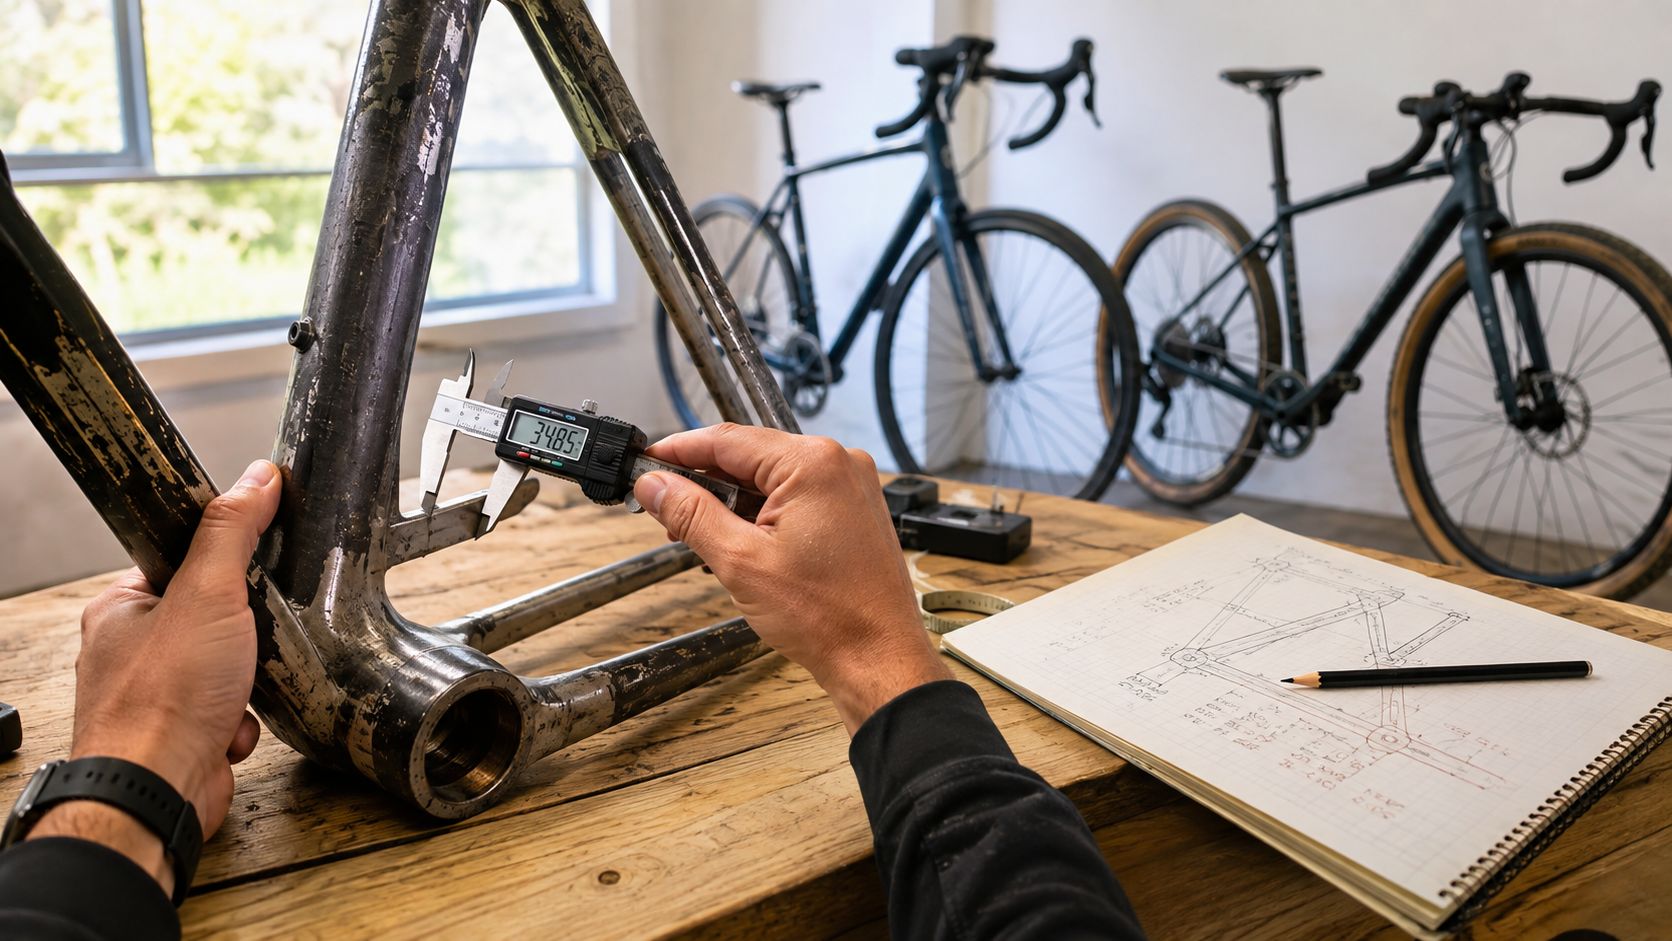
The smartest way to compare used-bike listings is to standardize what each listing actually tells you before you compare price. A used bike becomes meaningfully comparable only when you standardize its fit and geometry context, identity and specification, condition evidence, listing quality, and price-related costs against the same fields used for every other candidate. Until then, price is only a partial signal.
That is the real challenge with used-bike buying. Listings rarely arrive in a neat, comparable format. One seller includes a full specification and geometry chart. Another gives a size label, two photos, and a short caption. One bike has clear service history. Another may still be a good option, but the evidence is incomplete. If you compare those listings too early, you are not comparing bikes. You are comparing different levels of certainty. The solution is not to reject incomplete listings automatically. It is to keep missing information visible until it is resolved.
This guide focuses on the workflow that makes comparison useful:
normalize listings into the same fields
screen out candidates that fail your basic requirements
verify serious candidates consistently
compare price only after the important differences are clear
It is not a replacement for detailed fit, geometry, model-year, inspection, red-flag, or valuation guides. Instead, it helps you coordinate those checks in the right order.
Table of Contents
- Why Price Is a Weak First Filter
- Normalize Your Inputs Before You Browse
- Keep Fit and Geometry Context Shallow but Consistent
- Confirm Identity Before You Compare Specification
- Separate Condition Evidence From Listing Quality
- Compare Price Only After the Other Fields Are Standardized
- Build a Shortlist You Can Actually Verify
- Comparing Used Bike Listings FAQs
Why Price Is a Weak First Filter
The cheapest listing often gets attention first because it looks easy to compare. In practice, it is usually the least complete signal. A lower asking price does not tell you whether the bike fits your use, whether the model year is correctly identified, whether the specification is complete, or whether the seller has shown enough evidence to support the listing.
That is why used-bike comparison works best when price comes later. First you need to know whether two listings describe bikes that are meaningfully comparable. A bike with a familiar size label but unclear geometry, a vague year, mixed components, and limited photos is not directly comparable with a bike that has complete geometry context, a verified generation, and clear condition evidence.
The goal is not to make every listing equal. The goal is to make the differences visible, so you can screen quickly and verify serious candidates in a consistent way.
The five fields every listing should share
Center each comparison on these five fields:
Fit / geometry context: your reference fit, the listed size, and whatever geometry signals are available.
Identity / specification: exact model, claimed year, verified generation, and specification completeness.
Condition evidence: what the listing and seller actually show about the bike's current state.
Listing quality / evidence completeness: what the listing clearly establishes, what remains uncertain, and what still needs seller confirmation.
Price + likely near-term costs: asking price, included parts, shipping, service, and obvious replacement needs.
If a listing does not provide enough information for one of these fields, do not fill the gap with optimism. Mark it Verified, Uncertain, or Missing and move on.
Normalize Your Inputs Before You Browse
Before comparing listings, write down the inputs you will use for every candidate. This stops brand, color, or component hype from changing your standards mid-search.
Start with the riding job the bike needs to do. Road, gravel, mixed surface, and mountain listings often overlap in price and size labels, but they should not be compared as if they serve the same purpose. Record your intended bike type, riding surface, and any non-negotiables such as tire clearance, mounts, braking format, or transport constraints.
Then set your buying context. Use a total budget, not only a purchase target. Include delivery, first service, and likely near-term replacement items. You are not building a valuation formula here. You are simply making sure one listing is not made to look cheaper by leaving obvious follow-up costs outside the comparison.
For fit context, keep your inputs practical and shallow. If you have a professional fit report or a current bike that already works well, use that as your anchor. If you need deeper fit guidance, use the bike fit guide and between two bike sizes resources before you start comparing listings.
Use the Same Reference Inputs for Every Comparison
The fastest way to reduce noise is to judge every candidate against the same reference inputs.
That reference might be:
a current bike whose position you already know works well for your intended riding
a recent fit report
a short list of geometry and use requirements
Keep the note simple:
Use case: road, gravel, mixed surface, commuting, racing, distance, terrain
Fit context: current-bike details or fit-report targets
Requirements: must-have standards or features
Budget context: all-in budget and near-term cost tolerance
Then apply the same lens to every listing. If one seller provides the exact geometry chart and another only says "size 56," those listings should not carry the same confidence.
Keep Fit and Geometry Context Shallow but Consistent
Fit matters first, but this article is not the place to recreate a full fitting workflow. For comparison purposes, the aim is simpler: make sure each listing has enough fit and geometry context to decide whether it belongs in the next round.
Treat size labels as starting points, not conclusions. "54cm," "56cm," and "Medium" can mean very different things across brands and generations. The more useful comparison is between your reference and the actual geometry signals available for the exact bike being listed.
Use the manufacturer's geometry chart when possible. If you are comparing two serious candidates, standardize the same fields across both and review them side by side. For deeper geometry work, use compare bike geometry and bike stack and reach.
This page should stay shallow on what counts as an acceptable fit difference. It is enough to say that a listing becomes easier to compare when the geometry context is clear, and harder to compare when the seller relies only on a nominal size.
Use Verified, Uncertain, and Missing
A simple status label helps keep fit and geometry comparison honest.
| Field | Verified | Uncertain | Missing |
|---|---|---|---|
| Size and geometry context | Exact size and correct geometry source confirmed | Size is listed, but geometry source is unclear or incomplete | No usable geometry context provided |
| Fit relevance | Enough verified information exists to keep the bike in your fit screen | Some required fit information still needs confirmation | Not enough information exists to screen the bike |
This does not reject a listing automatically. It tells you what still needs to be checked before the bike can be compared confidently.
Confirm Identity Before You Compare Specification
Used-bike listings often blur together because sellers compress several important details into one year label or one model name. That creates comparison errors quickly.
Before you compare components, confirm the bike's identity as clearly as possible:
the exact model
the claimed year
the verified generation
how complete the current specification is and which major components differ from the documented original build, where known
Those fields matter because two bikes with similar names can represent different platforms, standards, compatibility constraints, or update paths. If the generation is unclear, then the specification is not fully comparable yet either.
Keep this section practical. You do not need to recreate the full year-identification process here. If you need that workflow, use how to tell what year a bike is.
What to record for identity and specification
Use a compact snapshot for each candidate:
| Field | What to record |
|---|---|
| Exact model | Full model name as listed and as verified |
| Claimed year | The year the seller states |
| Verified generation | Platform or generation confirmed from reliable details where possible |
| Frame size | The exact labeled size |
| Specification completeness | Whether the major components appear complete, mixed, upgraded, or unclear |
| Identity evidence | Manufacturer references, model labels, serial context, listing photos, or other documentation supporting the identification |
The key rule is simple: If the exact identity or generation remains unclear, keep that field marked Uncertain rather than comparing the specification as though it were verified.
Separate Condition Evidence From Listing Quality
A common mistake is to treat listing quality and bike condition as the same thing. They are related, but they are not identical.
Condition evidence is about the bike itself. What do the photos, service notes, and seller answers actually show about wear, maintenance, damage history, and current state?
Listing quality is about the clarity of the information. Does the seller provide enough coverage, specificity, and responsiveness for you to assess the bike properly?
A polished listing can still describe a poor candidate. A brief listing can still describe a good one. The important point is that weak evidence should be marked as unresolved, not silently converted into certainty.
For final comparison, every serious candidate should go through the same inspection process. This page does not recreate that procedure. Use the used-bike checklist for the detailed inspection workflow, and use used-bike red flags to review warning signs in photos, descriptions, and seller communication.
Listing quality is not the same as bike condition
A short scorecard can help you keep those categories separate.
| Comparison field | Verified | Uncertain | Missing |
|---|---|---|---|
| Condition evidence | Relevant photos/service details directly support current-state claims | Some condition questions remain unresolved | Important areas or history are not documented |
| Listing identity/spec | Exact model, generation, size, and major components are clear | Some identity or spec details remain unclear | Listing lacks enough information to establish the configuration |
| Seller follow-up | Specific questions receive usable answers/evidence | Answers are partial or ambiguous | Needed information is unavailable |
This framework does not mean a weaker listing is automatically a bad bike. It means the listing still carries more unanswered questions, and those questions should stay visible during comparison.
Compare Price Only After the Other Fields Are Standardized
Price becomes useful only after major fit, identity, condition, and evidence differences are standardized.
That is the point where you can begin comparing real buying options rather than mixed levels of information. If one bike has clear fit signals, geometry signals, model-year context, condition signals where available, and listing quality, while another still has open questions in several of those areas, the asking prices do not yet represent equally understood buying options.
This does not require a formula. It requires order. First standardize the major fields. Then compare asking price in the context of what is included, what still needs to be verified, and what likely near-term costs you would expect after purchase.
If you want a deeper value-specific framework, use used bicycle value rather than duplicating that process here.
Near-term costs belong in the comparison
A clean comparison should include more than the headline listing price.
Record items such as:
included accessories or excluded original parts
shipping or travel cost
first service or tune-up
known or reasonably evidenced near-term service and consumable needs
You do not need to turn this into a rigid valuation model. The purpose is simply to stop one listing from looking artificially attractive because follow-up costs were ignored.
Build a Shortlist You Can Actually Verify
Most buyers do better with a shortlist that is small enough to verify every serious candidate consistently. That is the practical limit that matters, not an arbitrary number.
Once a bike appears plausible on fit and geometry context, identity and specification, condition evidence, and listing quality, move it into a shortlist and verify it using the same process as the other finalists. If you cannot verify each candidate to the same standard, the comparison becomes uneven again.
A simple worksheet can help:
| Decision field | Standardized comparison entry |
|---|---|
| Fit / geometry context | Reference inputs, listed size, manufacturer geometry source, evidence status |
| Identity / specification | Exact model, claimed year, verified generation, major component changes |
| Condition evidence | Documented condition information and unresolved inspection questions |
| Listing quality / evidence completeness | Missing photos, unclear details, seller follow-up still required |
| Price context | Asking price, included items, shipping/travel, and evidenced near-term costs |
That structure keeps the workflow in order:
normalize listings
screen candidates that fail your basic requirements
verify finalists consistently
compare price after the important differences are visible
Questions that help standardize evidence
When you contact a seller, ask questions that improve comparability across listings.
What is the exact model and claimed year?
Can you confirm the frame size and full specification as listed today?
Has anything major been changed from the original build?
Can you share clear photos of the full bike and key areas?
Can you provide any relevant service records, original specification information, or identifying model/serial details needed to verify the listing?
Is there anything important about the bike's condition, modifications, service history, or included equipment that is not shown in the listing?
The aim is not to extract a perfect answer from every seller. It is to make sure each serious candidate is judged against the same evidence standard.
Comparing Used Bike Listings FAQs
What is the best way to compare used bike listings?
The best approach is to compare each listing across the same five fields: fit and geometry context, identity and specification, condition evidence, listing quality and unresolved evidence, and price plus likely near-term costs. This keeps price from dominating too early.
Should I compare used bikes by price first?
Price works better later in the process. Start by checking whether the bikes are actually comparable on fit signals, geometry signals, model-year context, specification, and available condition evidence.
How much geometry detail do I need to compare listings?
You need enough geometry context to screen whether a listing is relevant, not a full fit analysis inside every marketplace tab. If you need a deeper comparison, use the compare bike geometry and bike stack and reach guides.
What if a used bike listing has missing information?
Mark the field Verified, Uncertain, or Missing based on the evidence available, then decide whether additional seller information can resolve it.
Is a weak listing automatically a bad bike?
No. A weak listing is not automatically a bad bike. It simply provides less evidence, which means more verification is needed before you compare it confidently with better-documented options.
When should I use SYCLR in the buying process?
Use SYCLR when you want to compare road and gravel listings using fit signals, geometry signals, model-year context, price context, listing quality, condition signals where available, and confidence signals.
If you already know your reference fit details, start with Advanced Fit. For the main comparison workflow, use SYCLR.
Used-bike comparison gets easier when every candidate is judged against the same evidence. Normalize the listing, screen for fit and intended use, verify identity and condition evidence, and compare price only after the important differences are visible.
Use SYCLR to compare road and gravel listings using fit signals, geometry signals, model-year context, price context, listing quality, condition signals where available, and confidence signals. If you already know your current-bike geometry or professional fit coordinates, use Advanced Fit to make the comparison more specific.